Clear, dense ice isn’t just a luxury found in high-end cocktail bars. It’s entirely possible to make professional-quality ice at home—ice that melts slowly, looks elegant in a glass, and doesn’t cloud your drink with impurities. The secret lies not in expensive equipment but in understanding the science of freezing and applying a few clever techniques. Whether you're crafting a perfect Old Fashioned or hosting a dinner party, clear ice elevates both the experience and presentation.
The Science Behind Clear Ice
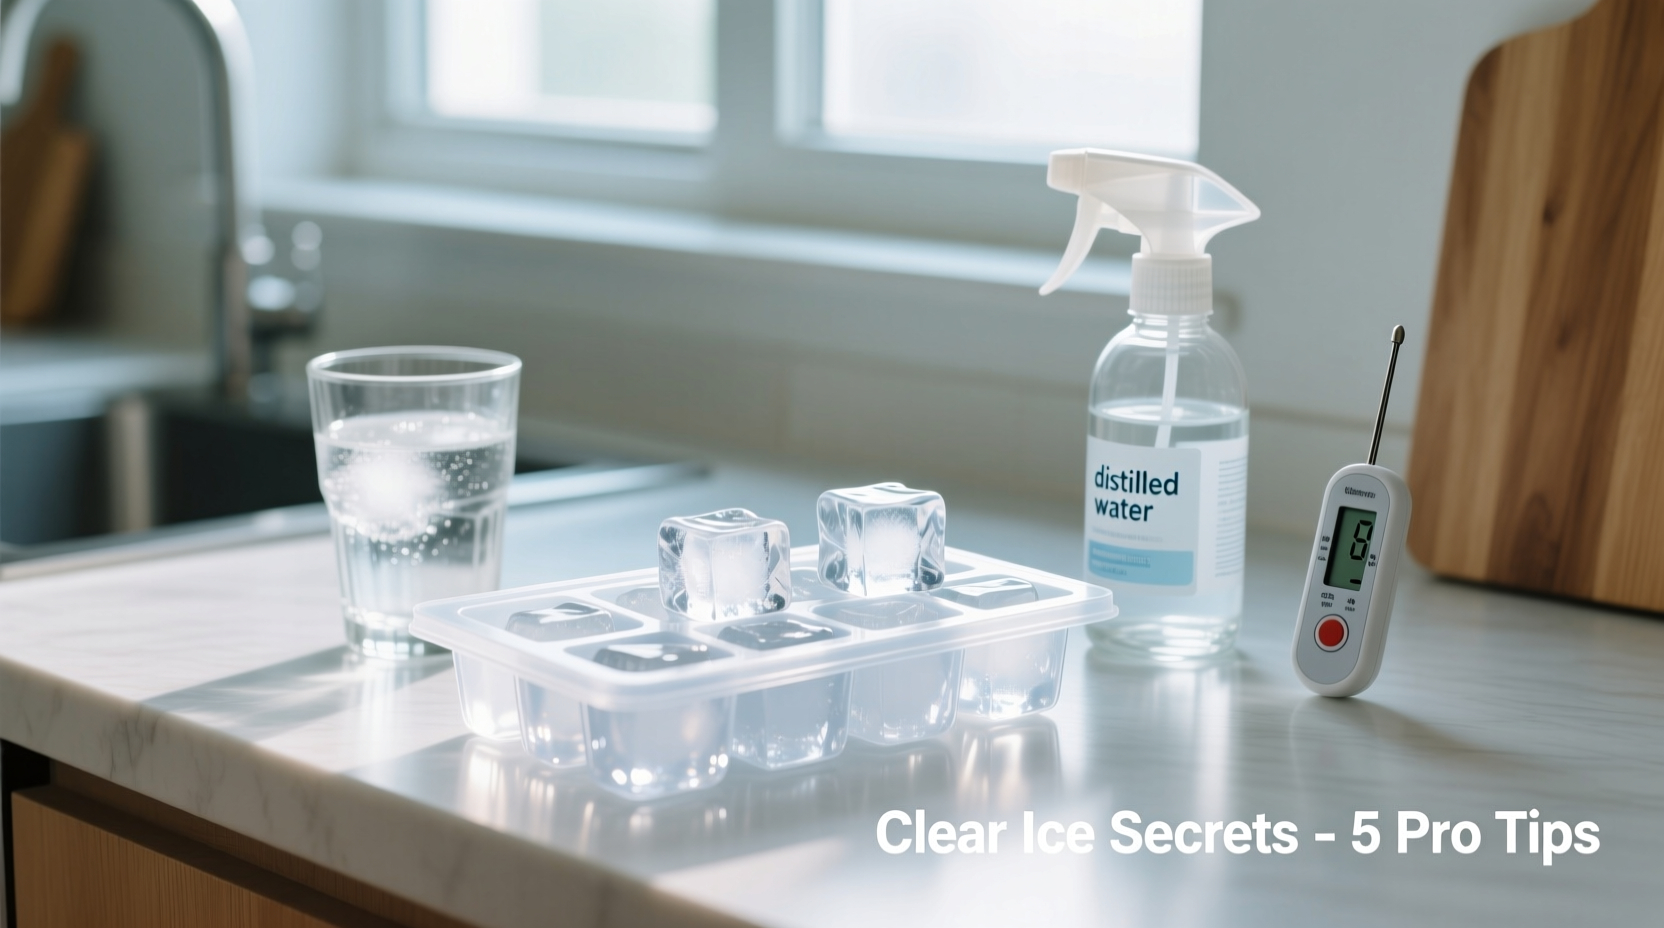
Ordinary freezer ice is cloudy because it freezes from all directions at once. As water freezes, it pushes dissolved minerals, air bubbles, and impurities toward the center. This trapped debris creates the familiar white, hazy core. In contrast, clear ice forms when water freezes slowly and directionally—from the top down—allowing impurities to be pushed downward and away from the forming crystal structure.
This directional freezing mimics how natural ice forms on lakes: slowly and from the surface down. By controlling the rate and direction of freezing, you can produce ice that is not only transparent but also denser and slower to melt.
“Directional freezing is the key to clarity. When water freezes slowly from one direction, the result is pure, solid crystal without trapped air.” — Dr. Alan Kim, Materials Scientist & Beverage Consultant
Step-by-Step Guide to Making Clear Ice at Home
You don’t need specialized gear to make clear ice. With basic kitchen tools and patience, follow this proven method:
- Choose the right container: Use an insulated cooler or a Styrofoam box. These materials slow freezing on the sides and bottom, promoting top-down freezing.
- Fill with distilled or boiled water: Start with purified water to minimize mineral content. Boiling tap water twice (letting it cool between boils) removes dissolved gases and reduces cloudiness.
- Place in the freezer open-top up: Remove the lid or leave the top exposed. This allows freezing to begin at the surface while insulating the sides and base.
- Freeze for 18–24 hours: The process should be slow. Rushing it defeats the purpose. You’ll notice a clear layer forming on top, with a cloudy section below.
- Remove and extract the clear portion: Take the block out and use a serrated knife or ice pick to crack away the opaque bottom, which contains the impurities.
- Shape as needed: Cut into cubes, spheres, or diamonds using a sharp knife or mold.
Creative Methods for Long-Lasting Ice
Clarity matters, but so does longevity. Dense, slow-melting ice keeps drinks cold without over-diluting them. Here are innovative ways to enhance durability:
- Double-boil your water: Boil tap water, let it cool, then boil again. This degasses and purifies it further, resulting in harder, longer-lasting cubes.
- Use filtered water in silicone molds: While not as effective as block ice, high-quality filtered water in flexible molds yields clearer, denser cubes than standard trays.
- Freeze ice in layers: Pour water into a mold and freeze in stages. After the first thin layer sets, add another. This reduces internal stress and air pockets.
- Add a pinch of salt to the outer bath (advanced): When using a double-container method (inner water, outer saltwater bath), the salt lowers the freezing point outside, encouraging directional freezing.
- Store ice properly: Keep finished ice in an airtight container in the freezer. This prevents absorption of odors and sublimation (ice turning directly to vapor).
Do’s and Don’ts of Homemade Clear Ice
| Do’s | Don’ts |
|---|---|
| Use distilled or double-boiled water | Use unfiltered tap water |
| Freeze slowly in an insulated container | Rush freezing with ultra-cold settings |
| Discard the cloudy bottom portion | Use the entire frozen block including impure sections |
| Store ice in sealed containers | Leave ice exposed in open bins |
| Clean molds regularly to prevent biofilm | Reuse dirty molds without scrubbing |
Mini Case Study: The Home Bartender’s Upgrade
Mark, a home mixologist from Portland, struggled with fast-melting, cloudy ice that ruined his carefully balanced cocktails. After researching bar techniques, he tried the cooler method using a $12 foam container and distilled water. He froze a 5-gallon batch over 20 hours, then harvested six large clear cubes. Not only did his Negronis stay colder longer, but guests consistently commented on the “luxury bar” feel. Within a month, he built a small YouTube channel sharing his process, gaining over 10,000 views. His takeaway? “Clear ice isn’t about perfection—it’s about intention.”
Checklist: Make Perfect Clear Ice at Home
Follow this checklist for consistent results every time:
- ☐ Use distilled or double-boiled water
- ☐ Choose an insulated container (cooler or foam box)
- ☐ Leave the top open for directional freezing
- ☐ Freeze for at least 18 hours
- ☐ Remove and discard the cloudy lower section
- ☐ Cut or shape ice with clean, sharp tools
- ☐ Store in an airtight container in the freezer
- ☐ Clean molds weekly with vinegar or mild soap
Frequently Asked Questions
Why is my homemade ice still cloudy even after boiling the water?
Boiling helps, but directional freezing is essential. If your ice freezes too quickly or from all sides, impurities get trapped. Try using an insulated cooler to slow side and bottom freezing, ensuring only the top surface solidifies first.
Can I make clear ice without a cooler or special equipment?
Yes, though results will vary. Use a metal loaf pan filled with boiled water and place it in the back of your freezer (coldest, most stable zone). Cover three sides with folded towels to insulate, allowing only the top to freeze. Expect smaller yields, but improved clarity over standard trays.
How long does clear ice last in the freezer?
When stored in an airtight container, clear ice can last indefinitely. However, for best quality—especially flavor neutrality—use within 2–3 weeks. Over time, ice can absorb odors or develop frost, affecting performance.
Conclusion: Elevate Your Drink Experience
Making clear, long-lasting ice at home is more accessible than most people think. It combines simple chemistry with thoughtful technique, rewarding patience with elegance and function. Whether you’re chilling a Scotch, crafting a signature cocktail, or simply enjoying iced tea on a summer afternoon, high-quality ice enhances the ritual. The methods outlined here require no fancy gear—just attention to detail and a willingness to experiment.
🚀 Ready to upgrade your ice game? Try the cooler method this weekend and taste the difference. Share your results, tag a friend who loves cocktails, or leave a comment with your favorite ice hack!