
Winter brings beauty, adventure, and challenges—especially for those who commute, hike, or travel with a backpack. Snow, sleet, slush, and sub-zero temperatures can quickly turn a reliable bag into a waterlogged, mold-prone burden. Keeping your backpack dry isn’t just about comfort; it’s about protecting electronics, clothing, documents, and the structural integrity of the pack itself. With the right strategies, you can maintain performance, extend lifespan, and avoid costly replacements.
Choose the Right Backpack for Winter Conditions
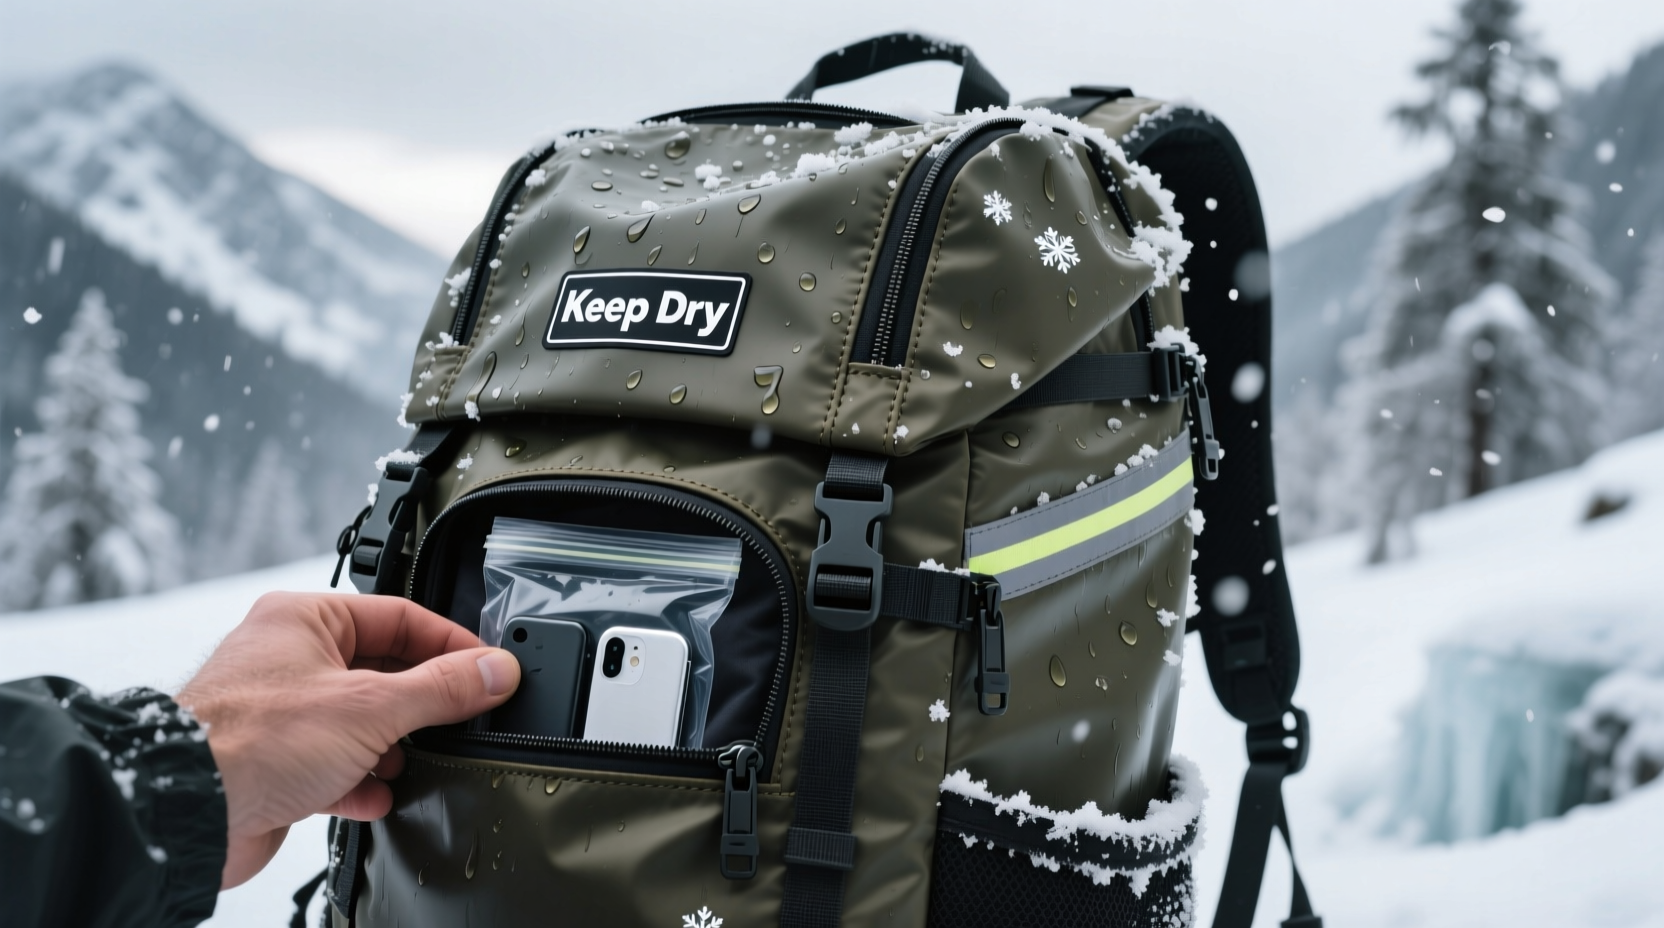
Not all backpacks are built to withstand winter’s demands. A lightweight commuter pack may suffice in spring but fail under heavy snowfall. Look for key features that signal winter readiness: waterproof or water-resistant materials (like 600D–1680D polyester or nylon with PU coating), sealed seams, roll-top closures, and reinforced zippers. Brands like Osprey, Deuter, and Patagonia design packs specifically for extreme conditions, incorporating weather-flap covers and internal rain hoods.
Some models come with integrated rain covers stored in the bottom compartment—a critical feature when caught in sudden storms. If your current backpack lacks these elements, don’t discard it. Instead, upgrade its protection using external solutions.
Tip: Always check the denier rating and DWR (Durable Water Repellent) finish when purchasing a winter-ready backpack.Use Waterproof Covers and Liners Strategically
A high-quality rain cover is one of the most effective defenses against winter moisture. These lightweight, packable shells stretch over your backpack and secure with elasticized hems. They’re especially useful during snow flurries or icy drizzle when full immersion isn’t expected, but surface wetness is inevitable.
For complete internal protection, combine the cover with a liner. Heavy-duty trash compactor bags or purpose-built dry liners made from TPU-coated fabric create a secondary moisture barrier inside the pack. Place sensitive items like laptops, notebooks, or extra layers inside zip-lock dry bags before placing them in the main compartment.
| Protection Method | Best For | Limits |
|---|---|---|
| Rain Cover | Short commutes, sudden showers | Doesn’t seal zippers completely |
| Dry Liner | Long hikes, deep snow exposure | Takes up interior space |
| Zip-Lock Dry Bags | Electronics, documents, clothing | Requires pre-sorting of items |
Apply and Maintain Water-Repellent Treatments
Even the best synthetic fabrics lose their water resistance over time. The DWR coating wears off after repeated exposure to abrasion, dirt, and washing. To restore performance, reapply a silicone- or fluorocarbon-based water-repellent spray every few months—or after intense use.
Clean the backpack first with a mild detergent and lukewarm water. Let it dry completely. Then, evenly apply the treatment, focusing on high-exposure areas like the top panel, shoulder straps, and bottom. Avoid spraying near ventilation mesh or foam padding unless specified by the manufacturer.
“Re-waterproofing your backpack twice a season can reduce moisture absorption by up to 70%.” — Lars Mendez, Outdoor Gear Technician at Alpine Provisions
Never use fabric softeners or conditioners—they break down protective coatings. Also, skip the dryer unless the care label explicitly allows it. Heat can degrade adhesives and melt laminate layers.
Adopt Smart Packing Habits in Cold Weather
How you pack affects how well your backpack resists moisture. Start by organizing contents into waterproof zones. Use separate dry sacks for different categories: one for electronics, another for food, and a third for spare gloves or socks. This prevents cross-contamination if one section gets damp.
Place heavier, less-sensitive items at the bottom. Keep frequently accessed gear—like gloves or a thermos—in external pockets lined with wipeable material. Avoid overstuffing, which strains seams and compromises closure integrity.
When walking through slush or snowdrifts, carry the pack high on your back rather than letting it drag on wet ground. If using public transit, place it on your lap or in a plastic tote instead of the floor.
Tip: Pack a small microfiber towel in an outer pocket to wipe down your backpack after exposure to snow or rain.Mini Case Study: Commuting Through a Nor’easter
Sophie, a university student in Boston, relied on her canvas backpack for daily classes. During a major nor’easter, she braved 45 minutes of snow and wind without a rain cover. By the time she reached campus, her backpack was soaked. Her laptop suffered condensation damage, and her textbooks warped.
The following winter, Sophie upgraded to a 900D ripstop nylon pack with a built-in rain hood. She added a TPU liner and used three dry bags for essentials. Even during prolonged storms, her gear stayed dry. “I realized I wasn’t just protecting my stuff—I was saving money and stress,” she said.
Step-by-Step Guide: Preparing Your Backpack for Winter
- Inspect your backpack: Check for frayed seams, broken zippers, or worn patches. Repair minor tears with seam grip or patch kits.
- Clean thoroughly: Wipe down surfaces with a damp cloth and mild cleaner. Rinse and air-dry away from direct heat.
- Apply DWR treatment: Spray evenly and allow 12 hours to cure. Test by sprinkling water—if it beads, it’s working.
- Add internal protection: Insert a dry liner and pack essentials in dry bags.
- Attach a rain cover: Practice deploying it quickly so you’re ready when skies turn gray.
- Test in real conditions: Take a short walk in light rain or snow to assess performance before relying on it in severe weather.
Common Mistakes That Compromise Backpack Safety
- Using non-breathable plastic bags as liners: Trapped moisture leads to mold, especially when warm gear cools down indoors.
- Storing a damp backpack overnight: This promotes mildew and weakens stitching. Always dry fully before storage.
- Ignoring zipper maintenance: Lubricate coil zippers occasionally with a silicone-based wax to prevent freezing.
- Leaving metal parts exposed: Buckles and clips can become brittle in extreme cold. Cover or insulate if possible.
FAQ
Can I machine wash my winter backpack?
Only if the manufacturer specifies it. Most experts recommend hand-washing with a soft brush and pH-neutral soap. Machine agitation can damage coatings and seams.
What should I do if my backpack gets frozen?
Let it thaw gradually at room temperature. Do not apply direct heat or force stiff zippers open, as this can cause cracks or tears.
Are leather backpacks suitable for winter?
Generally no. Leather absorbs moisture and can crack in freezing temperatures. If you must use one, treat it with a specialized waterproofing agent and limit exposure to wet conditions.
Checklist: Winter-Proof Your Backpack in 10 Minutes
- ✅ Inspect for wear and tear
- ✅ Clean exterior and interior
- ✅ Reapply DWR spray
- ✅ Insert dry liner or trash compactor bag
- ✅ Pack essentials in individual dry sacks
- ✅ Attach and test rain cover
- ✅ Lubricate zippers
- ✅ Store in a dry, ventilated area when not in use
Conclusion
Your backpack is more than a container—it’s a trusted companion through winter’s unpredictability. By choosing the right model, layering protection, maintaining treatments, and packing wisely, you ensure reliability when conditions are at their worst. These habits take minimal time but deliver maximum return: dry clothes, functional electronics, and peace of mind.
🚀 Take action today: Pull out your backpack, inspect it, and apply one protective step from this guide. Small efforts now prevent big problems later.