Many dogs, especially larger breeds or those with joint and digestive issues, benefit from eating at an elevated height. An elevated feeder reduces strain on the neck, shoulders, and spine during meals, promoting better posture and aiding in digestion. While commercial options exist, they can be expensive, generic in design, or poorly constructed. Building your own DIY dog feeder stand allows you to customize the height, style, and durability to perfectly suit your pet’s needs and your home’s aesthetic.
This comprehensive guide walks through every phase of constructing a sturdy, safe, and attractive elevated dog feeder stand using basic tools and affordable materials. Whether you're new to woodworking or looking for a weekend project, this build is accessible, functional, and rewarding.
Why Elevate Your Dog’s Feeder?
Dogs that eat from bowls placed on the floor often have to bend down significantly, which can lead to long-term discomfort—especially in large or senior dogs. Veterinary experts frequently recommend raised feeders for breeds prone to bloat (gastric dilatation-volvulus), such as Great Danes, German Shepherds, and Standard Poodles. While elevated feeders don’t prevent bloat entirely, they may reduce air ingestion during meals when combined with slow-feeding practices.
“Elevated feeding can support better spinal alignment and reduce stress on joints during mealtime, particularly in arthritic or aging dogs.” — Dr. Laura Simmons, DVM, Canine Rehabilitation Specialist
Beyond health benefits, a custom stand keeps bowls off the ground, minimizing tracking of water and food across floors and making cleanup easier. A well-built stand also prevents tipping, ensuring stability even with enthusiastic eaters.
Planning Your Build: Measurements and Materials
The first step in any successful DIY project is proper planning. The ideal height for an elevated feeder depends on your dog’s shoulder height. Measure from the floor to the top of your dog’s shoulders (withers) and subtract 5–6 inches. This ensures the bowl sits just below chin level when standing naturally.
Tip: For growing puppies, consider building an adjustable-height stand or plan to rebuild as they mature.For this standard design, we’ll use pine or poplar boards—affordable, easy to work with, and strong enough for daily use. All materials are available at most hardware stores.
Materials List
- 1×12 pine board, 6 feet long (for top and legs)
- 1×2 pine strip, 4 feet long (for bracing)
- Wood screws (1.25” and 2.5”)
- Wood glue
- Sandpaper (120 and 220 grit)
- Non-toxic wood finish (e.g., water-based polyurethane or butcher block oil)
- Two stainless steel or ceramic dog bowls
Tools Required
- Circular saw or miter saw
- Drill/driver
- Tape measure
- Square
- Clamps
- Sander or sanding block
Step-by-Step Construction Guide
Follow these steps carefully to assemble a stable, professional-looking feeder stand.
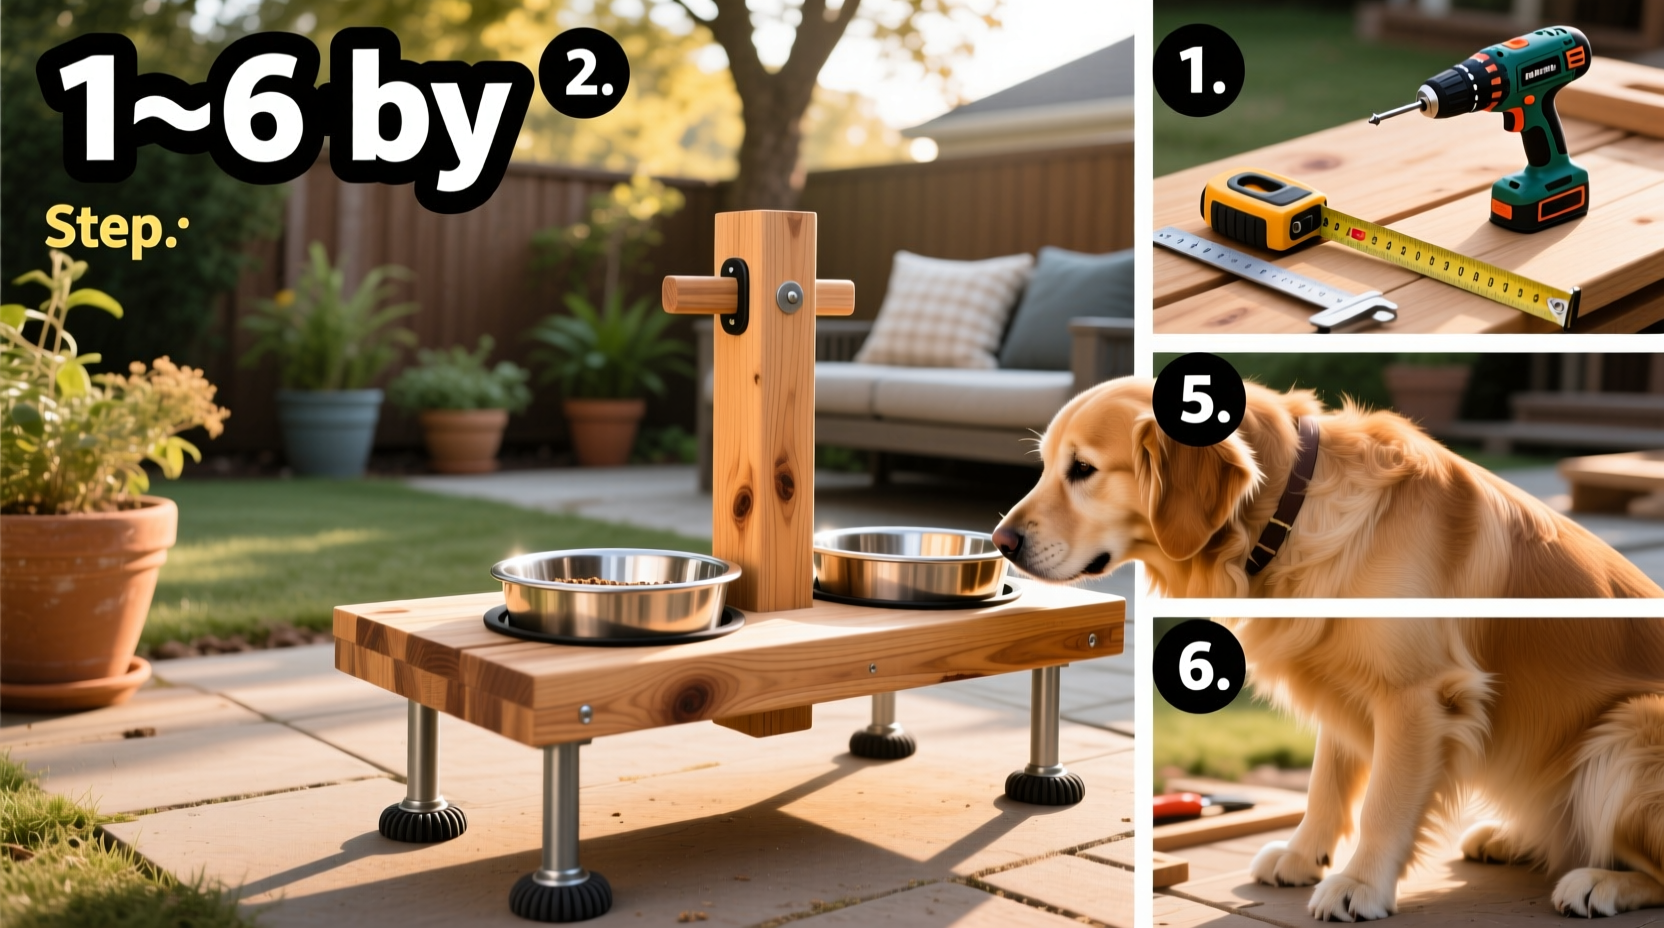
- Cut the top panel: From the 1×12 board, cut a piece 18 inches long. This will hold both bowls side by side.
- Cut the legs: Cut four legs to your calculated height. For a 24-inch-tall dog, legs should be approximately 18 inches. Ensure all legs are exactly the same length for balance.
- Shape leg tops: At the top of each leg, make a 45-degree bevel cut on one edge so they sit flush against the underside of the top panel. This creates a seamless, angled joint.
- Attach front and back legs: Position two legs at each end of the top panel, aligned with the edges. Use clamps to hold them in place. Drill pilot holes and secure each leg with two 2.5” wood screws driven through the top into the leg. Reinforce with wood glue.
- Add cross braces: Cut two 1×2 pieces to fit between the legs at the front and back, about 4 inches from the bottom. These prevent wobbling. Attach with 1.25” screws and glue.
- Sand thoroughly: Begin with 120-grit paper to smooth joints and edges, then finish with 220-grit for a silky surface. Round over sharp corners slightly to prevent splinters.
- Apply finish: Wipe on two coats of non-toxic finish, allowing full drying time between coats. This protects the wood from moisture and daily wear.
- Insert bowls: Place stainless steel or ceramic bowls directly on the top surface. For added security, cut shallow recesses using a jigsaw and router (optional).
Design Variations and Customization Options
Once the basic structure is complete, personalize your stand to match your space and your dog’s habits.
| Feature | Option | Benefit |
|---|---|---|
| Height | Adjustable legs with threaded inserts | Adaptable for multiple dogs or growth |
| Top Design | Divided center or single large bowl area | Prevents bowl sliding or accommodates different sizes |
| Material | Bamboo or hardwood (e.g., maple) | Increased durability and upscale appearance |
| Storage | Add lower shelf or side pocket | Holds treats, toys, or napkins |
| Mobility | Add locking casters | Easy to move and clean under |
For households with multiple pets, consider widening the top panel to 24 inches and adding a central divider to keep food and water bowls separated. You can also stain the wood to match your furniture or paint it with pet-safe acrylics for a playful look.
Mini Case Study: Max the Senior Labrador
Max, a 9-year-old Labrador Retriever, began showing signs of stiffness after meals. His owner noticed he hesitated before bending down to eat and often left food unfinished. After consulting their vet, they learned that Max’s mild arthritis was exacerbated by low feeding positions. They built a custom 14-inch elevated stand using reclaimed barn wood and added rubberized bowl pads to prevent slipping. Within days, Max stood more comfortably during meals and finished his food consistently. The stand, finished in a warm walnut tone, now blends seamlessly into their kitchen decor.
Safety and Maintenance Checklist
To ensure your DIY dog feeder stand remains safe and functional, follow this maintenance checklist:
- ✅ Inspect screws and joints monthly for looseness
- ✅ Clean wood surface weekly with damp cloth and mild soap
- ✅ Reapply non-toxic finish every 6–12 months
- ✅ Check for splinters or rough spots after heavy use
- ✅ Keep bowls clean and dry to prevent moisture damage to wood
- ✅ Avoid placing stand in direct sunlight or humid areas (e.g., next to washing machine)
Frequently Asked Questions
Can an elevated feeder cause bloat in dogs?
Research on this topic is mixed. Some older studies suggested a link between elevated feeders and increased bloat risk in large, deep-chested breeds. However, recent veterinary guidance emphasizes that eating speed, diet, and genetics play a far greater role. If your dog is at risk, consult your vet and consider pairing an elevated stand with a slow-feeder bowl.
What wood is safest for a dog feeder stand?
Pine, poplar, maple, and bamboo are excellent choices when sealed with a pet-safe finish. Avoid pressure-treated wood, plywood with formaldehyde glues, or exotic woods that may contain natural toxins.
How do I stop my dog from pushing the stand around?
Ensure the base is wide enough for stability. Adding rubber feet or using a non-slip mat underneath can help. For very active dogs, consider anchoring the stand lightly to the wall or using heavier wood species.
Build Thoughtfully, Feed Comfortably
A homemade elevated dog feeder stand is more than a furniture project—it's an investment in your pet’s daily comfort and long-term well-being. With careful measurement, quality materials, and attention to detail, you can create a functional piece that enhances both your dog’s health and your home environment. Unlike mass-produced models, your custom stand reflects care, craftsmanship, and a deep understanding of your pet’s unique needs.
💬 Have you built a feeder stand for your dog? Share your design tips or lessons learned in the comments—your experience could inspire another pet-loving builder!