
Aquariums are more than just glass boxes filled with fish—they’re living art. A well-designed tank can transform any room into a serene oasis. One of the most captivating features you can add is a flowing aquarium waterfall. Beyond its visual appeal, a waterfall enhances oxygenation, promotes circulation, and mimics natural river environments. While commercial options exist, building your own allows for customization, cost savings, and personal satisfaction. This guide walks through every step of creating a functional, beautiful waterfall that seamlessly integrates with your existing setup.
Why Add a Waterfall to Your Aquarium?
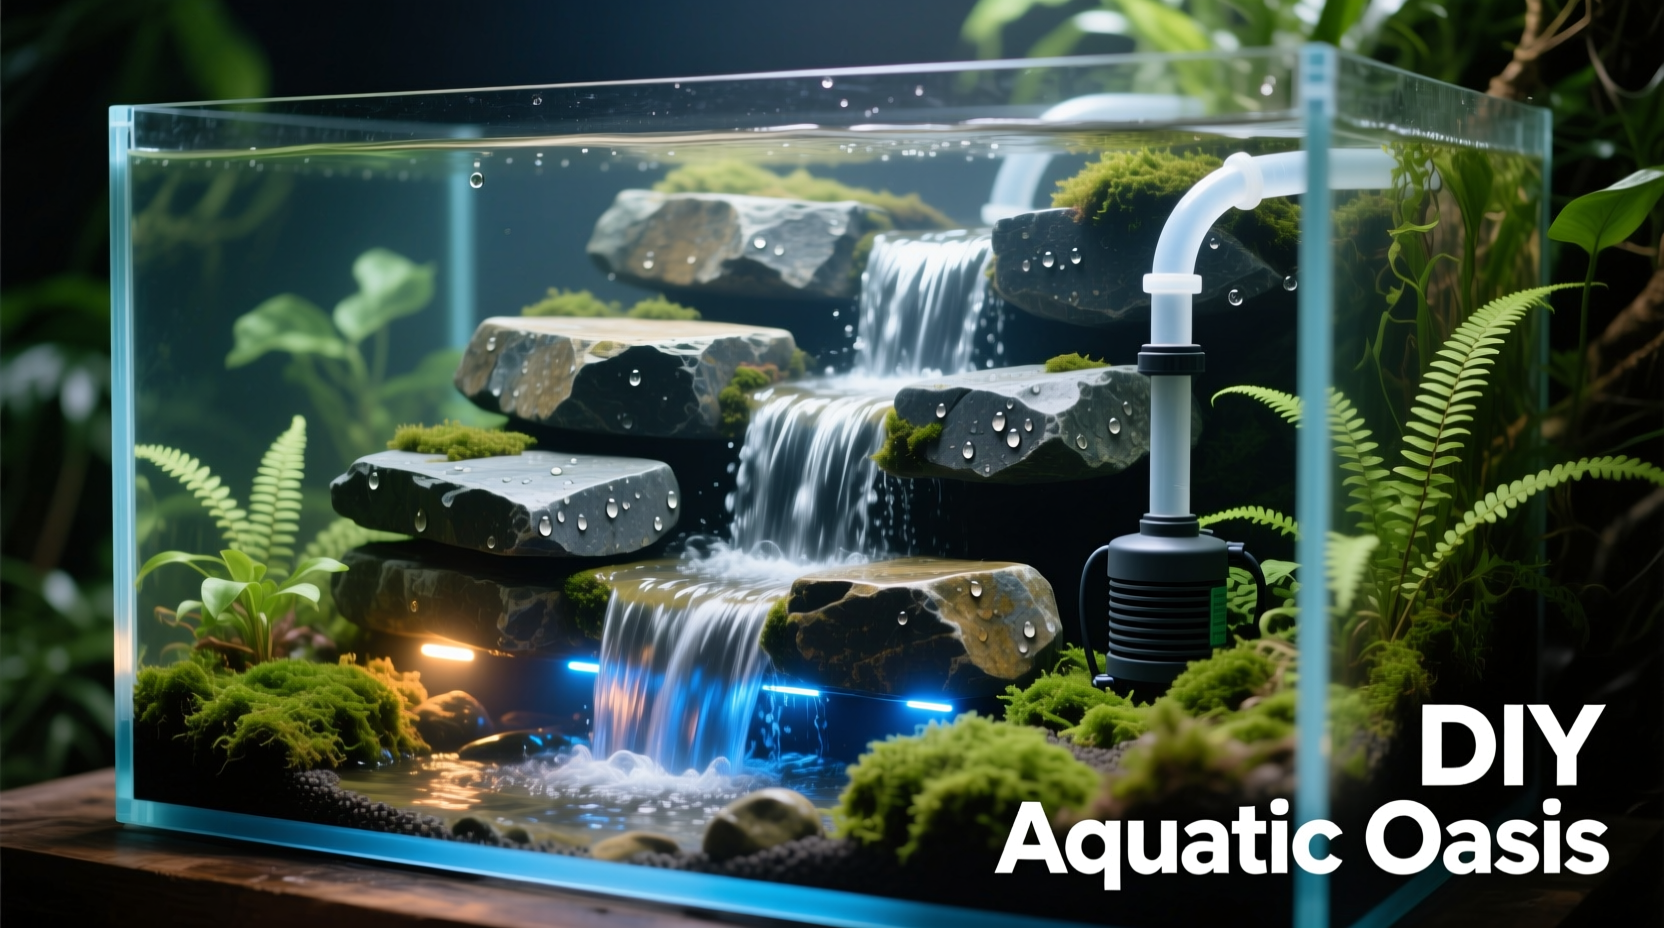
A waterfall isn’t merely decorative. It serves multiple practical purposes. The cascading water increases surface agitation, which boosts oxygen exchange—vital for fish health, especially in densely stocked tanks. It also helps prevent dead zones by improving water circulation, reducing algae buildup and detritus accumulation. For species like tetras or hillstream loaches that thrive in moving water, a waterfall simulates their native habitat, encouraging natural behaviors.
From an aesthetic standpoint, a waterfall introduces dynamic motion and sound, transforming your aquarium into a multisensory experience. When paired with live plants, rocks, and driftwood, it creates a miniature ecosystem that feels alive and balanced.
“Introducing gentle water movement through features like waterfalls not only benefits fish physiology but also strengthens the overall stability of the aquatic environment.” — Dr. Lena Park, Aquatic Biologist
Planning Your DIY Aquarium Waterfall: Key Considerations
Before cutting materials or connecting tubing, take time to plan. A poorly designed waterfall can disrupt water levels, stress fish, or even damage equipment. Consider these factors:
- Tank Size and Shape: Larger tanks (30+ gallons) handle waterfalls better due to greater water volume and surface area.
- Filtration Compatibility: Most DIY waterfalls use existing filter output. Ensure your filter has enough flow rate to support both filtration and the waterfall.
- Height Difference: The waterfall should drop from above the waterline. A height of 2–6 inches typically provides visual impact without excessive splashing.
- Fish Species: Avoid strong currents for bettas or slow-moving fish. Tailor flow intensity to your inhabitants.
- Maintenance Access: Design for easy cleaning. Algae will grow on surfaces, so avoid overly complex shapes.
Step-by-Step Guide to Building Your Aquarium Waterfall
This method uses your existing hang-on-back (HOB) or canister filter’s outflow to power the waterfall—no additional pumps required.
- Gather Materials: You’ll need non-toxic silicone sealant, PVC pipe or flexible tubing (diameter matching filter output), slate or ceramic tiles, aquarium-safe adhesive, a small plastic tray or reservoir (optional), and decorative rocks.
- Design the Flow Path: Attach a length of rigid PVC or firm tubing to your filter’s outflow nozzle. Angle it upward toward where the waterfall will begin. Secure with zip ties if needed.
- Create the Spillway: Use a flat piece of slate, ceramic, or acrylic cut to size as the waterfall face. Silicone a small lip at the top edge to form a reservoir that spreads water evenly across the width.
- Install the Reservoir (Optional): For wider flows, attach a small plastic tray behind the spillway. Connect tubing to disperse water into the tray, allowing it to overflow uniformly.
- Position and Secure: Mount the spillway against the back glass or within rockwork using aquarium-safe silicone. Allow 24 hours to cure fully before wetting.
- Test Dry First: Run the filter without submerging connections to check spray direction and leakage.
- Finalize Aesthetics: Stack river rocks or driftwood around the base to hide tubing and enhance natural appearance.
Enhancing Visual Appeal
To make the waterfall look organic, layer smaller stones beneath larger ones and incorporate moss or java fern along the edges. Submersible LED lights placed behind the cascade create a shimmering effect at night, mimicking moonlight on moving water.
Tip: Wrap tubing in black mesh or bury it under substrate to keep it invisible.Do’s and Don’ts of Aquarium Waterfall Construction
| Do’s | Don’ts |
|---|---|
| Use only aquarium-safe silicone (100% silicone, no mold inhibitors) | Use hardware store silicones that may contain toxic additives |
| Ensure all materials are inert and won’t alter water chemistry | Include limestone or marble that could raise pH over time |
| Keep water flow adjustable via valve or nozzle control | Create a torrential flow that stresses fish or uproots plants |
| Allow space for maintenance and algae scraping | Build inaccessible crevices where debris accumulates |
| Monitor temperature changes caused by increased evaporation | Ignore water level drops; top off regularly with dechlorinated water |
Real Example: Transforming a Community Tank with a DIY Cascade
Mark, an aquarist in Portland, wanted to upgrade his 55-gallon community tank housing rainbowfish and Corydoras. He used a spare section of PVC pipe and a piece of black slate he found at a garden center. After sealing the edges to form a shallow trough, he attached it to the back panel just above the waterline, routing the canister filter’s output into one end. By angling the slate slightly forward, he achieved a soft sheet flow that rippled down into the tank.
Within days, he noticed increased surface movement and reduced biofilm on decorations. His rainbowfish began swimming near the cascade, displaying brighter colors. Mark added Anubias plants along the sides and a single blue LED strip behind the fall. The result became the centerpiece of his living room—a testament to thoughtful, low-cost innovation.
Essential Checklist Before Launching Your Waterfall
- ✅ Confirm all materials are aquarium-safe and chemically inert
- ✅ Double-check tubing fit with filter outlet
- ✅ Position spillway securely and allow silicone to cure completely
- ✅ Test flow pattern without fish present
- ✅ Adjust output to avoid excessive splashing or current strength
- ✅ Install lighting (optional) for nighttime visibility
- ✅ Monitor water parameters for 48 hours after activation
Frequently Asked Questions
Can I use a separate pump for my aquarium waterfall?
Yes. Small submersible pumps (100–300 GPH) work well for dedicated waterfalls. Place the pump in the sump or rear chamber, run tubing up the back, and connect it to a diffuser or spillway. This gives full control over flow independent of filtration.
Will a waterfall increase evaporation significantly?
Yes. Increased surface agitation accelerates evaporation. Expect to top off the tank more frequently—weekly or even bi-weekly depending on climate. Use RO or dechlorinated tap water to maintain consistent mineral balance.
How do I clean algae from the waterfall surface?
Scrub gently with an algae pad during water changes. For stubborn buildup, remove the spillway during maintenance and soak in a 1:10 bleach-water solution, rinsing thoroughly afterward. Never use detergents.
Conclusion: Bring Movement and Magic to Your Aquatic World
A handcrafted aquarium waterfall blends engineering, artistry, and ecology into one striking feature. With careful planning and attention to detail, you can elevate your tank from static display to living landscape. Whether you're enhancing oxygen levels, calming active fish, or simply enjoying the soothing sight of flowing water, this DIY project offers lasting rewards. The best part? No two waterfalls are alike—yours will reflect your creativity and care.
💬 Have you built your own aquarium waterfall? Share your design tips or photos in the comments below—we’d love to see what you’ve created!