The holiday season in college is special—not just for the break, but for the chance to make your dorm feel like home. A Christmas tree is one of the most festive additions you can bring indoors. But there’s a catch: most dorms have strict rules about damaging walls, which means no nails, screws, or tape that peels paint. That doesn’t mean you have to skip the tradition. With a little creativity and smart planning, you can create a stunning, personalized holiday display that respects your living space while radiating seasonal cheer.
Dorm-friendly decorating is all about working within constraints. The goal isn't just to avoid fines—it's to design something that feels intentional, joyful, and uniquely yours. Whether your tree is a compact floor model, a tabletop version, or even a freestanding wall-hanging alternative, there are countless ways to elevate its look without touching drywall or wood trim. From lighting solutions to thematic ornaments and clever anchoring methods, this guide walks you through how to celebrate the holidays safely, sustainably, and stylishly.
Choose the Right Tree Base and Placement
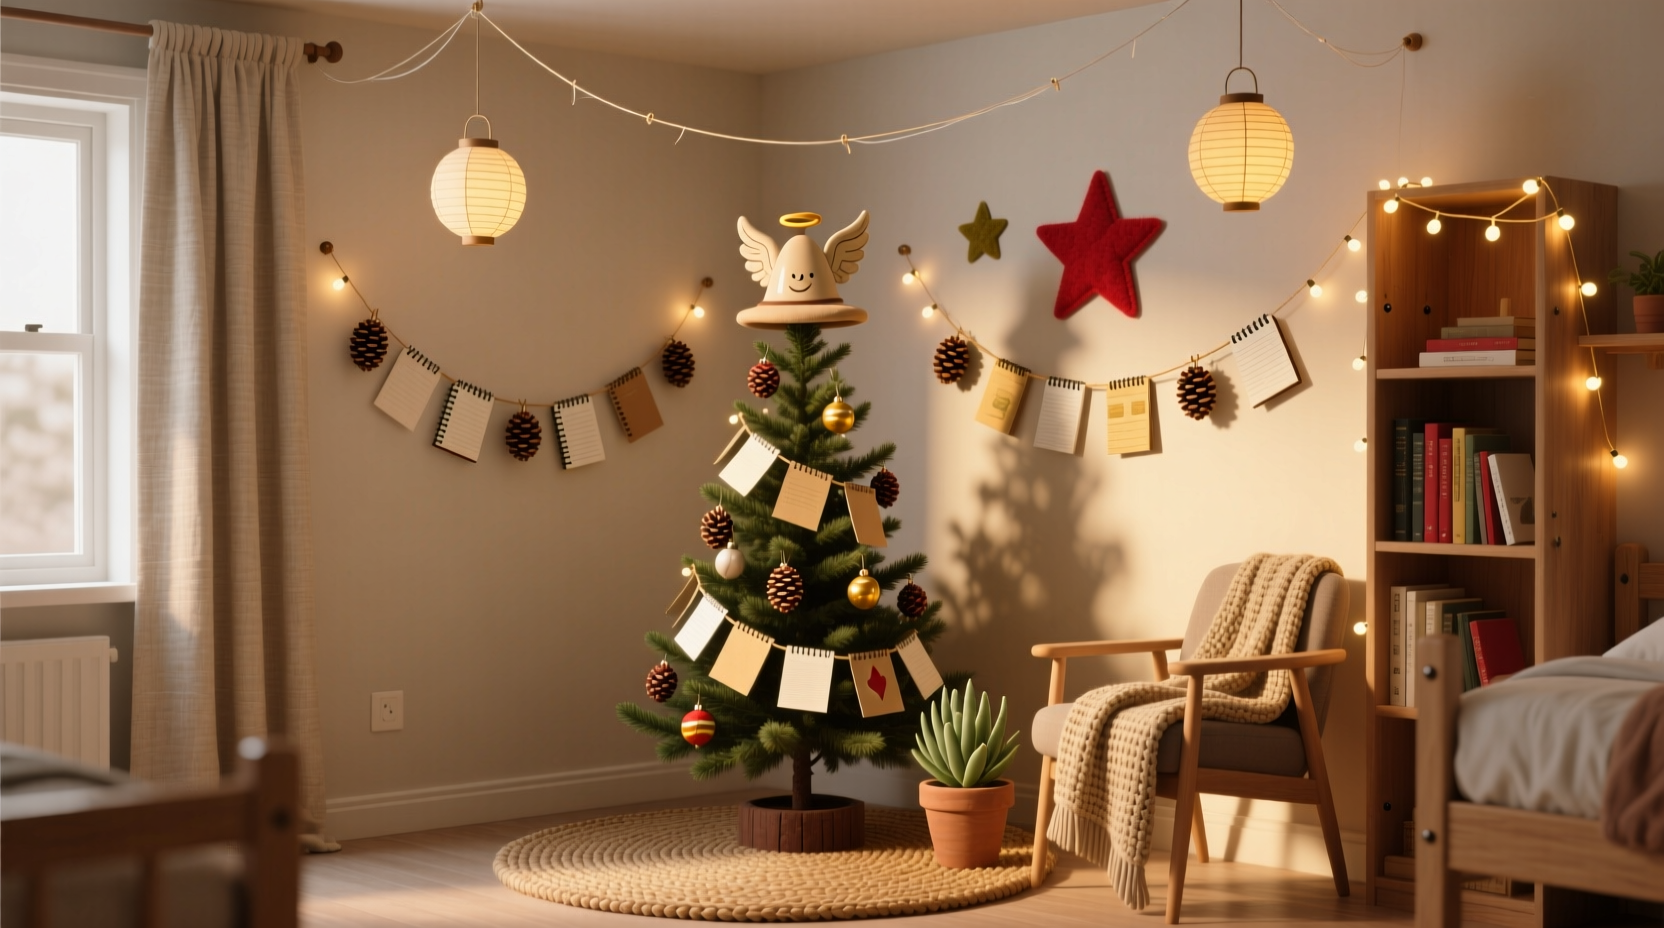
The foundation of any successful dorm tree setup starts with stability and location. Since hanging from walls is off-limits, your tree must stand securely on its own. Start by selecting a tree with a wide, weighted base. Artificial mini trees (3–4 feet tall) often come with metal stands that provide better balance than flimsy plastic ones. If your tree wobbles, reinforce it using removable weight solutions.
Tip: Fill a decorative fabric bag with rice or dried beans and place it discreetly around the base to add weight without visual clutter.Position your tree in a corner where two walls meet. This natural enclosure provides subtle support and makes the tree feel more integrated into the space. Avoid high-traffic areas near doors or desks to prevent accidental bumps. If possible, place it near a power outlet—this simplifies lighting setups and reduces tripping hazards from extension cords.
For students who don’t want a traditional tree at all, consider alternatives like a “tree” made from stacked books painted green, a wire frame shaped into a conifer outline, or a freestanding cardboard cutout decorated with eco-friendly materials. These options take up minimal floor space and can be stored flat after the holidays.
Lighting Without Wires or Wall Damage
String lights are essential for creating a cozy holiday atmosphere—but managing cords in a small dorm room can be tricky. The key is to use battery-operated LED lights instead of plug-in versions. Not only do they eliminate the need for constant access to outlets, but they also reduce fire risk and allow greater placement flexibility.
Opt for warm white or multi-colored micro lights with a timer function. This ensures your tree sparkles each evening without draining batteries unnecessarily. Wrap lights evenly around the branches, starting from the trunk and spiraling outward. For extra dimension, layer two sets—one in a steady glow and another with a gentle twinkle effect.
To manage cord slack, coil excess neatly inside the tree’s base or secure it with reusable adhesive clips designed for light wires. These clips stick firmly to surfaces but remove cleanly—ideal for dorm regulations. Never drape cords across walkways; if necessary, run them along baseboards using removable mounting putty.
“Battery-powered lighting has revolutionized holiday decor for temporary spaces. It gives students full creative control without compromising safety.” — Jordan Lee, Interior Designer & Sustainable Living Advocate
Create a Thematic Ornament Scheme
Ornaments tell a story—and in a dorm room, they’re an opportunity to express personality within tight physical limits. Instead of buying generic decorations, build a cohesive theme that reflects your interests, major, hometown, or favorite holiday memories.
Some popular low-cost themes include:
- Literary Christmas: Miniature book-shaped ornaments, quotes from classic novels, tiny spectacles as accents.
- Travel-Inspired: Tiny landmarks (Eiffel Tower, Statue of Liberty), souvenir tags, map-printed balls.
- DIY Crafted: Handmade salt dough shapes, painted pinecones, origami stars.
- Retro Pop Culture: Characters from childhood shows, vintage movie tickets, cassette tape garlands.
Use lightweight materials only. Heavy glass or ceramic ornaments increase tipping risk and aren’t practical for small trees. Instead, choose foam, felt, paper, or plastic pieces. You can personalize them with markers, glue-on gems, or washi tape designs.
Hanging techniques matter too. Rather than relying on metal hooks—which can scratch branches—tie ornaments directly onto limbs using thin ribbon, fishing line, or baker’s twine. These materials blend into the foliage and hold securely without damaging the tree structure.
Table: Ornament Material Comparison
| Material | Pros | Cons | Best For |
|---|---|---|---|
| Foam | Lightweight, affordable, easy to paint | Can degrade over time | Themed customization |
| Felt | Soft, sewable, quiet | Not shiny or reflective | Cozy, handmade aesthetic |
| Paper/Cardstock | Eco-friendly, printable designs | Fragile, not reusable | One-time displays |
| Plastic (shatterproof) | Durable, glossy finish | Less eco-friendly | Long-term reuse |
Decorate Around the Tree, Not Just On It
Your tree doesn’t have to be the only focal point. Expand the festive vibe by decorating the surrounding area in complementary ways. Use the desk, shelves, door, and windowsill to extend the theme without altering permanent fixtures.
Place matching holiday-themed items nearby: a scented candle (if allowed), a mug with peppermint tea, a knitted throw draped over a chair. These touches enhance ambiance and make the entire space feel curated.
Hang a festive banner above your desk or window using removable adhesive hooks. String together paper snowflakes, mini stockings, or photo cards with clips. Avoid taping anything directly to walls—even painter’s tape can leave residue after weeks.
Another idea: create a “gift wrap gallery” by framing leftover holiday wrapping paper in dollar-store frames. Arrange them on a shelf or lean them against the wall behind the tree. This adds color and texture without requiring any mounting hardware.
Mini Case Study: Emily’s Dorm Room Transformation
Emily, a sophomore biology major at a midwestern university, wanted to bring holiday joy to her 10x12 dorm room without violating housing policies. She started with a 3.5-foot pre-lit artificial tree placed in the corner between her closet and bed. To stabilize it, she wrapped the base with a plaid scarf filled with dry lentils—a dual-purpose solution that doubled as decor.
She chose a “science lab meets Santa” theme, crafting ornaments shaped like DNA strands, test tubes with fake snow, and tiny lab goggles. Lights were battery-powered with a dusk-to-dawn sensor so they turned on automatically each night. Around the tree, she arranged petri dish trays holding cinnamon oranges and pine sprigs, and hung a chalkboard sign that read “Let it snow… mutations!”
By focusing on creativity rather than scale, Emily created a memorable centerpiece that drew compliments from residents and staff alike—all without using a single nail or permanent adhesive.
Step-by-Step Guide: Setting Up Your Damage-Free Dorm Tree
- Select your tree type: Choose a freestanding artificial tree under 4 feet tall with a sturdy base.
- Pick a safe location: Place it in a corner away from foot traffic and near a power source if needed.
- Add weight if necessary: Use soft, removable weights (rice bags, textbooks covered in fabric) around the base.
- Attach battery-powered lights: Wind them from trunk to tips, securing loose ends inside the base.
- Design a theme: Decide on a unifying concept before purchasing or making ornaments.
- Hang lightweight decorations: Use ribbons or fishing line instead of metal hooks.
- Enhance the surroundings: Add complementary decor on desks, doors, and shelves using non-damaging adhesives.
- Review safety: Ensure cords don’t create tripping hazards and lights turn off when unattended.
FAQ
Can I use Command Strips on my dorm walls?
Many dorms allow Command Strips for lightweight items like posters or mirrors, but always check your housing agreement first. Even approved adhesives should be used sparingly and removed carefully at the end of the year to avoid fees.
What if my tree keeps falling over?
If your tree is unstable, try placing it in a larger decorative planter filled with sand or gravel for added ballast. Alternatively, wedge it gently between furniture (like a desk and wall) for passive support—just ensure it won’t get knocked during daily use.
Are real trees ever allowed in dorm rooms?
Most colleges prohibit real Christmas trees due to fire hazards and allergens. Always confirm with campus housing before considering one. Artificial trees are safer, reusable, and easier to store.
Checklist: Damage-Free Dorm Tree Setup
- ☐ Confirm tree height and base stability
- ☐ Choose battery-powered LED lights
- ☐ Select a fun, personal theme
- ☐ Use only lightweight, non-breakable ornaments
- ☐ Secure tree base with removable weights
- ☐ Avoid nails, tape, or permanent adhesives
- ☐ Decorate surrounding surfaces creatively
- ☐ Test light timers and safety clearances
- ☐ Take photos to remember your creation!
Conclusion
Decorating a dorm room Christmas tree without damaging walls isn’t a limitation—it’s an invitation to innovate. When you can’t rely on traditional mounting methods, you discover smarter, more thoughtful ways to celebrate. From themed ornaments to strategic lighting and clever stabilization tricks, every choice becomes part of a larger expression of creativity and care.
Your dorm may be temporary, but the memories you make there don’t have to be. A well-decorated tree can become a centerpiece of holiday gatherings, late-night talks, and seasonal selfies shared with family back home. It signals warmth in a space that might otherwise feel institutional. And best of all, it proves that comfort and compliance can coexist.
💬 Ready to deck your dorm halls? Share your tree theme ideas or DIY tips in the comments—let’s inspire a season of smart, joyful decorating!