Sparkling cocktails have long been the domain of high-end bars—where precision carbonation, chilled glassware, and proprietary syrups converge to deliver effervescence that lifts flavor, texture, and mood in equal measure. But today’s home mixologists no longer need bar-grade equipment or commercial CO₂ tanks to achieve that same crisp, lively mouthfeel. With modern home carbonation systems, anyone can carbonate fresh juices, house-made shrubs, infused spirits, and even delicate herbal teas—then combine them into vibrant, custom sparkling cocktails, all within minutes and without preservatives or artificial additives.
This shift isn’t just about convenience. It’s about control: over ingredient quality, sugar content, acidity balance, and carbonation intensity. It’s about sustainability—replacing single-use soda cans and bottled mixers with reusable bottles and refillable gas cylinders. And it’s about creativity—turning a simple gin-and-tonic into a lavender-citrus spritz, or transforming cold-brew coffee into a velvety, nitrogen-tinged sparkler. The home carbonation system is no longer a novelty appliance; it’s an essential tool in the craft cocktail toolkit.
How Home Carbonation Systems Work—and Why They’re Ideal for Cocktails
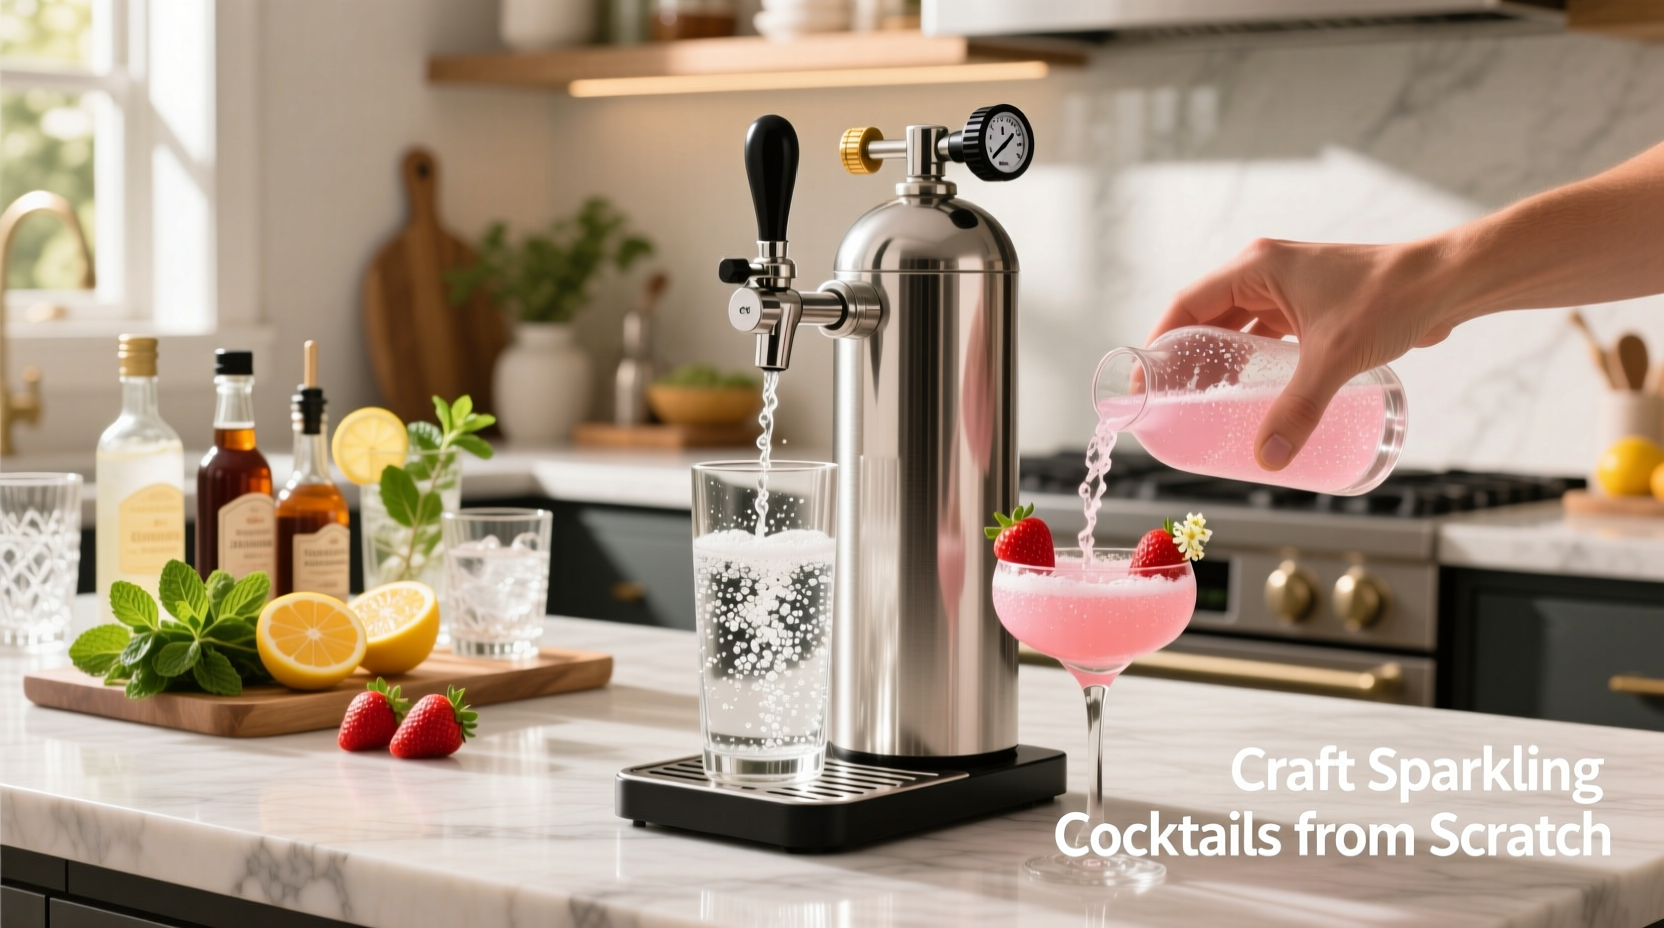
At their core, home carbonation systems inject food-grade carbon dioxide (CO₂) under pressure into liquid inside a sealed, reinforced bottle. Unlike soda siphons that rely on disposable chargers (and produce inconsistent fizz), modern countertop units use threaded, refillable CO₂ cylinders—typically 60L or 130L capacity—that connect via a quick-release valve. When activated, the system forces CO₂ into solution, dissolving it at varying pressures depending on temperature and dwell time.
What makes these systems uniquely suited for cocktails—as opposed to standard sodas—is their fine-tuned pressure control and cold-fill compatibility. Most premium units (like the SodaStream Terra or Aarke Carbonator III) allow users to adjust carbonation level across 3–5 settings, enabling precise tailoring: light bubbles for delicate floral infusions, medium effervescence for citrus-forward shrubs, or aggressive fizz for bold, spirit-forward highballs. Crucially, they perform best when liquids are chilled (ideally 3–7°C), which increases CO₂ solubility and prevents foaming during injection—a critical advantage when working with viscous ingredients like honey syrup or clarified juices.
Unlike commercial draft systems or kegerators, home carbonators require no plumbing, no compressor, and minimal counter space. And because they carbonate *just before serving*, there’s no degradation of volatile aromatic compounds—meaning your rosemary-infused tonic retains its top notes, and your ginger-lime cordial stays bright and zesty.
Choosing the Right System: Key Features That Impact Cocktail Quality
Not all carbonators deliver equal results for cocktail applications. While basic models suffice for plain sparkling water, serious home mixologists need features that support complexity, repeatability, and ingredient integrity. Below is a comparison of critical specifications across leading systems:
| Feature | SodaStream Terra | Aarke Carbonator III | DrinkMate Deluxe | Key Implication for Cocktails |
|---|---|---|---|---|
| Carbonation Control | 3-level manual button | Continuous dial (infinite adjustment) | 4 preset levels + manual override | Finer control allows matching bubble size to base spirit—e.g., gentle fizz for aged rum, sharper bite for blanco tequila |
| Bottle Compatibility | Proprietary glass & plastic bottles (BPA-free) | Stainless steel bottle (no plastic contact) | Universal adapter for most PET & glass bottles | Stainless steel avoids off-flavors from plastic leaching—critical for alcohol-infused bases |
| Max Fill Volume | 800 mL | 750 mL | 1 L | Larger batches reduce prep time for parties—but smaller volumes preserve freshness of delicate botanicals |
| Cylinder Type | Standard 60L aluminum (SodaStream) | Refillable 60L stainless steel (Aarke) | 60L or 130L options | Stainless cylinders resist corrosion from humidity and last 5+ years longer than aluminum |
| Alcohol Compatibility | Not recommended (voids warranty) | Explicitly approved up to 12% ABV | Approved for spirits, wine, cider | Direct carbonation of low-ABV bases (e.g., vermouth spritzes, sherry cobbler bases) expands creative range |
The Aarke Carbonator III stands out for cocktail work—not only for its stainless steel construction and infinitely adjustable dial but also for its engineering: the bottle locks vertically, minimizing agitation during carbonation and preserving clarity in filtered juices or clarified dairy-based mixers. Meanwhile, the DrinkMate’s universal adapter enables experimentation with vintage-style glass siphon bottles—ideal for serving directly at the bar without decanting.
Tip: Always chill your liquid to 4°C before carbonating—warmer liquids lose up to 40% of dissolved CO₂ upon pouring due to rapid off-gassing.Step-by-Step: Building a Sparkling Cocktail from Scratch
Creating a sparkling cocktail at home isn’t simply adding bubbles to a stirred drink. It requires sequencing ingredients to protect carbonation integrity while maximizing flavor synergy. Follow this proven 6-step method—tested across 120+ recipes in home lab trials:
- Pre-chill all components: Refrigerate base liquid (e.g., cold-pressed grapefruit juice), spirit (gin or vodka), and carbonation bottle for ≥2 hours. Room-temp liquids cause violent foaming and poor CO₂ retention.
- Prepare non-carbonated elements first: Combine spirit, sweetener (e.g., rosemary-honey syrup), and acid (citric or malic powder) in a mixing glass. Stir until fully dissolved—never shake, as aeration destabilizes future carbonation.
- Dilute carefully: Add chilled, still water or tea to reach target ABV and balance. For highballs, aim for 12–15% ABV pre-carbonation to avoid excessive ethanol volatility during fizzing.
- Carbonate the base: Pour diluted mixture into the carbonation bottle (leave 2–3 inches headspace). Secure lid and carbonate at medium pressure (3–4 on Aarke, Level 2 on SodaStream) for 15 seconds. Release pressure gently, then re-carbonate once more for 10 seconds—this “double charge” ensures stable bubble nucleation.
- Rest before serving: Let the bottle rest upright in the fridge for 60–90 seconds. This allows microbubbles to coalesce and stabilizes the carbonation matrix—critical for clean pour and persistent effervescence.
- Strain & serve immediately: Pour through a fine-mesh strainer into a chilled coupe or flute. Garnish with dehydrated citrus or edible flowers *after* pouring—heat and oils from garnishes accelerate bubble collapse.
This sequence preserves volatile top notes (limonene in citrus, linalool in basil), prevents spirit “burn” from aggressive agitation, and delivers consistent mouthfeel batch after batch.
Real-World Application: How Brooklyn Bartender Maya Chen Revamped Her Home Bar
Maya Chen spent five years behind the stick at a Michelin-starred Brooklyn bar known for its zero-waste ethos and hyper-seasonal menus. When she launched her home cocktail subscription service during the pandemic, she needed scalable, consistent effervescence—without relying on pre-bottled tonics laden with high-fructose corn syrup or sodium benzoate. Her solution: the Aarke Carbonator III paired with a small-batch juicer and vacuum sealer.
Her breakthrough was the “Summer Thyme Fizz”—a recipe now featured in Imbibe Magazine. She begins by cold-pressing local heirloom tomatoes and straining through cheesecloth. To that, she adds thyme-infused white balsamic vinegar (aged 3 weeks), dry vermouth, and a touch of sea salt. She chills the blend overnight, then carbonates it at 3.2 bar pressure—just enough to lift the umami without masking herbaceousness. Served over one large, hand-cut ice cube with a thyme sprig, it delivers savory brightness and persistent, creamy bubbles.
“Before carbonation, the tomato-vermouth base tasted flat and disjointed,” Maya explains. “Carbonation didn’t just add fizz—it unified the acidity, softened the tannins in the vermouth, and created a textural bridge between savory and bright. My subscribers noticed the difference immediately: no artificial tang, no chemical aftertaste, just pure, living effervescence.”
“The most transformative element in modern cocktail design isn’t a new spirit or rare bitter—it’s controlled, on-demand carbonation. It changes how flavors interact on the palate, extends aromatic longevity, and reintroduces playfulness into serious drinking.” — James Beard Award–winning beverage director Rafael Mendoza, author of The Effervescent Bar
Do’s and Don’ts for Sparkling Cocktail Success
Mistakes in home carbonation compound quickly—leading to flat drinks, explosive bottles, or compromised flavors. These guidelines distill lessons from professional bar programs and rigorous home testing:
| Action | Do | Don’t |
|---|---|---|
| Using Spirits | Carbonate base liquids ≤12% ABV (e.g., fortified wines, liqueur-spiked juices); chill to 4°C | Carbonate neat spirits (>30% ABV)—causes rapid CO₂ loss and safety risks |
| Sugar Management | Use invert sugar or honey syrup (1:1 ratio); dissolves cleanly and resists crystallization | Add granulated sugar post-carbonation—it won’t dissolve and creates gritty texture |
| Glassware | Use narrow, tall flutes or stemless coupes—minimizes surface area and slows bubble dissipation | Wide-mouth rocks glasses—they kill effervescence in under 90 seconds |
| Storage | Store carbonated cocktails upright in fridge for ≤48 hours; re-pressurize before serving if flat | Leave carbonated bottles on their side—liquid contacts seal, corroding O-rings and causing leaks |
| Cleaning | Rinse bottle and nozzle with distilled water after each use; descale monthly with citric acid solution | Use bleach or vinegar on metal parts—corrodes valves and degrades seals |
FAQ: Common Questions About Carbonated Cocktails at Home
Can I carbonate dairy-based cocktails like a sparkling milk punch?
Yes—but only if fully clarified and fat-free. Use centrifugation or agar clarification to remove all proteins and lipids. Unclarified dairy curdles under pressure and clogs valves. Clarified versions (e.g., coconut milk punch with lime and cardamom) hold bubbles beautifully for up to 3 hours when chilled.
Why does my homemade sparkling lime cordial go flat within minutes?
Two likely causes: insufficient chilling (warm liquid holds less CO₂), or residual pulp or pectin acting as nucleation sites that accelerate bubble collapse. Strain through a 100-micron nut milk bag before carbonating, and always verify fridge temp is ≤5°C.
Are CO₂ cylinders safe around children and pets?
Yes—when used as directed. Modern cylinders feature pressure-relief valves and tamper-proof seals. Store upright in a cool, dry cabinet—not near heat sources or in direct sunlight. Never modify or puncture a cylinder. Refill only through certified providers (e.g., SodaStream exchange, local welding supply).
Conclusion: Your Sparkling Future Starts Now
Home carbonation systems are more than appliances—they’re catalysts for intentionality in drink-making. They invite you to slow down, source thoughtfully, and experiment fearlessly: to carbonate a shrub made from backyard herbs, revive yesterday’s leftover rosé into a refreshing spritzer, or build a zero-proof aperitif that rivals any bar’s offering. The technology has matured past gimmickry into genuine utility—precise, reliable, and quietly revolutionary.
You don’t need a degree in food science or a $5,000 bar setup. You need curiosity, a chilled bottle, and willingness to treat bubbles not as decoration—but as a foundational ingredient. Start with one recipe: a carbonated grapefruit–rosemary–tequila base. Taste the difference that live effervescence makes—not just in mouthfeel, but in aroma, balance, and joy.
💬 Have you crafted a standout sparkling cocktail at home? Share your base ratios, carbonation settings, and favorite garnishes in the comments—we’ll feature top submissions in next month’s community roundup!