Large capacity backpacks offer unmatched versatility for extended trips, daily commutes, or outdoor adventures. However, their size can quickly become a liability if not organized strategically. A cluttered pack leads to wasted time, frustration, and inefficient weight distribution. The key to unlocking a high-volume backpack’s full potential lies in intentional organization—balancing accessibility, weight management, and space utilization. This guide delivers actionable strategies used by seasoned travelers, hikers, and urban commuters to optimize every cubic inch of their gear.
Understand Your Backpack’s Design and Zones
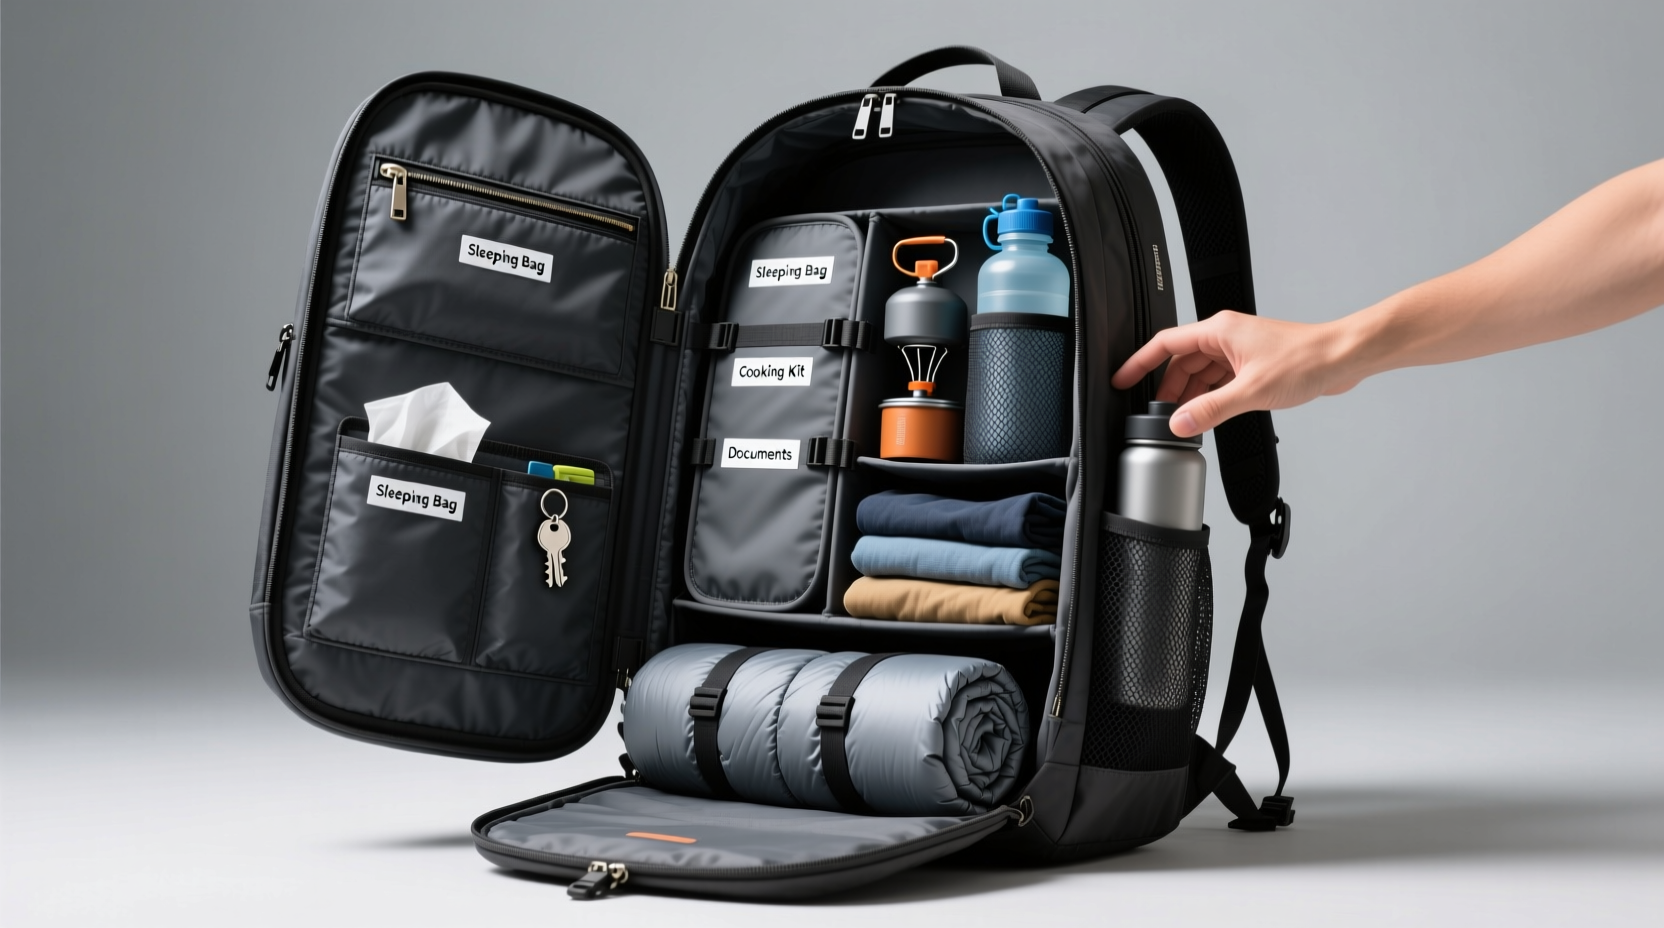
Before loading anything, take time to study your backpack’s architecture. Most large-capacity models (40L and above) are designed with distinct compartments that serve specific functions:
- Main compartment: Holds bulkier, less frequently accessed items like clothing, sleeping bags, or textbooks.
- Secondary compartment: Often located behind the main chamber; ideal for laptops, folders, or delicate electronics.
- Front organizational panel: Pockets with dividers for small tools, pens, chargers, or first-aid supplies.
- Side pockets: Stretch mesh or rigid sleeves for water bottles, tripods, or umbrellas.
- Bottom compartment: Some packs feature a separate base section for shoes or wet gear.
- Top lid pocket: Perfect for passports, snacks, or keys—items needed quickly.
Knowing where each zone excels allows you to assign contents based on frequency of use, weight, and sensitivity. Heavy items should sit close to your back and centered between your shoulder blades to maintain balance. Lighter, bulkier items go toward the top or outer edges.
Tip: Use color-coded packing cubes to instantly identify categories like toiletries, electronics, or workout clothes.Step-by-Step: How to Pack Strategically
Follow this proven sequence to maximize both space and accessibility:
- Empty and clean the backpack. Remove dust, crumbs, or lingering moisture to prevent odors and damage.
- Gather all intended items. Lay them out to assess volume and necessity—this prevents overpacking.
- Categorize belongings. Group into logical sets: clothing, tech, hygiene, food, documents, etc.
- Use packing cubes or compression sacks. These compress soft items and create modular units that fit neatly into zones.
- Load from bottom to top. Start with heavier, less-accessed items at the base near your back. Place medium-weight gear in the middle, and lighter items at the top.
- Place daily essentials in accessible pockets. Phone, wallet, sunglasses, and hand sanitizer should be within reach without unpacking.
- Secure loose straps. Velcro or tuck away dangling cords to avoid snagging or imbalance.
- Test the carry. Wear the loaded backpack and walk around. Adjust until weight feels balanced and comfortable.
This method ensures you’re not just filling space—you’re engineering it for real-world usability.
Do’s and Don’ts of Backpack Organization
| Do | Don’t |
|---|---|
| Pack heavy items close to your spine | Place heavy objects at the bottom or far from your back |
| Use labeled packing cubes for quick identification | Mix unrelated items in the same pouch |
| Keep emergency items in the top lid or side pockets | Bury critical gear like medication or ID deep inside |
| Roll soft clothing to save space and reduce wrinkles | Fold bulky items loosely, wasting vertical space |
| Carry liquids in sealed, leak-proof containers inside waterproof bags | Store toiletries directly in main compartments without protection |
Real-World Example: A Business Traveler’s 5-Day Trip
Sarah, a consultant who travels weekly between cities, uses a 45L travel backpack instead of rolling luggage. Her strategy reflects smart organization under constraints:
- She uses three packing cubes: one for shirts and blouses, one for underwear/socks, and one for gym clothes.
- A padded laptop sleeve in the rear compartment keeps her 15-inch device secure and easily removable for airport screening.
- Her toiletry kit is in a clear, zip-seal bag stored in the front panel—quick access during hotel stays.
- The top pocket holds her passport, noise-canceling headphones, and a pen.
- She rolls dress shirts and places them vertically like files, minimizing creases and allowing visibility.
Despite carrying professional attire, tech, and personal care items, Sarah never needs to fully unpack. She retrieves what she needs within seconds, maintains even weight distribution, and avoids airline fees. Her system saves time, reduces stress, and proves that organization isn’t about perfection—it’s about practicality.
“Efficient packing starts with knowing what you actually need—not what you think you might use.” — David Lin, Gear Optimization Coach for Digital Nomads
Essential Accessories for Maximum Efficiency
Certain tools transform a good packing system into a great one:
- Packing cubes: Available in multiple sizes and compression styles. Choose durable, lightweight fabrics with zippers that glide smoothly.
- Electronics organizer: A padded, multi-pocket pouch keeps cables, power banks, and adapters tangle-free.
- Shoe sack: Prevents dirt transfer. Ideal for hiking boots or dress shoes.
- Hydration bladder: If your backpack supports it, a built-in water reservoir frees up bottle pockets.
- Weight distribution straps: Hip and chest straps transfer load from shoulders to core, especially important when carrying 20+ pounds.
FAQ: Common Backpack Organization Questions
How do I prevent my backpack from becoming top-heavy?
Ensure the heaviest items—like books, laptops, or food—are packed in the center of the main compartment, close to your back. Avoid placing dense objects in the top lid or upper sections, which shift your center of gravity forward and strain your neck.
What’s the best way to organize cables and chargers?
Use a dedicated electronics pouch with internal elastic loops and mesh pockets. Bundle each cable around a credit card or use velcro ties. Label each plug end with colored tape to distinguish USB-C from Lightning or micro-USB.
Can I use the same system for hiking and urban commuting?
Yes—with adjustments. For hiking, prioritize weather resistance, weight balance, and quick access to rain gear and snacks. In urban settings, security (zipper locks), laptop protection, and style integration matter more. Adapt your zones accordingly, but keep the core principle: frequent-use items go to the front and top.
Final Checklist: Optimize Your Pack in 10 Minutes
- Empty and wipe down all compartments.
- Sort items into functional categories.
- Select appropriate packing cubes or pouches.
- Load heavy items near your back and mid-back level.
- Place daily essentials in top or front pockets.
- Store liquids in sealed, upright containers with absorbent padding.
- Roll soft garments; bundle-wrap wrinkle-sensitive pieces.
- Secure loose straps and test carry weight.
- Label external pockets if needed for instant recognition.
- Reassess after first use—adjust based on real-world experience.
Conclusion: Turn Chaos Into Control
A large capacity backpack isn’t just about how much you can carry—it’s about how intelligently you carry it. With deliberate zoning, strategic layering, and the right accessories, you transform a bulky bag into a streamlined command center. Whether you're boarding a flight, hiking a mountain trail, or navigating a busy campus, an optimized pack gives you confidence, comfort, and control. Stop digging through layers of forgotten items. Apply these principles today, refine them with use, and make efficient organization a habit that travels with you.
🚀 Ready to reclaim your backpack? Grab it now, empty it out, and rebuild your system using this guide. Share your before-and-after tips in the comments!