In a world where phones are both essential tools and personal accessories, customizing them has become a meaningful form of self-expression. A well-designed phone charm not only adds visual flair but also serves as a tactile extension of your identity. Whether you're drawn to minimalist elegance, kawaii cuteness, or bohemian textures, creating a charm that aligns with your aesthetic is easier than you think. This guide walks you through the process with practical advice, design principles, and actionable steps to craft a one-of-a-kind accessory that feels uniquely yours.
Why Personalize Your Phone with a Charm?
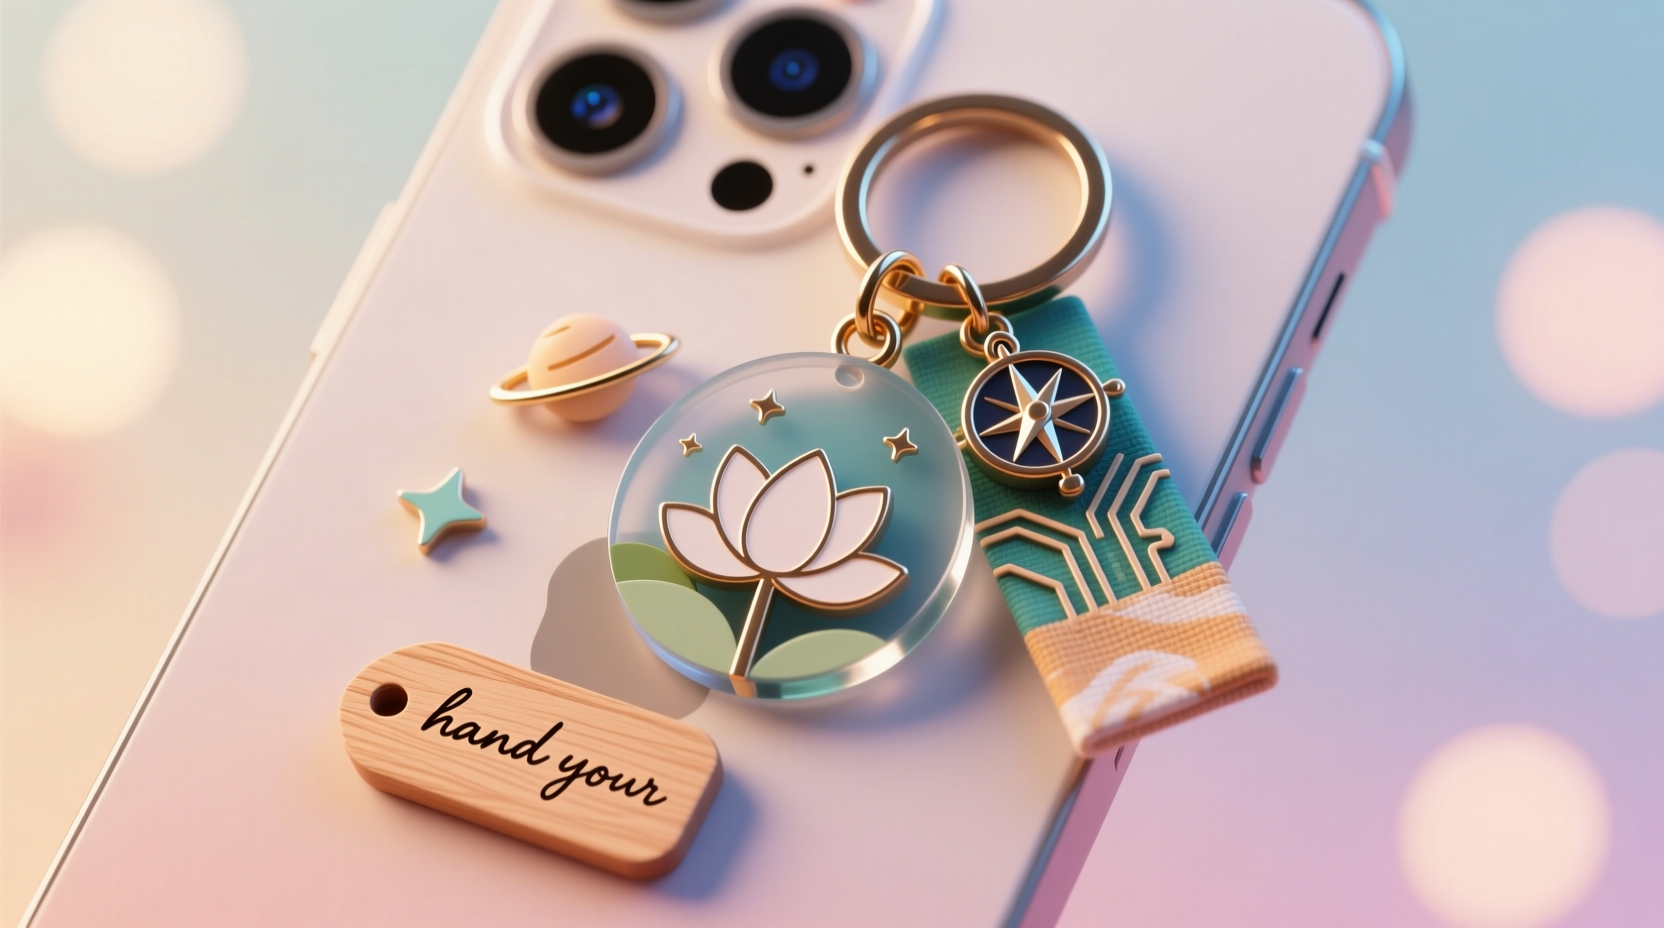
Phone charms go beyond decoration—they anchor memories, reflect moods, and spark conversations. In Japan and South Korea, where phone charm culture originated, they’re seen as extensions of personal fashion. Today, they’ve evolved into global symbols of individuality. A charm can commemorate a trip, celebrate a hobby, or simply bring joy every time you reach for your device.
“Accessories like phone charms allow people to reclaim small moments of creativity in daily routines.” — Lena Park, Lifestyle Designer & Trend Analyst
Beyond aesthetics, a personalized charm can improve grip, reduce accidental drops, and make your phone easier to identify in a crowd. Most importantly, it turns an everyday object into a canvas for storytelling.
Design Principles for a Cohesive Aesthetic
Before gathering materials, define the visual language of your charm. A strong aesthetic isn’t just about colors—it’s about consistency in theme, texture, and symbolism.
- Color Palette: Choose 2–4 complementary colors that match your usual wardrobe or phone case.
- Theme: Are you going for vintage, nature-inspired, cyberpunk, or cottagecore? Pinpointing a theme streamlines decision-making.
- Texture Balance: Mix soft (fabric, tassels) with hard (resin, metal) elements for depth.
- Symmetry vs. Asymmetry: Symmetrical designs feel orderly; asymmetrical ones add playful energy.
Materials and Tools You’ll Need
You don’t need expensive supplies to create something beautiful. Most items can be found at craft stores, repurposed from old jewelry, or even scavenged from household items.
| Material Type | Common Uses | Tips for Use |
|---|---|---|
| Acrylic charms | Base elements with printed designs | Choose flat-backed ones for layered looks |
| Pony beads & seed beads | Adding color and pattern | Use thin wire or nylon thread for precision |
| Tassels & pom-poms | Adding movement and softness | Trim ends evenly for a polished finish |
| Jump rings & lobster clasps | Connecting components securely | Use pliers to open/close without warping |
| Epoxy resin & molds | Custom shapes with embedded items | Cure in dust-free area for 24 hours |
Essential tools include round-nose pliers, wire cutters, glue (E6000 recommended), scissors, and a ruler for measuring chain lengths.
Step-by-Step Guide to Building Your Charm
- Define Your Style Anchor: Pick one central element—like a star-shaped charm, a tiny book pendant, or a pressed flower in resin—that will serve as the focal point.
- Select Supporting Elements: Choose 2–3 complementary pieces. For example, if your anchor is a moon charm, pair it with silver stars and a lavender-scented bead.
- Plan the Layout: Lay out all components on a table. Experiment with order and spacing. Take a photo to remember your favorite arrangement.
- Begin Assembly: Start with the top connector—attach a jump ring to your charm’s loop. Then link chains or cords downward in your planned sequence.
- Incorporate Movement: Add a small swivel clasp between sections so parts can rotate independently, giving the charm life when handled.
- Secure the Phone Loop: Finish with a sturdy lobster clasp or silicone O-ring compatible with your phone model. Ensure it’s tight and won’t slip off easily.
- Test and Adjust: Clip it onto your phone. Check balance—does it tilt? Is it too heavy? Trim or reposition as needed.
Mini Case Study: Maya’s Kawaii Study Buddy Charm
Maya, a college student in Portland, wanted a charm that boosted her mood during long study sessions. She chose a pastel pink acrylic cat charm as her centerpiece, symbolizing comfort. She added tiny bead-studded books, a miniature coffee cup charm, and a glittery heart tassel. To personalize it further, she sealed a handwritten note (“You’ve got this!”) inside a clear resin drop.
The result became her “study buddy”—a tactile reminder of self-care. Classmates began asking where they could buy one, unaware it was handmade. Maya later started a small Etsy shop, turning her charm concept into a side hustle.
Creative Tips to Elevate Your Design
- Embed Meaningful Items: Tiny photos, fabric from a favorite shirt, or sand from a memorable beach can turn a charm into a keepsake.
- Play with Light: Use holographic film, iridescent beads, or glow-in-the-dark resin for dynamic effects.
- Add Scent: Infuse felt pads with essential oils (lavender, citrus) and seal them in perforated metal capsules.
- Seasonal Rotation: Create themed charms—pumpkins for fall, snowflakes for winter—and swap them monthly.
- Limited Edition Runs: Make a “series” of charms based on your zodiac signs, favorite books, or travel destinations.
“Personalization transforms objects from functional to emotional. A charm isn’t just decoration—it’s a portable memory.” — Diego Mendez, Product Designer & Craft Educator
Checklist: Before You Finalize Your Charm
- ✅ All connections are secure and closed tightly
- ✅ Weight is balanced and doesn’t pull the phone sideways
- ✅ No sharp edges that could scratch your phone or skin
- ✅ The top clasp fits snugly on your phone’s loop or case attachment
- ✅ Personal elements are sealed (especially paper or fabric)
- ✅ You’ve tested durability by gently shaking the charm
FAQ
Can I make a phone charm without using glue or resin?
Absolutely. Many charms rely solely on mechanical connections—jump rings, chains, and crimp beads. Just ensure each link is fully closed to prevent disassembly.
How do I clean my handmade phone charm?
Wipe gently with a dry microfiber cloth. For fabric or tassels, use a cotton swab dampened with rubbing alcohol. Avoid soaking, especially if your charm contains paper or wood.
Are phone charms safe for all devices?
Most modern phones support lightweight charms via case attachments or lanyard loops. Avoid hanging heavy charms directly from charging ports, as this can damage internal connectors over time.
Final Thoughts and Call to Action
Crafting a phone charm is more than a DIY project—it’s an act of intentional self-representation. In just an hour or two, you can create something that travels with you, surfaces in photos, and brings a smile every time you unlock your screen. The best part? There are no rules, only possibilities.
Your charm doesn’t have to be perfect. It just has to feel like *you*. So gather your materials, trust your instincts, and start assembling. When you’re done, take a photo and share it online—tag a friend who’d love to make one too. Who knows? You might inspire a new wave of tiny, meaningful artistry, one charm at a time.
💬 What story does your charm tell? Share your creation ideas or tag us in your photos—we’d love to see how you express yourself through this small but powerful detail.