Customizing a baseball cap is more than just a craft—it’s a way to express individuality, commemorate an event, or create a signature accessory that stands out. Whether you're designing for personal use, a gift, or a small business venture, the process allows for endless creativity. With basic materials and attention to detail, anyone can transform a plain cap into a wearable piece of art. This guide walks through every stage—from planning your design to final touches—so you can achieve professional-looking results at home.
1. Planning Your Design Concept
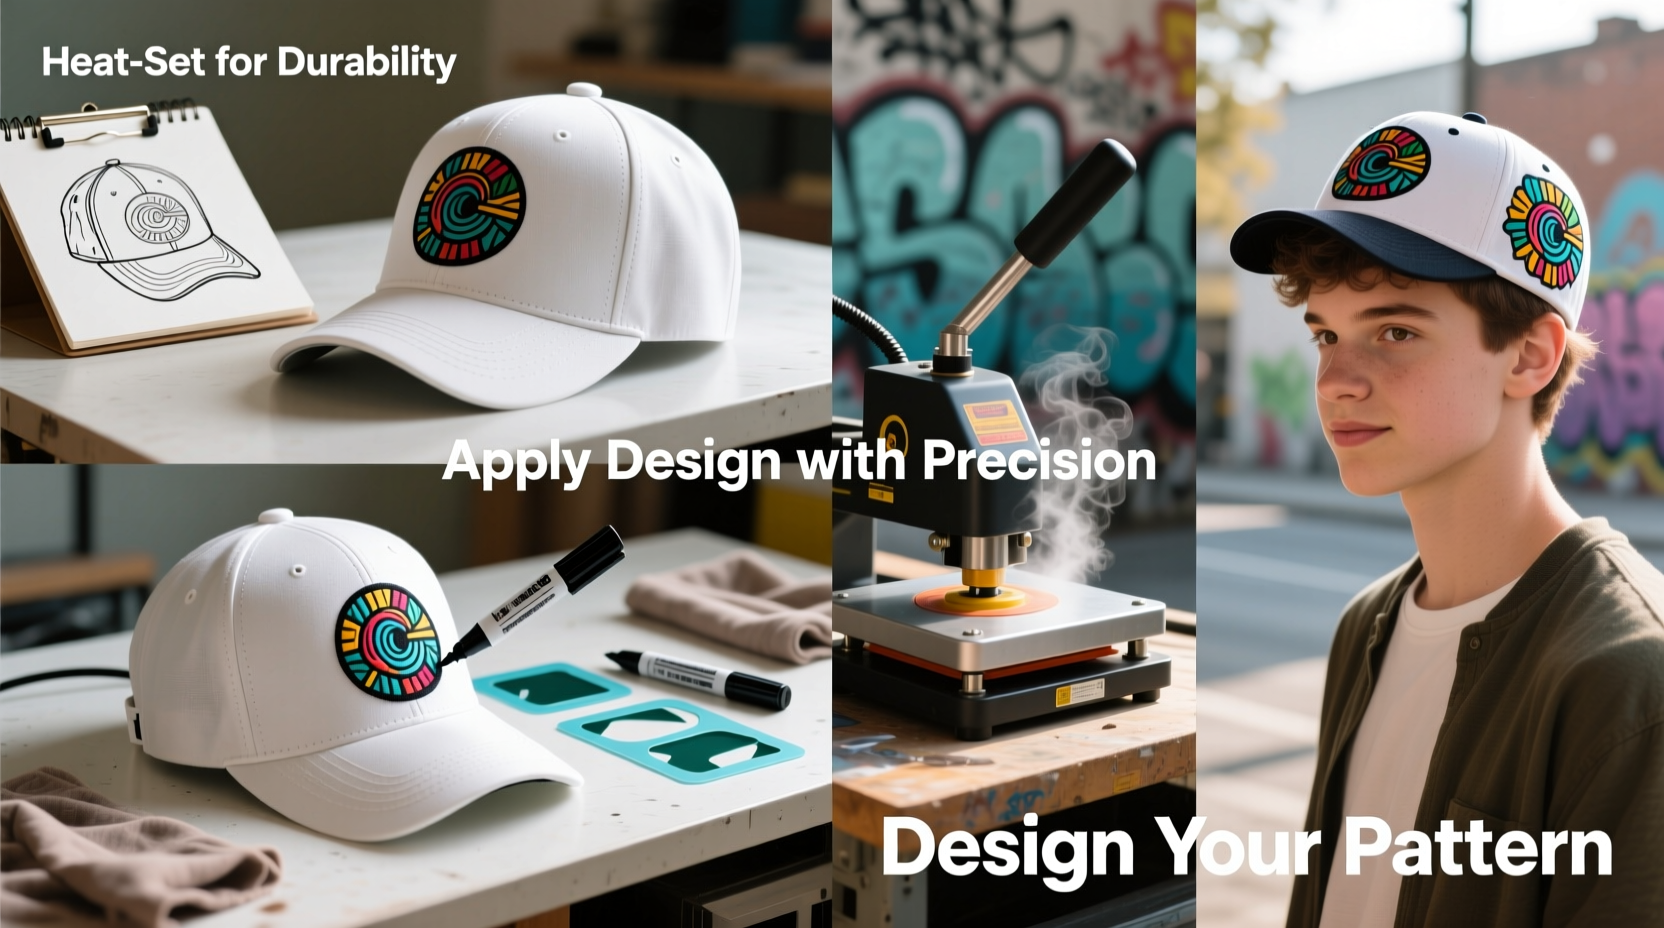
Before picking up a needle or paintbrush, take time to develop a clear vision. The best custom caps reflect personality, purpose, and aesthetic balance. Start by asking yourself: What message or mood do I want this cap to convey? Is it bold and graphic, subtle and elegant, or playful and whimsical?
Sketching your idea on paper helps refine proportions and placement. Most people choose the front panel for primary designs, but side panels, brim edges, and even the back strap can be customized. Consider symmetry, color contrast, and readability—especially if incorporating text.
Tip: Use digital tools like Canva or Adobe Illustrator to mock up your design in proportion to a standard cap front panel (typically 5” x 3”).Think about durability too. A cap worn outdoors should have weather-resistant elements. If the design includes logos or brand references, ensure you have rights to use them to avoid legal issues.
2. Gathering Materials and Tools
The right supplies make the difference between a rushed project and one with polished results. Depending on your chosen method—embroidery, fabric paint, patches, or iron-ons—you’ll need specific tools.
| Customization Method | Essential Materials | Optional Enhancements |
|---|---|---|
| Embroidery | Fabric marker, embroidery floss, needle, stabilizer, hoop | Pattern transfer pen, thimble, thread conditioner |
| Fabric Paint | Acrylic fabric paint, fine brushes, painter’s tape, stencil | Spray fixative, palette, liner brush |
| Patches | Sew-on or iron-on patch, thread, needle or glue | Double-sided fusible webbing, sewing machine |
| Iron-On Transfers | Printed transfer sheet, heat press or iron | Teflon sheet, lint roller |
Choose a high-quality, structured cap made from cotton twill, wool, or polyester blend for best results. Avoid overly stretchy or textured fabrics unless you’re experienced. Flat brims offer more canvas space, while curved brims suit minimalist front designs.
3. Step-by-Step Customization Process
- Prepare the Cap Surface: Clean the area with a lint roller and mild detergent if needed. Let it dry completely. For paint or transfers, place a piece of cardboard inside the cap to prevent bleed-through.
- Transfer the Design: Use a lightbox, tracing paper, or water-soluble pen to outline your sketch onto the cap. For symmetrical designs, fold the cap gently to find the center line.
- Apply the Medium:
- If painting, start with base colors and work toward details. Use thin layers to avoid stiffness.
- For embroidery, secure the cap in a hoop, begin stitching from the center outward, and knot threads securely underneath.
- When applying patches, align carefully and pin in place before sewing around the edges with tight, even stitches.
- Cure or Set the Design: Follow product instructions. Fabric paint usually requires heat-setting with an iron (no steam) for 2–3 minutes. Iron-on transfers need firm, consistent pressure for 15–30 seconds.
- Add Finishing Touches: Seal painted areas with a fabric sealer if desired. Trim loose threads and inspect for consistency.
4. Real Example: Creating a Personalized Gift Cap
Jamal wanted to surprise his sister at her graduation with a cap featuring her nickname, “Dr. Jay,” and her medical school logo stylized in red and white. He began by printing a mirrored version of the design on iron-on transfer paper. After smoothing the cap surface and inserting cardboard, he used a household iron set to cotton (no steam) to apply the transfer. To personalize further, he hand-stitched tiny gold stars along the side panels using a backstitch technique. The final result was clean, meaningful, and durable enough for outdoor celebrations.
This example shows how combining methods—transfers for complex graphics and embroidery for accents—can elevate a simple project.
5. Expert Insight on Longevity and Craftsmanship
“Handcrafted customization adds soul to accessories. But longevity depends on material compatibility and proper finishing. Always test adhesives or paints on a hidden area first.” — Lila Torres, Textile Artist & DIY Instructor
Torres emphasizes that craftsmanship isn’t just about appearance—it’s about function. A well-customized cap should withstand regular wear without cracking, peeling, or fraying. She recommends reinforcing stitched areas with a drop of fabric glue under knots and avoiding excessive paint buildup, which can weaken fabric fibers over time.
6. Common Mistakes to Avoid
- Skipping the test run: Always trial your design on scrap fabric or an inconspicuous area.
- Using non-fabric-specific materials: Regular glue or poster paint will crack and wash off.
- Overcrowding the design: Leave breathing room around elements so the cap doesn’t look cluttered.
- Washing too soon: Wait at least 72 hours after customization before cleaning, and always hand wash gently.
7. FAQ
Can I wash a customized baseball cap?
Yes, but with caution. Hand washing in cold water with mild detergent is safest. Avoid scrubbing the design area. Air dry flat to maintain shape. Machine washing risks damaging paint, stitches, or adhesive bonds.
What’s the most durable customization method?
Embroidery is typically the most durable, followed by high-quality sewn patches. These methods withstand repeated handling and exposure better than paint or transfers, which may fade or peel over time.
Can I customize a hat with a curved logo already on it?
You can, but consider how your new design interacts with the existing one. Overlaying may require covering the original logo with a patch or paint base. Alternatively, complement it with side or rear embellishments.
Conclusion
Creating a one-of-a-kind baseball cap is a rewarding blend of artistry and practical skill. From choosing the right base cap to executing precise details, each step builds toward a finished piece that reflects your vision. Whether you’re crafting a personal keepsake or exploring a creative side hustle, the ability to customize opens doors to self-expression and thoughtful gifting.
💬 Ready to bring your idea to life? Pick up a blank cap, gather your tools, and start designing today. Share your creations online with #MyCustomCap and inspire others to make their mark—one stitch or stroke at a time.