
Swimming is a refreshing and healthy activity, but it often comes with an annoying side effect: trapped water in the ear. That muffled sensation or slight discomfort can linger long after you’ve dried off. While many people instinctively reach for cotton swabs, medical professionals strongly advise against this. Inserting anything into the ear canal risks pushing wax deeper, damaging the delicate skin, or even perforating the eardrum.
The good news is that there are multiple safe, effective, and scientifically supported methods to remove water from the ear without touching the inside of the ear at all. Whether you're a competitive swimmer, a parent with kids who love splashing in pools, or someone who enjoys occasional dips, knowing how to handle post-swim moisture can prevent pain, infections like swimmer’s ear (otitis externa), and long-term complications.
Why Cotton Swabs Are Not the Answer
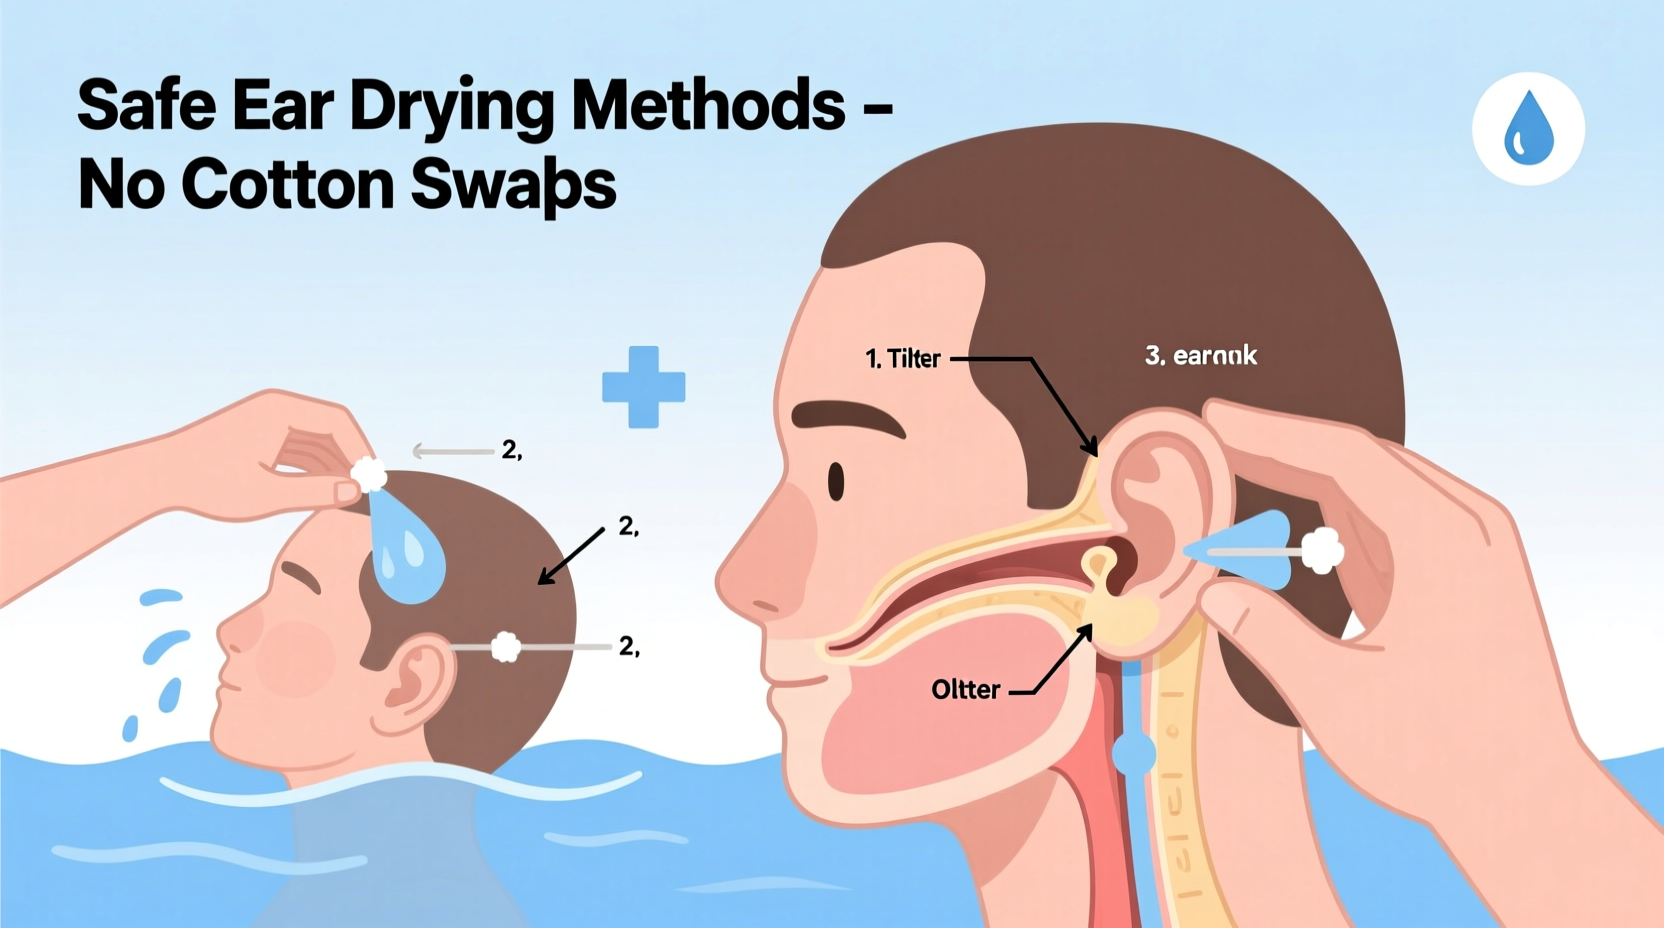
Cotton swabs may seem like a logical tool for removing water or wax from the ear, but they pose real dangers. The ear canal is narrow and lined with sensitive skin. When a swab is inserted—even gently—it can:
- Push water and wax further inward, compacting them against the eardrum.
- Irritate the skin, increasing the risk of infection.
- Cause micro-abrasions or lacerations, especially if the head moves suddenly.
- In rare cases, lead to eardrum perforation, which requires medical treatment.
“The ear is self-cleaning. Using cotton swabs disrupts its natural process and increases the risk of injury and infection.” — Dr. Lena Patel, Otolaryngologist at Boston Ear Institute
The American Academy of Otolaryngology–Head and Neck Surgery explicitly warns against inserting any object smaller than your elbow into the ear. This includes not just cotton swabs, but also bobby pins, keys, or fingers. Instead, focus on gentle, external techniques that encourage water to drain naturally.
Effective Techniques to Remove Water from the Ear
When water gets trapped in the outer ear canal, gravity and surface tension often keep it in place. The goal is to change the ear's orientation, create movement, or alter pressure to help the fluid escape. Below are several proven, non-invasive methods.
1. Gravity-Assisted Tilting and Pulling
This is one of the simplest and most reliable first steps. By repositioning the head and manipulating the ear’s shape, you can help water flow out.
- Tilt your head to the side so the affected ear faces downward.
- Gently tug on the outer part of your ear—pull upward and backward. This straightens the ear canal, helping water drain.
- Maintain the position for 30 seconds to a minute.
- Use a soft towel to absorb any water that emerges—only on the outer ear.
2. The Valsalva Maneuver (Ear-Pressure Equalization)
Commonly used by divers and pilots to equalize pressure, this technique can also help open the Eustachian tube and shift trapped water.
- Close your mouth and pinch your nostrils shut.
- Gently blow air through your nose as if trying to exhale, but keep it blocked.
- You should feel a slight pop or pressure release in your ears.
- Repeat up to three times if needed, then tilt your head to encourage drainage.
This method works best when the water is near the eardrum or when fullness is due to pressure imbalance rather than visible fluid.
3. Create a Vacuum with Your Hand
This clever trick uses suction to draw water out of the ear canal.
- Place the palm of your hand flat over the affected ear, creating a seal.
- Press gently, then quickly pull your hand away.
- Repeat this pumping motion several times.
- Immediately tilt your head to let gravity assist any loosened water.
The repeated pressure changes can help break surface tension and move the trapped water toward the opening of the ear.
4. Use Heat and Evaporation
Dry, warm air encourages evaporation of moisture inside the ear canal. This is especially useful when only a small amount of water remains.
- Turn on a hair dryer and set it to the lowest heat and speed setting.
- Hold it at least 30 cm (12 inches) away from your ear.
- Aim the airflow near—but not directly into—the ear opening.
- Move the dryer in a circular motion for about 30 seconds.
Never use high heat or hold the dryer too close; burns to the ear canal are possible and extremely painful.
5. Chew or Yawn to Activate Jaw Movement
The muscles involved in chewing and yawning are connected to the ear via the temporomandibular joint (TMJ). Moving the jaw helps shift the ear canal slightly, which can dislodge trapped water.
- Chew gum vigorously for a few minutes after swimming.
- Open your mouth wide and yawn deeply several times.
- Combine with head tilting for maximum effect.
This method is particularly helpful for children, who may not be able to perform more complex maneuvers.
Do’s and Don’ts: Safe vs. Risky Practices
| Do’s | Don’ts |
|---|---|
| Do tilt your head and gently pull the earlobe to straighten the canal. | Don’t insert cotton swabs, fingers, or sharp objects into the ear. |
| Do use a hair dryer on low heat from a safe distance. | Don’t use high heat or direct airflow into the ear. |
| Do chew gum or yawn to mobilize the ear canal. | Don’t aggressively shake your head—this can cause neck strain or dizziness. |
| Do apply a warm compress to the outer ear for comfort. | Don’t pour alcohol or vinegar solutions unless advised by a doctor. |
| Do consult a healthcare provider if symptoms persist beyond 24–48 hours. | Don’t ignore signs of infection like pain, swelling, or hearing loss. |
Prevention: How to Keep Water Out in the First Place
While knowing how to remove water is essential, preventing it from entering the ear during swimming is even better. Consider these proactive strategies:
- Wear silicone earplugs: These form a waterproof seal and are reusable. Make sure they fit snugly but comfortably.
- Use custom-fitted swim molds: Available through audiologists, these are molded to your ear for optimal protection.
- Try a swim cap that covers the ears: Latex or silicone caps with built-in ear coverage reduce exposure.
- Apply a pre-swim oil barrier: A few drops of mineral oil or over-the-counter ear drop solutions before swimming can repel water.
Real-Life Example: Managing Water Trapped in a Child’s Ear
Six-year-old Maya returned from her weekly swim lesson complaining that her left ear felt “full” and “funny.” Her mother resisted the urge to use a cotton swab and instead tried the head-tilt method. She had Maya lie on her side with the affected ear facing down on a towel. After gently pulling the earlobe and encouraging her to hop lightly, no water came out. Next, she used the hand-pump vacuum technique. Within two minutes, Maya said it felt “better.” By combining jaw movement—chewing a granola bar—and mild warmth from a hair dryer held at a safe distance, the sensation disappeared completely.
Two days later, when the same issue recurred, Maya’s mom introduced silicone earplugs. Since then, Maya has worn them during every lesson, and water trapping has not happened again. This case highlights how simple, consistent techniques and prevention can solve a recurring problem without medical intervention.
When to Seek Medical Help
Most cases of trapped water resolve within a few hours using home techniques. However, certain symptoms indicate a need for professional evaluation:
- Persistent fullness or hearing loss lasting more than 48 hours
- Increasing pain, especially when touching the outer ear
- Discharge (yellow, green, or bloody fluid)
- Fever or dizziness
- Signs of swimmer’s ear, such as itching, redness, or swelling
If water remains trapped, it creates a moist environment where bacteria can grow, leading to otitis externa. A healthcare provider can safely remove the fluid using gentle suction or prescribe medicated ear drops to clear infection and promote drying.
Frequently Asked Questions
Can I use rubbing alcohol or vinegar drops to remove water?
Yes, a solution of equal parts white vinegar and rubbing alcohol can help evaporate water and prevent bacterial growth. However, only use it if you’re certain you don’t have an ear infection or a perforated eardrum. Never use this remedy in children without consulting a pediatrician.
Why does water get trapped in my ear more than others?
Some people have narrower ear canals, excessive earwax, or more curved canals, making drainage harder. Frequent swimmers, children, and those with previous ear issues are more prone to water trapping.
Is it dangerous if water stays in the ear overnight?
While not immediately dangerous, prolonged moisture increases infection risk. If water hasn’t drained after a full day despite attempts, seek advice. Persistent blockage could also be due to impacted wax, not just water.
Step-by-Step Action Plan
- Immediately after swimming: Dry the outer ear with a towel. Tug the earlobe and tilt your head to encourage natural drainage.
- If water persists: Try the hand-pump vacuum method or use gentle jaw movements (chewing, yawning).
- After 10–15 minutes: Apply low-heat airflow from a hair dryer at a safe distance.
- If still blocked: Perform the Valsalva maneuver to equalize pressure.
- Next steps: If no improvement in 24 hours, or if pain develops, contact a healthcare provider.
- Long-term: Invest in earplugs or custom swim molds to prevent recurrence.
Conclusion
Removing water from the ear after swimming doesn’t require invasive tools or risky maneuvers. With a combination of gravity, motion, and gentle pressure techniques, most people can restore comfort quickly and safely. Avoiding cotton swabs protects the ear’s delicate structure and prevents unnecessary complications. Prevention—through proper gear and habits—is equally important, especially for frequent swimmers.
By understanding your ear’s anatomy and respecting its limits, you can enjoy swimming without the lingering annoyance of trapped water. Start applying these techniques today, share them with family members, and make post-swim care a routine part of your aquatic activities.
💬 Have a trusted method that works for you? Share your experience in the comments and help others swim smarter and safer.