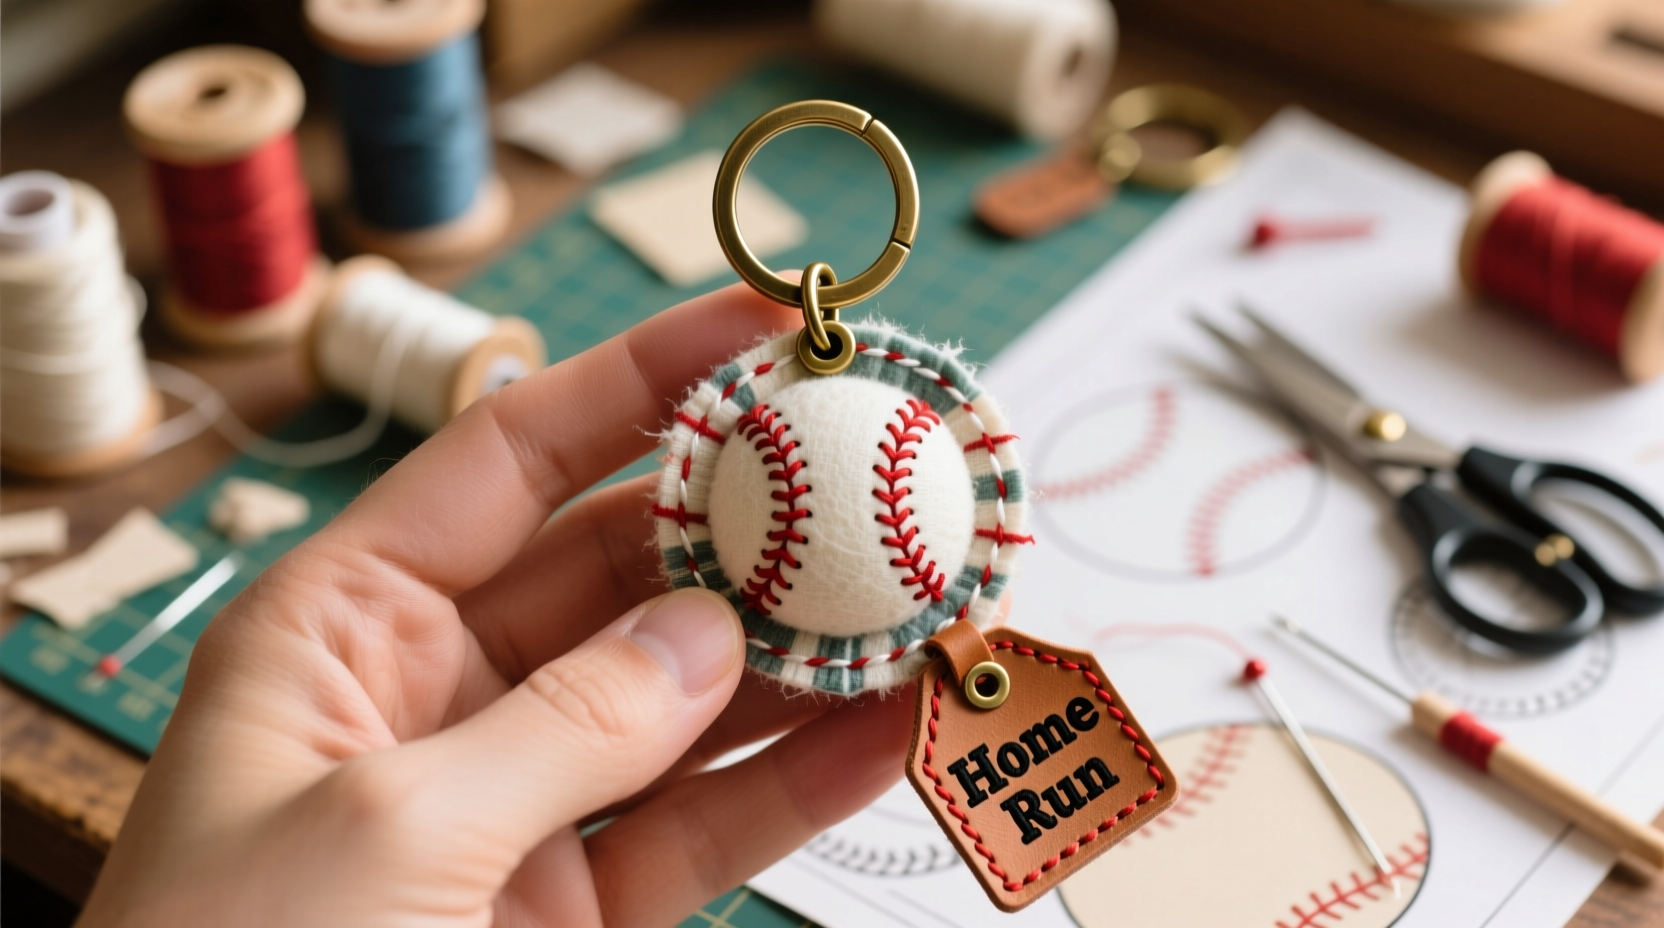
Creating your own baseball-themed keychain pendants is a fun and rewarding way to celebrate America’s pastime while expressing personal style. Whether you’re making a gift for a young athlete, commemorating a memorable game, or simply enjoying a nostalgic craft, DIY baseball keychains offer endless possibilities. This guide walks you through practical, beginner-friendly projects using accessible materials. From resin charms to painted wood and fabric-wrapped balls, each idea is designed to be achievable without prior crafting experience.
Why Make Your Own Baseball Keychain?
Custom keychains serve as more than just functional items—they’re wearable memories. A handmade baseball pendant can symbolize a first Little League game, a favorite team, or even a father-son tradition. Unlike mass-produced accessories, DIY versions allow full creative control over colors, materials, and details. Plus, they cost significantly less than store-bought novelty items and make heartfelt gifts for birthdays, Father’s Day, or end-of-season celebrations.
Tip: Personalize your keychain with a player’s number, team logo, or engraved name tag for added sentimental value.Essential Materials and Tools
Before diving into specific designs, gather a basic toolkit. Most supplies are available at craft stores or online retailers like Amazon or Michaels. Here’s what you’ll commonly need:
- Miniature baseballs (plastic, foam, or real leather)
- Blank metal or wooden pendants
- E6000 or epoxy glue
- Keyring hardware (split rings or lobster clasps)
- Acrylic paints and fine-tipped brushes
- Clear sealant spray or resin coating
- Pliers and wire cutters (for attaching hardware)
- Felt, fabric scraps, or embroidery thread
- Hot glue gun and glue sticks
Having these on hand ensures smooth progress across multiple project types. Store extras in a labeled box for future crafts.
Step-by-Step Guide: 5 Creative DIY Baseball Keychain Ideas
1. Mini Baseball on a Metal Ring
This classic design uses a tiny replica baseball attached directly to a keyring. It’s the fastest option and ideal for beginners.
- Select a miniature baseball (about 1 inch in diameter).
- Clean the surface with rubbing alcohol to remove dust.
- Apply a small dab of E6000 glue to the top seam of the ball.
- Press a split keyring into the glue and hold for 30 seconds.
- Let dry completely for 24 hours before handling.
2. Painted Wooden Ball Pendant
Transform a plain wooden sphere into a realistic-looking baseball using acrylic paint.
- Sand the wooden ball lightly to smooth imperfections.
- Paint the entire surface white using a small brush; let dry.
- Mix red and brown paint to create a deep maroon for stitching.
- Use a fine brush to draw the traditional figure-eight pattern.
- Seal with a clear matte or glossy varnish to protect the design.
- Drill a small hole at the top or glue on a jump ring for attachment.
3. Fabric-Wrapped Baseball Charm
Repurpose old jerseys or team fabrics to wrap around a foam ball for an authentic look.
- Cut thin strips of jersey material (about ½ inch wide).
- Start gluing one end to a foam ball using hot glue.
- Wrap tightly in a baseball stitch pattern, applying glue every inch.
- Overlap slightly to hide gaps and secure the end with extra glue.
- Attach a keyring using a metal eye pin inserted into the top.
“Handmade sports crafts connect fans to the game on a deeper level—there’s pride in wearing something you made.” — Dana Reyes, DIY Lifestyle Blogger & Sports Enthusiast
4. Resin Baseball Mold Pendant
Create a durable, glass-like charm using silicone molds and epoxy resin.
- Choose a small baseball-shaped silicone mold (available online).
- Mix two-part epoxy resin according to package instructions.
- Pour resin slowly into the mold, tapping gently to release bubbles.
- Let cure for 24–48 hours in a dust-free area.
- Remove from mold and sand any rough edges lightly.
- Glue a metal bail or jump ring to the top and attach a keyring.
5. Layered Wood Cutout Design
A flat but detailed option using laser-cut or hand-cut wood pieces shaped like baseballs.
- Obtain two identical wooden baseball silhouettes (¾ inch tall).
- Paint one side with red stitching details.
- Glue both sides together with a jump ring sandwiched in the middle.
- Once dry, add a protective resin coat or sealant.
- Attach a keyring to the jump ring.
Comparison Table: Pros and Cons of Each Method
| Design | Difficulty | Cost | Durability | Best For |
|---|---|---|---|---|
| Mini Baseball on Ring | Easy | $ | High (if using real mini ball) | Quick gifts, kids’ crafts |
| Painted Wooden Ball | Medium | $$ | Medium (sealant dependent) | Personalized artistry |
| Fabric-Wrapped Charm | Medium | $$ | Low-Medium (fabric may fray) | Fans using old jerseys |
| Resin Mold Pendant | Hard | $$$ | Very High | Durable keepsakes |
| Layered Wood Cutout | Easy-Medium | $$ | High | Laser-cut precision lovers |
Real Example: Crafting for a Little League Team
Jamie, a parent volunteer for her son’s T-ball team, wanted to give each child a special end-of-season gift. She chose the painted wooden ball design because it was affordable and allowed personalization. Using non-toxic paints, she numbered each ball with the player’s jersey number and added their first initial near the stitching. After sealing them with waterproof varnish, she attached silver keyrings. The kids loved them—not just as keychains, but as desk ornaments and backpack charms. Jamie spent under $15 for eight pendants and received thank-you notes from parents who appreciated the thoughtful touch.
Beginner Checklist: Your First DIY Keychain Project
Follow this checklist to ensure success on your first attempt:
- ☐ Choose one design to start with (recommended: Mini Baseball on Ring)
- ☐ Gather all required materials before beginning
- ☐ Work in a well-ventilated area, especially when using glue or sealants
- ☐ Lay down newspaper or a craft mat to protect surfaces
- ☐ Allow ample drying time—don’t rush curing stages
- ☐ Test fit the keyring before final attachment
- ☐ Store unused materials properly for future use
Frequently Asked Questions
Can I make these keychains with kids?
Absolutely. Projects like the mini baseball on a ring or fabric wrapping are safe for children aged 8 and up with adult supervision. Use non-toxic glue and avoid sharp tools. Let kids pick their favorite team colors or personalize with stickers after painting.
How do I prevent the paint from chipping on wooden balls?
Always apply a clear sealant after painting. A spray-on polyurethane or brush-on varnish creates a protective barrier. For high-use keychains, consider a second coat after 24 hours.
Where can I find miniature baseballs or molds?
Mini baseballs are sold at sporting goods stores, souvenir shops, and online marketplaces like Etsy or eBay. Silicone molds are widely available on Amazon or craft supply sites such as Joann or Michaels. Search “mini baseball resin mold” for best results.
Final Thoughts and Inspiration
DIY baseball keychains blend creativity, nostalgia, and craftsmanship in a compact form. What starts as a simple afternoon project can evolve into a signature gift tradition or even a small handmade business. As you gain confidence, experiment with glow-in-the-dark resin, team logos, or incorporating actual game-used ball fragments. The beauty of handmade items lies not just in their appearance, but in the intention behind them.
💬 Ready to swing for the fences? Pick one idea from this guide, gather your supplies, and craft your first baseball keychain today. Share your creation in the comments or tag a fellow fan who’d love to make one too!