
Bread baking is both a science and an art. One of the most common frustrations among home bakers—especially those new to sourdough or high-hydration loaves—is dealing with sticky dough. It clings to fingers, resists shaping, and seems impossible to work with. But before you reach for more flour and risk drying out your loaf, it’s important to understand that sticky dough isn’t always a problem. In fact, it’s often a natural part of the process.
The key lies in distinguishing between *good* stickiness—typical of well-hydrated, developing gluten—and *problematic* stickiness caused by incorrect hydration, temperature, or technique. With the right knowledge, you can confidently adjust your recipe, improve your handling skills, and bake beautiful, open-crumbed bread consistently.
Understanding Dough Hydration: The Core of Stickiness
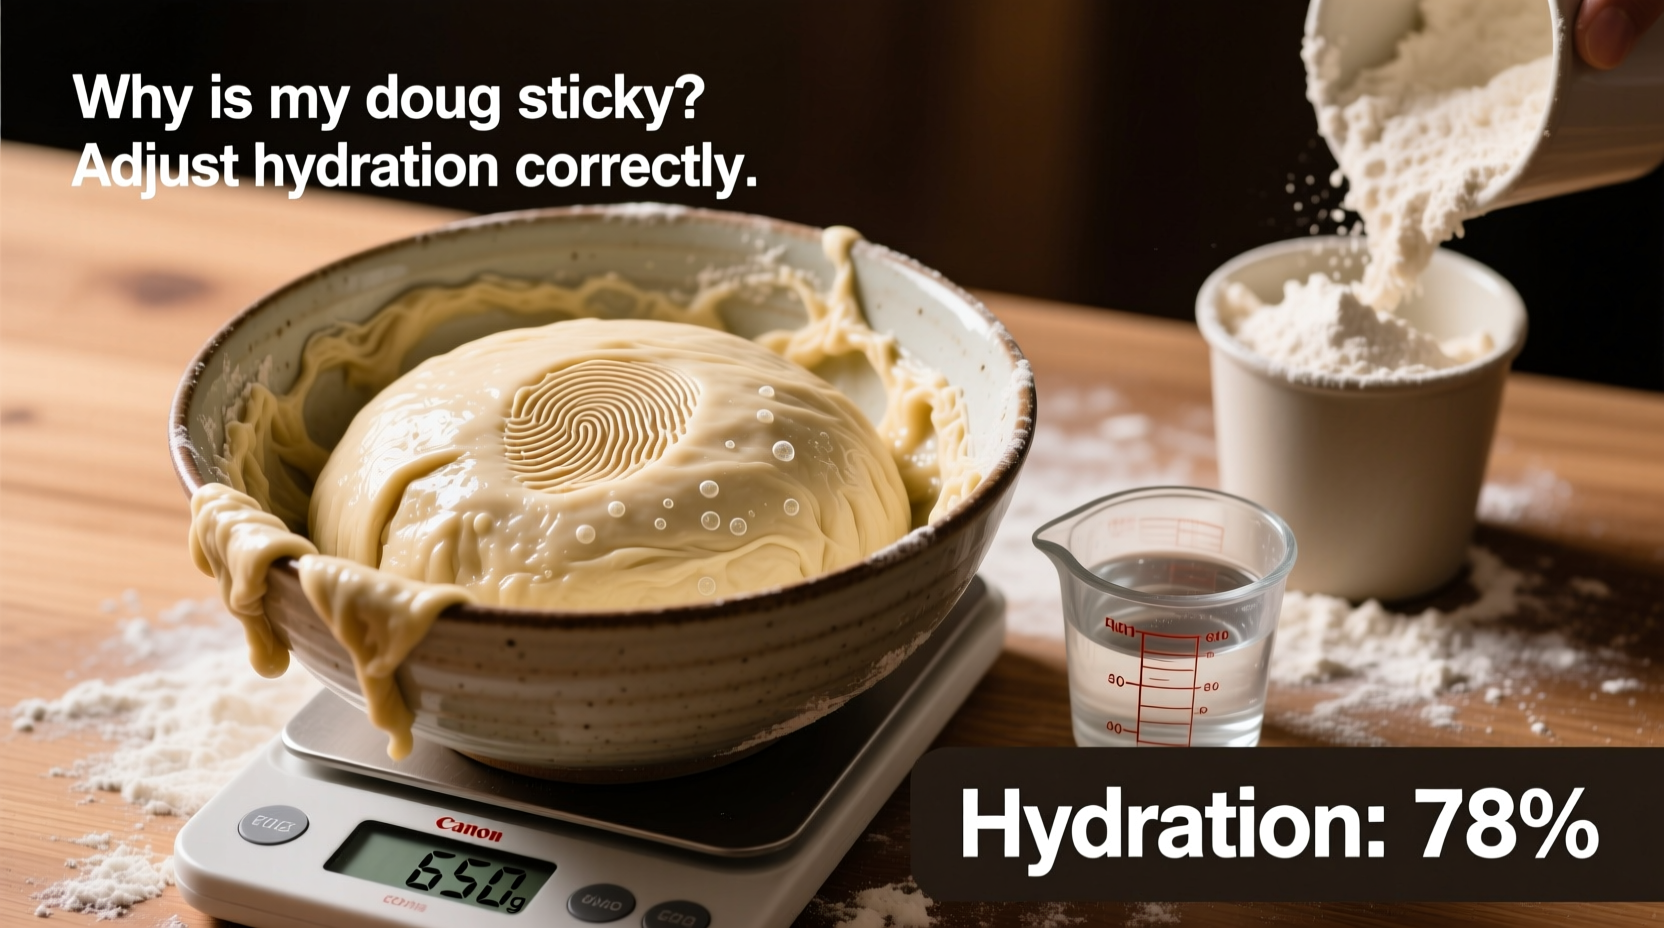
Hydration refers to the ratio of water to flour in a dough, expressed as a percentage. For example, a dough made with 1000g of flour and 750g of water has a hydration level of 75%. This number dramatically affects texture, rise, and handling.
Low-hydration doughs (below 65%) feel firm and smooth. They’re easy to shape and ideal for sandwich breads or brioche. High-hydration doughs (75% and above) are naturally wetter, more extensible, and prone to sticking. These are typical of artisan sourdoughs, ciabatta, and focaccia—loaves prized for their airy crumb and crisp crust.
Stickiness at higher hydration levels is expected. Gluten development takes time, and early in fermentation, the dough lacks structure. As enzymes break down starches and gluten networks form during bulk fermentation, the dough becomes less sticky and more cohesive—even if it remains soft.
“Sticky dough isn’t failed dough. It’s often a sign you’re working with enough water to make exceptional bread.” — Ken Forkish, author of *The Elements of Pizza* and *Flour Water Salt Yeast*
Why Is My Dough Sticky? Common Causes and Fixes
Not all stickiness is created equal. While some stickiness is normal, excessive tackiness can signal imbalances in your process. Here are the most frequent culprits:
1. Too Much Water (Over-Hydration)
Adding too much water is the obvious cause. Even a 5–10% miscalculation can turn manageable dough into a sticky mess. Always weigh ingredients—volume measurements are unreliable.
Tip: If your dough feels like paste or won’t hold any shape, reduce hydration by 5% in your next batch rather than adding large amounts of flour mid-mix.2. Underdeveloped Gluten
Gluten needs time and mechanical strength (kneading or stretching) to organize. A newly mixed dough will always be sticky. Give it time. During bulk fermentation, perform a series of stretch-and-folds to strengthen the network. After several folds, even a 78% hydration dough can feel supple and less adhesive.
3. Flour Type Matters
Different flours absorb water differently. All-purpose flour absorbs less than bread flour due to lower protein content. Whole grain flours (rye, spelt, whole wheat) absorb more water but release it over time, leading to delayed stickiness. If you substitute flours without adjusting water, stickiness follows.
4. Environmental Humidity
Baking on a humid day? Your flour may already contain more moisture. In summer or tropical climates, reduce water by 5–10g per 500g of flour. Conversely, in dry environments, dough may need slightly more water to prevent stiffness.
5. Cold Temperatures Slow Development
Colder dough ferments slower. Gluten develops gradually, so refrigerated dough (like overnight retardation) may feel sticky when first removed. Let it warm up for 30–60 minutes; the gluten reactivates and handling improves.
How to Adjust Hydration Correctly: A Practical Guide
Adjusting hydration isn’t just about fixing a current batch—it’s about refining your baking intuition. Follow this step-by-step approach to dial in your ideal dough consistency.
Step 1: Start with a Reliable Recipe
Begin with a tested formula from a trusted source. For beginners, aim for 68–72% hydration using bread flour. Avoid jumping straight into 80%+ sourdough recipes.
Step 2: Hold Back 10% of the Water
When mixing, add only 90% of the water initially. Mix, then assess. Add remaining water gradually if the dough feels stiff. This “autolyse” method lets flour hydrate fully and prevents over-wetting.
Step 3: Use Stretch-and-Folds to Build Strength
During bulk fermentation (first rise), perform 4–6 sets of stretch-and-folds spaced 15–30 minutes apart. Each set strengthens gluten, improving elasticity and reducing surface tackiness.
Step 4: Evaluate Dough Maturity
A mature dough should pass the “windowpane test”: gently stretch a small piece. If it forms a thin, translucent membrane without tearing, gluten is well-developed. Mature dough feels smooth and slightly tacky—not gluey.
Step 5: Adjust Future Batches Based on Results
If dough was unworkably sticky despite proper technique, reduce hydration by 2–5% next time. If it felt tight and produced a dense crumb, increase water slightly. Keep a baking journal to track changes.
| Hydration Level | Texture & Handling | Suitable For |
|---|---|---|
| 60–65% | Firm, non-sticky, easy to shape | Sandwich bread, brioche, rolls |
| 68–72% | Slightly tacky, holds shape well | Classic sourdough, country loaf |
| 75–80% | Very sticky early on, becomes manageable after folds | Artisan loaves, batards, boules |
| 80%+ | Extremely slack, requires advanced handling | Ciabatta, rosetta, rustic pan breads |
Tips for Handling Sticky Dough Without Ruining Texture
Resist the urge to dump in extra flour. Over-flouring kills the airy crumb you’re trying to achieve. Instead, use these proven techniques:
- Wet Hands or Tools: Dampen your fingers or scraper with water before handling. Water prevents sticking better than flour and doesn’t alter dough composition.
- Use Rice Flour for Proofing Baskets: Unlike wheat flour, rice flour doesn’t form a sticky paste when wet. It creates a non-adhesive barrier in bannetons.
- Chill Before Shaping: Cold dough is easier to handle. After bulk fermentation, refrigerate for 30–60 minutes before preshaping and final proof.
- Embrace the Bowl Scraper: Use a flexible bench scraper to fold, divide, and transfer dough without direct hand contact.
- Practice Coil Folds: For very high-hydration doughs, replace traditional stretch-and-folds with gentle coil folds—lifting and draping the dough over itself—to build strength without sticking.
Real Example: From Sticky Mess to Bakery-Quality Loaf
Marie, a home baker in Portland, struggled for months with her sourdough starter. Every weekend, she’d mix a 78% hydration dough, only to end up with something resembling pancake batter. She added flour until it was workable, but her loaves came out dense and gummy.
After reading about autolyse and stretch-and-folds, she revised her method. She started holding back 50g of water, mixed the rest, waited 30 minutes, then added the reserved liquid slowly. During bulk fermentation, she performed four sets of stretch-and-folds over two hours. She used wet hands and a scraper throughout.
The dough remained soft but gained structure. After shaping and cold proofing overnight, it held its round shape beautifully. Baked the next morning, the loaf had an open crumb, crisp crust, and balanced flavor. Her breakthrough wasn’t changing the recipe—it was understanding timing, technique, and hydration control.
Checklist: How to Prevent and Fix Sticky Dough
- ✅ Weigh all ingredients—never use cups for flour or water.
- ✅ Use bread flour for better gluten development (unless recipe specifies otherwise).
- ✅ Hold back 10% of water during mixing; add gradually as needed.
- ✅ Perform 4–6 sets of stretch-and-folds during bulk fermentation.
- ✅ Use wet hands, a damp cloth, or a bench scraper—avoid excess flour.
- ✅ Refrigerate dough briefly before shaping if too sticky.
- ✅ Line bannetons with rice flour to prevent sticking during proofing.
- ✅ Adjust hydration by 2–5% in future batches based on results.
Frequently Asked Questions
Can I fix overly sticky dough after mixing?
Yes, but don’t add large amounts of flour. Instead, let the dough rest for 20–30 minutes after mixing—this allows flour to fully hydrate and gluten to begin forming. Then start stretch-and-folds. Often, the dough becomes manageable within the first hour of bulk fermentation.
Is sticky dough safe to eat?
Absolutely. Stickiness is a textural issue, not a safety concern. As long as your dough fermented properly and was baked to an internal temperature of at least 190°F (88°C), it’s safe to eat—even if the handling was challenging.
Why does my whole wheat dough get stickier over time?
Whole wheat flour contains bran and germ, which cut gluten strands and absorb water slowly. Initially, the dough may seem fine, but as bran hydrates over 1–2 hours, it releases moisture, making the dough wetter. To counter this, increase hydration slightly but allow longer autolyse (30–60 minutes) before adding yeast or salt.
Mastering Moisture: The Path to Better Bread
Sticky dough doesn’t mean failure—it often means potential. Some of the world’s best breads begin as unmanageable blobs. The difference between a collapsed mess and a bakery-worthy boule lies in understanding hydration, respecting fermentation timelines, and mastering handling techniques.
Every baker encounters sticky dough. What separates consistent results from frustration is not avoiding moisture, but learning to work with it. By adjusting hydration thoughtfully, strengthening gluten through technique, and trusting the process, you’ll transform stickiness from a nuisance into a sign of quality.
🚀 Ready to bake better bread? Try your next loaf with 10% less water, use wet hands, and perform stretch-and-folds. Track your results, and share your journey in the comments below!