
For many pet owners, especially those with senior dogs, puppies, or small breeds, navigating stairs can be painful or even dangerous. A well-constructed dog ramp reduces joint strain, prevents slips, and promotes independence. While commercial ramps exist, they often lack customization, durability, or proper traction. Building your own ensures the perfect fit, materials, and safety features tailored to your home and pet.
This comprehensive guide walks through every phase of constructing a robust, non-slip dog ramp for indoor or outdoor stairs. From material selection to final finishing, you’ll learn how to create a long-lasting solution that supports your dog’s mobility and comfort.
Selecting the Right Materials
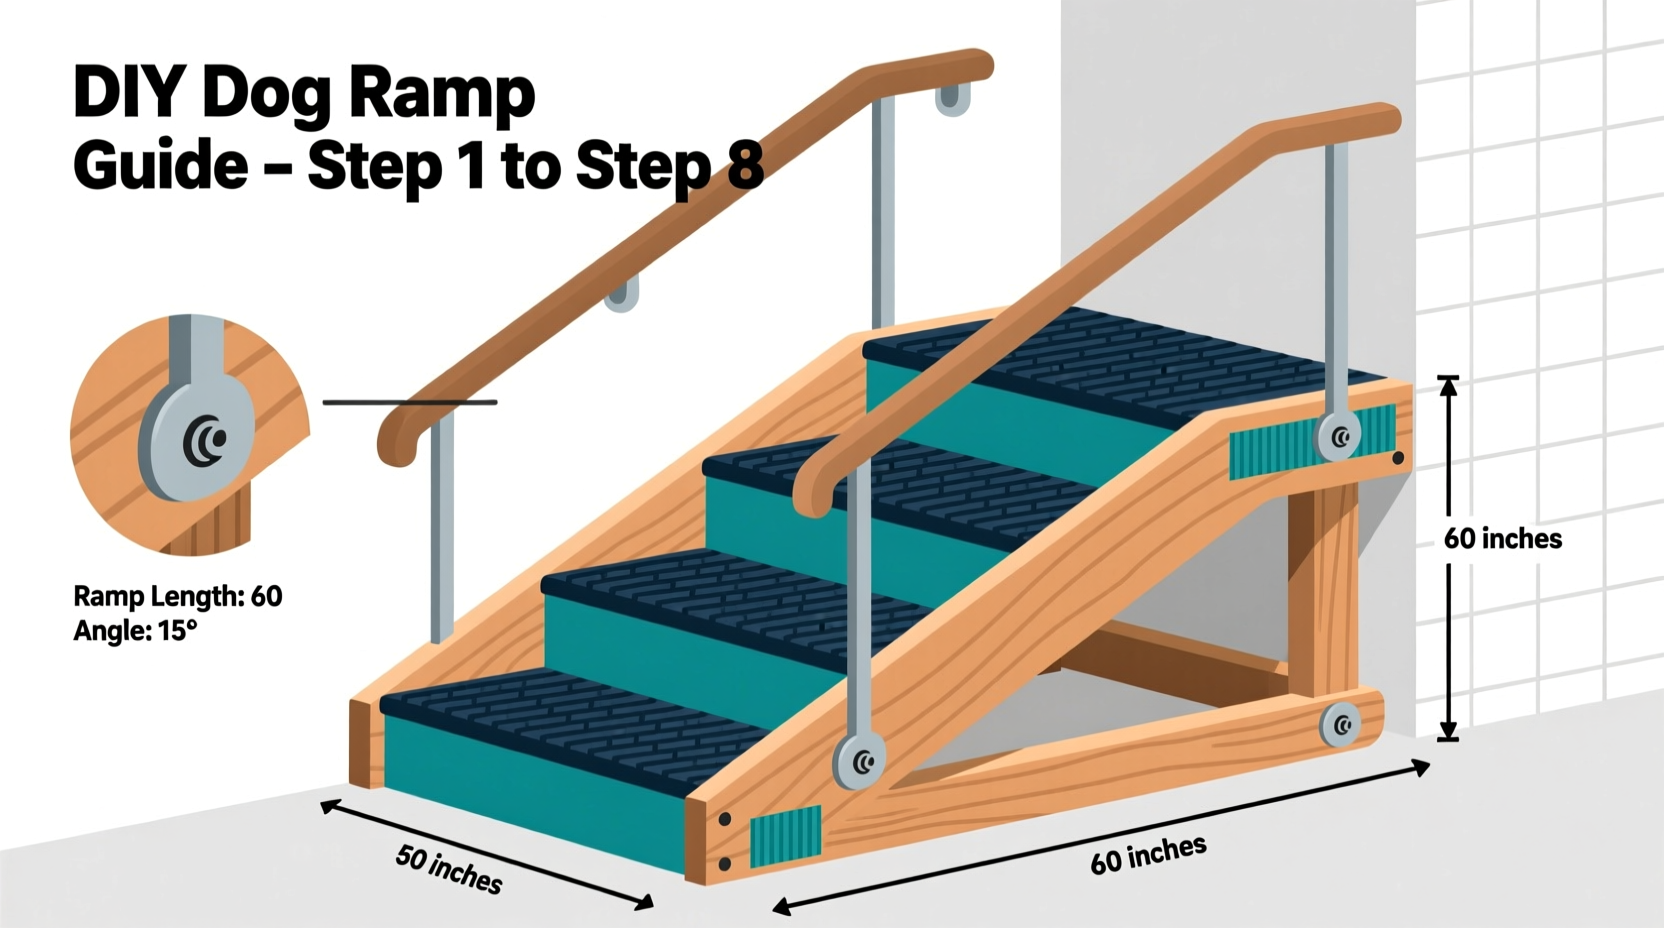
The foundation of a safe dog ramp lies in its construction materials. Choose components that balance strength, weight, weather resistance (if used outdoors), and surface grip. The wrong wood or fasteners can lead to warping, splintering, or structural failure over time.
Plywood is the most common base material due to its stability and affordability. Use exterior-grade plywood if the ramp will be exposed to moisture. For added strength, consider laminating two layers together—especially for longer spans. The frame should be built from pressure-treated lumber or cedar, both resistant to rot and insects.
Non-slip surfacing is critical. Avoid painted surfaces, which can become slick when wet. Instead, use rubber tread strips, outdoor carpet with adhesive backing, or textured anti-slip tape. These materials provide consistent grip under paws, even in damp conditions.
Tip: Always pre-drill holes before driving screws into wood to prevent splitting, especially near edges.Design and Measurements
A poorly angled ramp can discourage use or cause injury. The ideal incline allows your dog to ascend and descend without straining their back or slipping. As a rule, the slope should not exceed a 20-degree angle for small or elderly dogs. Larger, more agile dogs may tolerate up to 30 degrees, but err on the side of caution.
To calculate the correct rise and run:
- Measure the total vertical height from the bottom stair to the top landing.
- Determine the available horizontal space for the ramp.
- Divide the rise by the run to get the slope ratio. A 1:4 ratio (1 inch of rise per 4 inches of run) is generally safe.
For example, if your stairs are 30 inches high, the ramp should extend at least 120 inches (10 feet) horizontally to maintain a 1:4 ratio. If space is limited, consider a switchback or modular design.
Width is equally important. Most dogs need at least 18–24 inches of walking surface. Add 2–3 inches on each side for handrails or edge guards if desired.
Recommended Ramp Dimensions by Dog Size
| Dog Weight | Minimum Width | Slope Ratio | Surface Texture |
|---|---|---|---|
| Under 15 lbs | 18 inches | 1:5 | Rubber tread |
| 15–40 lbs | 20 inches | 1:4 | Outdoor carpet |
| Over 40 lbs | 24 inches | 1:3.5 | Textured composite |
Step-by-Step Construction Guide
Follow this sequence to build a stable, long-lasting dog ramp capable of supporting repeated use.
- Prepare the Frame: Cut two side rails from 1x4 or 2x4 lumber to match your calculated length. These will form the outer edges. Cross-supports should be placed every 12–16 inches along the underside to prevent sagging.
- Attach the Base: Secure a sheet of ¾-inch exterior plywood across the frame using exterior-grade screws. Ensure all edges are flush and no gaps exist between boards.
- Reinforce the Structure: For spans over 6 feet, add a center support beam running lengthwise down the middle of the ramp. This prevents bowing under weight.
- Install Non-Slip Surface: Apply outdoor carpet or rubber treads using waterproof construction adhesive. Start at the top and work downward, smoothing out air bubbles. Trim excess material with a utility knife.
- Add Edge Protection: Install a ½-inch lip along both sides using flexible PVC trim or rounded wood edging. This prevents paws from slipping off while allowing easy cleaning.
- Finish and Seal: Sand all exposed wood edges. Apply a water-resistant sealant or exterior paint to protect against moisture and UV damage. Avoid glossy finishes, which reduce traction.
Expert Insight: Why Custom Ramps Matter
Veterinary orthopedists emphasize that repetitive stress from climbing stairs contributes significantly to hip dysplasia and arthritis progression in dogs. Dr. Laura Simmons, DVM, notes:
“Custom-built ramps that match a dog’s natural gait and stride reduce joint impact by up to 60%. Off-the-shelf models often fail to account for individual mobility limitations or household layout.” — Dr. Laura Simmons, Veterinary Orthopedic Specialist
She recommends consulting a vet before installation, especially for dogs with existing joint issues, to determine optimal ramp angle and usage frequency.
Real-Life Example: Helping a Senior Dachshund
Mark Thompson from Portland, Oregon, built a 9-foot ramp for his 12-year-old dachshund, Benny, who developed intervertebral disc disease. Standard ramps were too steep and narrow for Benny’s short legs and unstable gait. After measuring the staircase and consulting his vet, Mark designed a 22-inch-wide ramp with a 1:5 incline, covered in marine-grade rubber treads.
Within days, Benny regained confidence moving between floors. “He stopped whining at the base of the stairs,” Mark said. “Now he uses it multiple times a day without hesitation.” The ramp has held up through two winters thanks to sealed cedar framing and UV-resistant adhesive.
Common Mistakes to Avoid
- Using indoor carpet: Wears quickly and becomes slippery when wet.
- Skipping cross-bracing: Leads to sagging and potential collapse over time.
- Ignoring drainage: For outdoor ramps, ensure the surface slopes slightly downward to prevent water pooling.
- Installing without anchors: On stairs, secure the top of the ramp with brackets to prevent shifting during use.
Do’s and Don’ts Summary
| Do | Don’t |
|---|---|
| Use exterior-grade materials | Use particleboard or MDF |
| Include side rails or edge guards | Leave open edges unprotected |
| Test with your dog before final placement | Assume one size fits all breeds |
| Inspect monthly for wear or loosening | Forget seasonal maintenance |
Maintenance Checklist
To ensure long-term safety and functionality, perform regular upkeep:
- Check screws and joints monthly for looseness.
- Clean the surface with mild soap and water; avoid harsh chemicals.
- Inspect non-slip coating for peeling or wear—replace if compromised.
- Reapply sealant annually, especially for outdoor ramps.
- Confirm stability after heavy rain or temperature shifts.
Frequently Asked Questions
Can I make a foldable version?
Yes, but only for occasional use. Hinges must be heavy-duty stainless steel, and the joint should include a locking pin for safety. Folding ramps are less stable than fixed ones and not recommended for arthritic or unsteady dogs.
How much weight can a DIY ramp support?
A properly constructed ramp using ¾-inch plywood and 2x4 framing can safely support dogs up to 100 pounds. Reinforced designs with double-layered decking and central beams handle larger breeds like Mastiffs or Great Danes.
Is it safe to leave the ramp outside year-round?
Only if built with fully weatherproof materials—cedar or redwood framing, marine plywood, and sealed joints. Elevate the base slightly off the ground and cover the top when not in use during rainy seasons.
Final Steps and Encouragement
Building a dog ramp isn't just a carpentry project—it's an investment in your pet's health and quality of life. By following precise measurements, selecting durable materials, and prioritizing traction and stability, you create a tool that fosters independence and reduces pain over time.
Once installed, observe your dog’s first few uses. Some pets need encouragement with treats or verbal cues. Patience pays off: most adapt quickly once they realize the ramp is safer and easier than stairs.
🚀 Ready to build yours? Gather your tools this weekend and give your dog the gift of pain-free movement. Share your build story or photos in the comments—we’d love to see how you customized your ramp!