Changing or upgrading your dog’s leash clip might seem like a minor adjustment, but it can significantly impact your pet’s comfort, your control during walks, and overall safety. Whether you’re replacing a worn-out spring hook, switching to a more secure carabiner-style clasp, or upgrading to a heavy-duty metal loop for a strong puller, doing it correctly matters. A poorly attached or incompatible clip can lead to accidents, escapes, or even injury. This guide walks you through the process with precision, safety checks, and expert-backed recommendations so you can make the switch confidently and securely.
Why Upgrading Your Leash Clip Matters
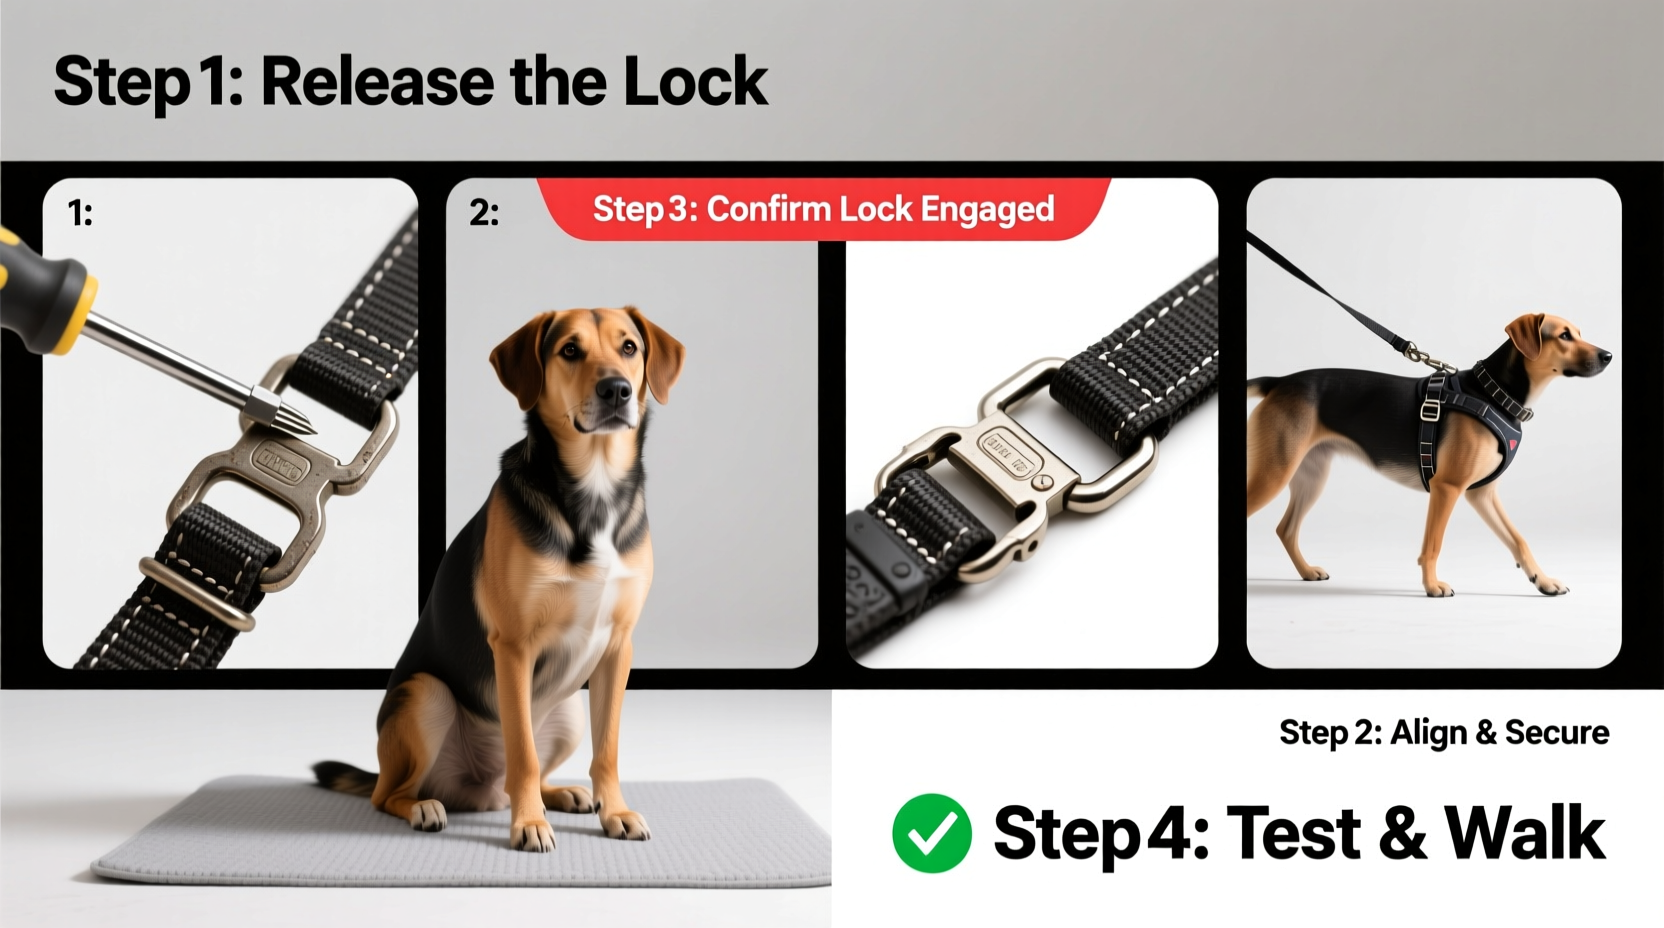
The leash clip is one of the most critical connection points between you and your dog. Over time, clips wear down from friction, exposure to moisture, and strain—especially if your dog pulls hard. Common signs of deterioration include rust, stiffness in the spring mechanism, or visible cracks in plastic components. But beyond replacement, upgrading can offer real benefits:
- Improved security: High-tensile steel or locking carabiners reduce the risk of accidental release.
- Better ergonomics: Some clips are easier to open with one hand, especially helpful when managing treats or opening gates.
- Compatibility: Upgrading allows you to match the clip to your collar or harness type (e.g., martingale collars often need larger loops).
- Durability: Premium materials like aerospace-grade aluminum or marine stainless steel resist corrosion and last years longer.
Step-by-Step Guide to Safely Replace or Upgrade Your Leash Clip
Replacing a leash clip isn’t just about attaching a new piece of hardware. It requires attention to material compatibility, tension strength, and proper installation. Follow these steps carefully.
- Assess the current clip and leash end. Determine whether the clip is sewn, riveted, or welded to the leash. Most nylon or webbing leashes have stitched ends, while some leather or specialty leashes use rivets. Take note of the width and thickness of the leash end where the clip attaches.
- Choose a compatible replacement clip. Match the clip size to the leash width. For example, a 1-inch wide leash needs a clip rated for at least 1-inch attachments. Also, ensure the new clip’s load rating exceeds your dog’s weight and pulling force. A 70-pound dog that pulls may exert over 100 pounds of force—so choose a clip rated for 300+ pounds.
- Gather tools: scissors, lighter (for synthetic fibers), pliers, and a seam ripper (if sewing). If reattaching via stitching, use UV-resistant polyester thread. For metal leashes, a small wrench may be needed to tighten bolt-on connectors.
- Remove the old clip. For stitched clips, carefully use a seam ripper to cut threads without damaging the leash webbing. Melt the frayed end slightly with a lighter to prevent further unraveling. For riveted clips, use a drill or punch tool to remove the rivet—this should only be done if you can replace it properly.
- Attach the new clip. Slide the leash end through the new clip’s attachment loop. If sewing, double or triple-stitch the end using a box stitch pattern for maximum strength. Reinforce with fabric glue underneath the stitching if desired. For bolt-on metal clips, align the holes and insert the pin or screw, tightening securely.
- Test the connection. Apply firm pressure by pulling on the leash in multiple directions. Simulate jerking motions to mimic sudden lunges. The clip should not rotate excessively or show stress on the stitches.
Choosing the Right Clip: Do’s and Don’ts
Not all clips are created equal. Using the wrong type can compromise safety. Refer to this comparison table before making a decision.
| Clip Type | Best For | Do’s | Don’ts |
|---|---|---|---|
| Spring Snap Hook | Small to medium dogs, light walkers | Use on collars with narrow D-rings; check spring tension monthly | Avoid on powerful dogs; don’t use if spring feels weak |
| Heavy-Duty Trigger Clip | Large, active breeds | Easy one-handed operation; high tensile strength | Keep clean—debris can jam the trigger mechanism |
| Locking Carabiner | Hiking, training, escape-prone dogs | Secure twist-lock prevents accidental opening | Ensure gate closes fully; avoid cheap alloys |
| Swivel Clasp | Dogs that spin or twist during walks | Reduces leash tangling | Not ideal for high-load situations; inspect moving parts regularly |
Expert Insight: Safety First, Always
Veterinary behaviorists and professional dog trainers emphasize that equipment failure is a leading cause of off-leash incidents in urban areas. A secure connection isn’t just about convenience—it’s a responsibility.
“Over 40% of dog escapes during walks start with a failed clip or connector. Upgrading to a tested, high-quality clasp is one of the simplest yet most effective safety upgrades an owner can make.” — Dr. Lena Torres, DVM, Canine Behavior & Safety Consultant
Real-World Example: Preventing a Close Call
Mark, a dog owner in Portland, used a standard snap hook on his 85-pound Australian Shepherd. After six months of daily hikes, he noticed the spring was slow to close. One morning, his dog lunged at a squirrel—the clip opened mid-pull. The dog escaped into traffic but was recovered unharmed. Mark switched to a locking carabiner rated for 500 pounds and reinforced the leash end with triple stitching. “I thought I was saving time with a quick clip,” he said. “But I nearly lost my dog. Now, every component is built to last.”
Checklist: Safe Leash Clip Replacement
- ☑ Inspect current clip for wear, rust, or damage
- ☑ Measure leash width and D-ring size for compatibility
- ☑ Choose a clip with a load rating 3x your dog’s weight
- ☑ Use appropriate tools to remove the old clip without damaging the leash
- ☑ Securely attach the new clip with reinforced stitching or hardware
- ☑ Test under tension before first walk
- ☑ Schedule quarterly inspections moving forward
Frequently Asked Questions
Can I use a climbing carabiner for my dog’s leash?
Only if it’s specifically rated for dynamic loads and marked with a CE/UIAA certification. Regular climbing carabiners are strong, but many lack the smooth action needed for frequent clipping. Opt for dog-specific locking carabiners designed for pets, which balance strength, ease of use, and safety.
How often should I replace my leash clip?
Inspect it monthly. Replace immediately if you notice rust, difficulty closing, or loose mechanisms. As a rule of thumb, replace clips every 1–2 years with regular use, or sooner if your dog pulls heavily or swims frequently.
Is a bigger clip always better?
No. Oversized clips can snag on obstacles or fail to close properly on smaller D-rings. Match the clip size precisely to your gear. A well-fitted, high-quality medium clip is safer than an oversized, low-grade alternative.
Final Thoughts: Small Change, Big Impact
Upgrading your dog’s leash clip is a simple task with profound implications for safety and peace of mind. By choosing the right hardware, installing it correctly, and maintaining it routinely, you ensure that the most critical link in your walking gear remains unbreakable. Don’t wait for a near-miss to act—take 15 minutes today to inspect, upgrade, and secure your dog’s connection to you.
💬 Have you upgraded your dog’s leash clip? Share your experience or ask questions in the comments—your insight could help another pet owner stay safe.