Walking your dog should be a peaceful experience, not a daily battle of tugs and lunges. Yet for many pet owners, the simple act of a stroll becomes exhausting when their dog pulls relentlessly on the leash. The solution lies in mastering the art of heeling—a foundational skill that transforms walks into enjoyable, controlled outings. Heeling isn’t just about obedience; it’s about building communication, focus, and mutual respect between you and your dog. With consistent practice and the right techniques, any dog—regardless of age or breed—can learn to walk calmly at your side.
The Importance of Heeling: More Than Just a Walk
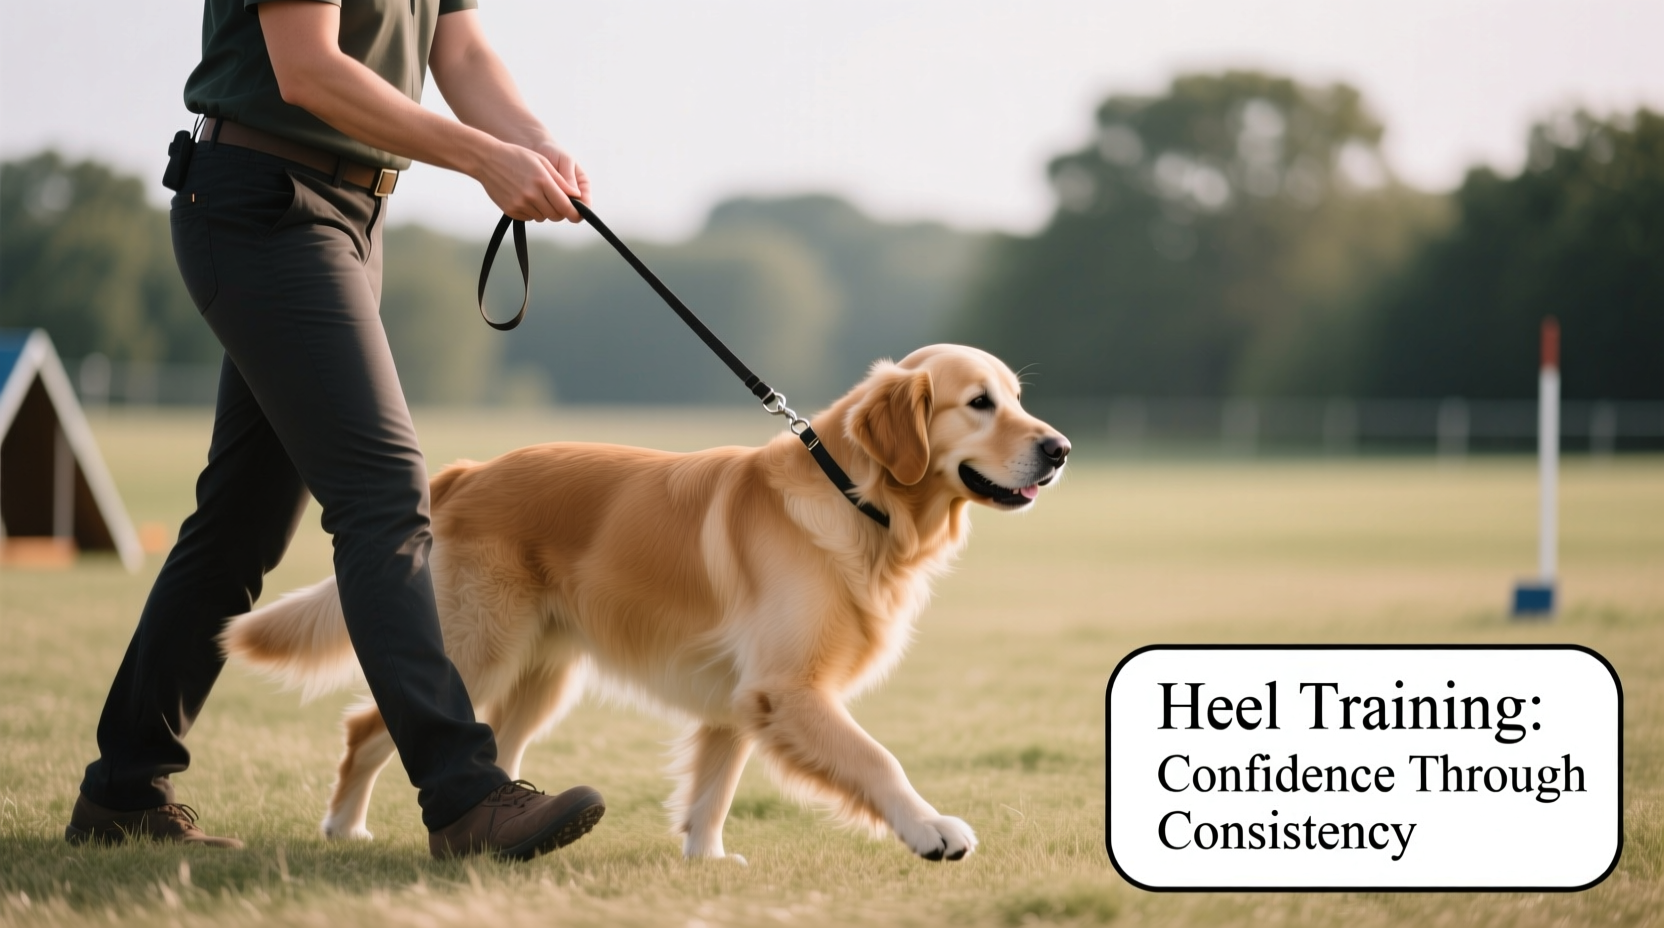
Heeling is often misunderstood as simply walking without pulling. In reality, it's a precision behavior where the dog stays attentively close to your left side, matching your pace and direction without distraction. This level of control enhances safety during walks, especially near traffic or around other animals. It also strengthens the bond between handler and dog by reinforcing attention and responsiveness.
Dogs that master heeling are less likely to lunge at squirrels, bark at passersby, or dart into danger. They become more confident in unfamiliar environments because they look to their handler for guidance. Beyond practical benefits, heeling lays the groundwork for advanced training, including off-leash reliability and competition obedience.
Tip: Always carry high-value treats during early training sessions to reward focus and position.Core Principles of Effective Leash Training
Successful heeling begins with understanding three core principles: consistency, timing, and positive reinforcement.
- Consistency: Use the same cue word (e.g., “heel” or “with me”), hand signals, and rules every time. Mixed messages confuse dogs and delay learning.
- Timing: Reward your dog within half a second of correct behavior. Delayed rewards can accidentally reinforce unwanted actions.
- Positive Reinforcement: Focus on rewarding what you want, not punishing what you don’t. Dogs trained with encouragement are more eager to comply and less stressed.
Avoid jerking the leash or using aversive tools like prong collars as primary teaching methods. These can damage trust and create fear-based behaviors. Instead, build cooperation through clear communication and motivation.
Step-by-Step Guide to Teaching the Heel Command
Follow this structured timeline to teach your dog to heel in five progressive phases:
- Phase 1: Stationary Focus (Days 1–3)
In a quiet room, stand still and say “heel.” When your dog looks at you or positions themselves beside your left leg, mark the behavior with a clicker or verbal cue (“yes”) and give a treat. Repeat 10–15 times per session, multiple times a day. - Phase 2: Short Movement (Days 4–7)
Take one step forward while saying “heel.” If your dog follows and stays in position, immediately reward. Gradually increase to three steps, then five. Stop if they surge ahead—pause and reset until they reposition. - Phase 3: Controlled Pacing (Weeks 2–3)
Practice walking 10–20 feet in a straight line, rewarding every few steps. Introduce turns (left, right, U-turn) and stops. Each time your dog maintains position through a maneuver, reward generously. - Phase 4: Distraction Introduction (Weeks 4–5)
Move training outdoors to low-distraction areas like empty parking lots. Begin incorporating mild distractions—passing cars, distant dogs—and reward calmness and focus. - Phase 5: Real-World Application (Week 6+)
Gradually increase complexity: busier sidewalks, parks, or crowded streets. Practice regularly to maintain reliability. Aim for 80% success before reducing treat frequency.
“Dogs don’t pull because they’re stubborn—they pull because it works. Our job is to make staying by our side more rewarding than charging forward.” — Sarah Wilson, Certified Professional Dog Trainer
Common Challenges and How to Overcome Them
Even with proper technique, setbacks occur. Here’s how to handle frequent issues:
| Problem | Likely Cause | Solution |
|---|---|---|
| Dog pulls ahead constantly | Reinforced pulling in past walks; lack of alternative behavior | Stop moving when tension occurs. Wait for slack, then proceed. Reward engagement. |
| Dog weaves or lags behind | Poor positioning awareness; distraction | Use a short leash (4–6 feet) and guide gently with treats to correct alignment. |
| Loses focus around distractions | Insufficient foundation or premature exposure | Return to easier environments. Increase value of rewards (e.g., chicken vs. kibble). |
| Refuses to stay on left side | Unclear cues or inconsistent reinforcement | Use a target (like your left hand) and reward only when dog is in correct position. |
Mini Case Study: Transforming Max, the Excitable Labrador
Max, a two-year-old Labrador, would lunge at every scent, squirrel, or cyclist during walks. His owner, Jenna, felt embarrassed and exhausted. She began training using the step-by-step method outlined above. Starting in her backyard, she taught Max to focus on her left side with small pieces of boiled chicken. After three days, he could follow her for five steps without distraction.
Jenna practiced daily, gradually introducing sidewalk walks and controlled turns. She used a front-clip harness to reduce pulling leverage. By week six, Max walked calmly past a dog park—his biggest trigger—with only occasional check-ins for treats. Today, he heels reliably on neighborhood walks and has even started off-leash training in secure areas. The key? Consistent practice and making the right choice—staying close—the most rewarding option.
Essential Tools and Equipment Checklist
Using the right gear supports successful training. Here’s what you need:
- ✅ A standard 4–6 foot nylon or leather leash (avoid retractable leashes)
- ✅ A well-fitted flat collar or front-clip harness (e.g., Sensible or Easy Walk)
- ✅ High-value treats (small, soft, and smelly—like chicken or cheese)
- ✅ Clicker (optional but helpful for precise marking)
- ✅ Treat pouch for easy access during walks
- ✅ Patience and a consistent schedule (5–10 minute sessions, 2–3 times daily)
Note: Avoid choke chains, prong collars, or shock collars unless recommended by a certified trainer for specific behavioral cases. These tools carry risks and are unnecessary for most dogs when positive methods are applied correctly.
Frequently Asked Questions
Can older dogs learn to heel?
Yes. While puppies are easier to shape from the start, adult dogs can absolutely learn heeling with patience and consistency. Older dogs may have ingrained habits, so progress might be slower, but motivation and clear training can reshape behavior at any age.
Should I use verbal cues, hand signals, or both?
Combine both. Use a verbal cue like “heel” paired with a hand signal—such as your left hand held low near your leg. This multimodal approach reinforces learning and improves reliability in noisy environments.
How long does it take to train a dog to heel reliably?
Most dogs show improvement within 2–3 weeks of daily practice. Full reliability in distracting environments typically takes 6–10 weeks. Ongoing reinforcement ensures long-term success.
Conclusion: Building Confidence One Step at a Time
Mastering leash training is not about dominance—it’s about partnership. When your dog learns to heel confidently, they gain clarity, security, and a deeper connection with you. The techniques outlined here provide a humane, effective path to transforming chaotic walks into moments of shared focus and joy.
Start today, even if it’s just five minutes in your living room. Celebrate small wins, remain patient, and trust the process. Every step you take together builds confidence—for both of you.
💬 Have a heeling success story or a challenge you’re working through? Share your experience in the comments and inspire fellow dog owners on their training journey!