Crafting custom dog tags is more than just engraving a name—it’s about creating a durable, personalized piece that reflects identity, style, or purpose. Whether you're making military-style tags, pet ID tags, or fashion accessories, the final shine and finish can elevate your creation from amateur to professional. A mirror-like polish not only enhances appearance but also protects the metal surface from oxidation and wear. This guide walks through every stage of achieving a high-gloss, long-lasting finish on custom dog tags using accessible tools and proven methods.
Selecting the Right Metal and Blank Shape
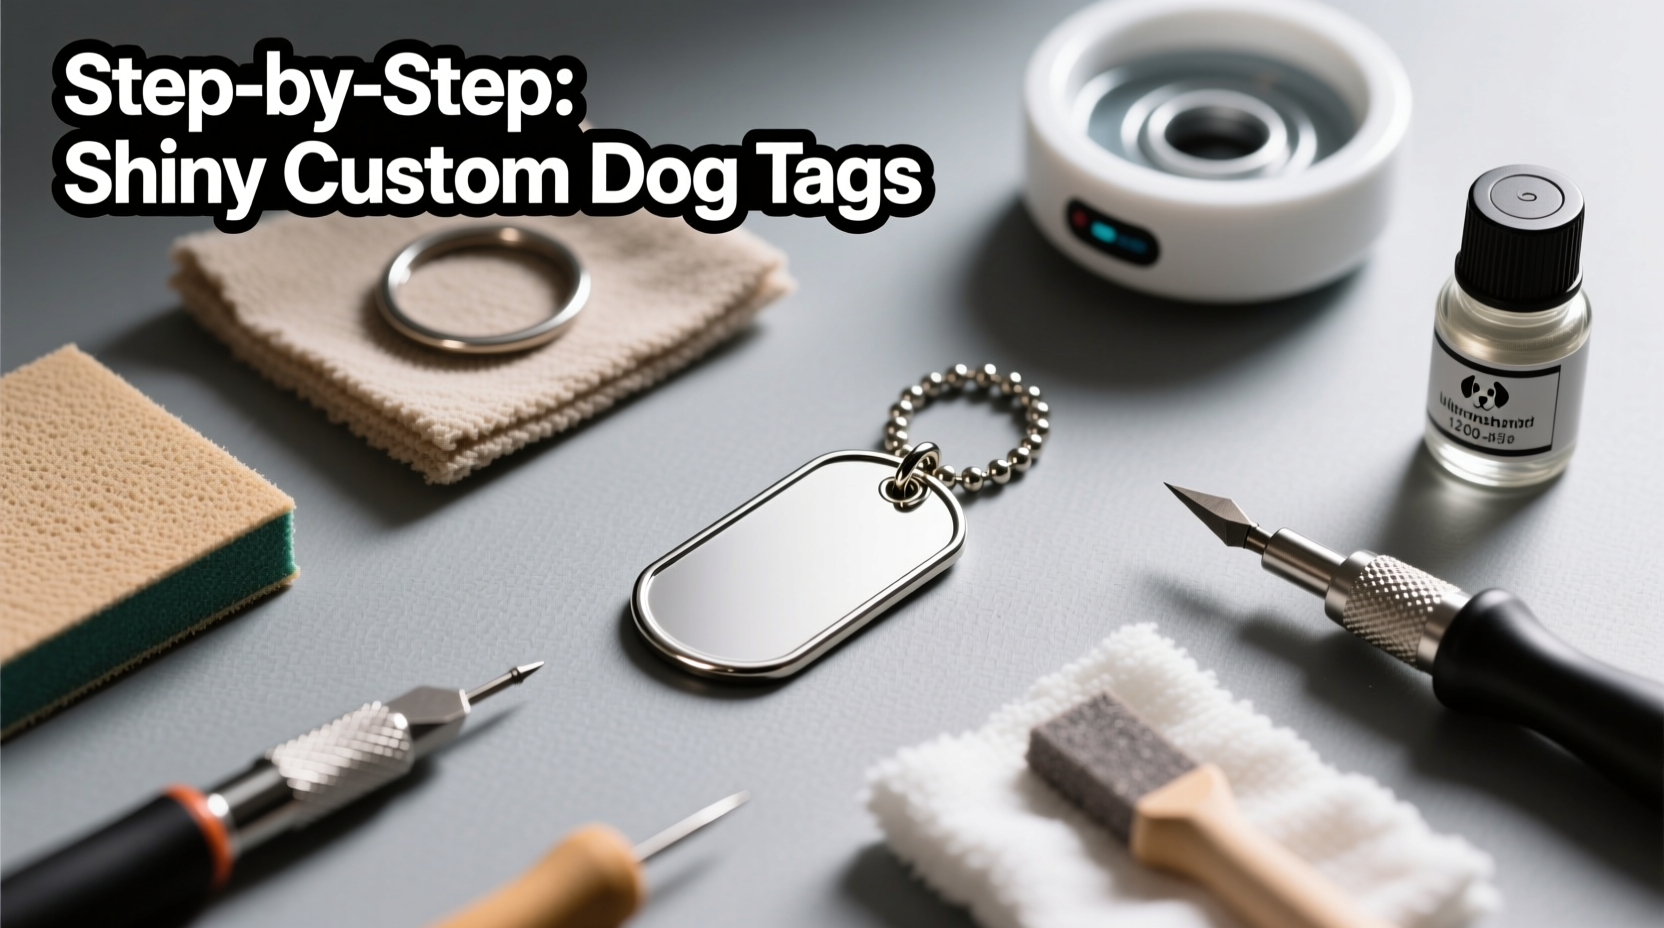
The foundation of a shiny, lasting dog tag begins with material selection. Most custom tags are made from stainless steel, brass, or aluminum—each offering different benefits in durability, weight, and polishability.
- Stainless steel: Highly resistant to corrosion and scratches; ideal for outdoor or military use.
- Brass: Easier to polish to a bright shine; develops a warm patina over time unless sealed.
- Aluminum: Lightweight and corrosion-resistant, but softer and more prone to fine scratches.
Choose pre-cut blanks with smooth edges if possible, or cut your own using a jeweler’s saw or laser cutter for precision. Irregular edges will require more grinding and slow down the polishing process significantly.
Tip: For maximum reflectivity, start with a flat, burr-free blank. Even minor imperfections become magnified under high polish.Step-by-Step Guide to Polishing Custom Dog Tags
Achieving a mirror finish requires progressive stages of abrasion, each removing the scratches left by the previous step. Rushing this process leads to uneven surfaces and dull spots. Follow this timeline for consistent results.
- Deburring and smoothing (80–200 grit): Use a coarse file or sanding block to remove sharp edges and tool marks. Round the corners slightly to prevent snagging and prepare for uniform polishing.
- Intermediate sanding (400–600 grit): Switch to wet/dry sandpaper soaked in water. Sand in one direction using light, even pressure. This eliminates deep scratches and creates a uniform matte surface.
- Fine sanding (800–1200 grit): Continue wet-sanding with higher grits. The surface should begin reflecting light evenly without glare. Inspect under bright light to catch missed areas.
- Pre-polish buffing (Tripoli compound): Mount a clean buffing wheel on a rotary tool or bench grinder. Apply Tripoli compound—a coarse cutting rouge—and gently press the tag against the spinning wheel using steady, sweeping motions. This removes micro-scratches and prepares the surface for final polish.
- Final polish (White diamond or jewelers’ rouge): Change to a separate, lint-free buffing wheel and apply a fine polishing compound. Work each side until a mirror reflection appears. Avoid excessive pressure, which can heat and warp thin tags.
After polishing, wipe the tag with isopropyl alcohol to remove any residue and reveal the true luster.
Finishing Touches: Sealing and Protection
A polished surface, while beautiful, remains vulnerable to fingerprints, moisture, and tarnish—especially with brass or copper-based alloys. Applying a protective coating preserves the shine and reduces maintenance.
| Coating Type | Best For | Application Method | Durability |
|---|---|---|---|
| Clear lacquer spray | Brass, copper | Aerosol, thin even coat | 6–12 months |
| Nano-ceramic sealant | All metals | Microfiber applicator | 1–2 years |
| Wax polish (carnauba-based) | Stainless steel, display pieces | Hand buffing | 3–6 months |
For functional tags exposed to sweat or weather, a nano-ceramic sealant offers the best balance of clarity and longevity. Always apply in a dust-free environment and allow full curing time before handling.
“Polishing isn’t just cosmetic—it’s functional. A smooth, sealed surface resists bacterial buildup and environmental corrosion far better than a raw or brushed finish.” — Daniel Reyes, Metal Fabrication Specialist
Common Mistakes to Avoid
Even experienced crafters can compromise their finish with small errors. These pitfalls are easy to prevent with awareness.
Tip: Never reuse sanding pads or buffing wheels across different grits or compounds—cross-contamination reintroduces coarse particles and ruins fine finishes.- Sanding too aggressively: Deep gouges take multiple extra steps to correct. Use consistent, light pressure.
- Skipping grits: Jumping from 400 to 1000 grit leaves behind scratches that won’t disappear with polishing.
- Overheating during buffing: Excessive friction can melt thin metal edges or cause discoloration. Let the wheel do the work—don’t press hard.
- Touching the surface post-polish: Skin oils immediately dull a mirror finish. Handle tags with nitrile gloves after final cleaning.
Real Example: From Dull to Dazzling – A Veteran’s Custom Tag
James, a retired service member, wanted to recreate his original dog tags as a gift for his grandson. He started with two stamped stainless steel blanks that looked rough and gray. After filing the edges and progressing through 200 to 1200 grit sandpaper, he noticed a dramatic shift—light began reflecting uniformly. Using a Dremel with a muslin buffing wheel and white diamond compound, he spent about three minutes per side. The result was a pair of tags so reflective they mirrored the ceiling lights. He applied a two-coat nano-sealant and mounted them on a genuine leather strap. His grandson later said, “They look like they came from a museum.”
Essential Tools and Materials Checklist
To successfully polish custom dog tags at home, gather these items before starting:
- Custom metal blank (stainless steel, brass, or aluminum)
- Files and deburring tools
- Wet/dry sandpaper (200, 400, 600, 800, 1000, 1200 grit)
- Water container for wet sanding
- Rotary tool or bench grinder with buffing wheels
- Tripoli and white diamond polishing compounds
- Isopropyl alcohol and lint-free cloths
- Nitrile gloves
- Protective coating (lacquer or ceramic sealant)
- Well-ventilated workspace with good lighting
Frequently Asked Questions
Can I polish a dog tag by hand without power tools?
Yes, but it requires significant time and effort. You can achieve a high shine using only sandpaper and manual buffing with a soft cloth and polishing compound. However, reaching a true mirror finish is much harder and less consistent than with a rotary tool.
How do I clean a polished dog tag once it’s finished?
Use a soft, dry microfiber cloth for regular dusting. For deeper cleaning, dampen the cloth slightly with water or isopropyl alcohol, then immediately dry. Avoid abrasive cleaners or soaking, especially if the sealant is worn.
Why does my polished tag still have haze or swirl marks?
Haze usually means the final buffing step wasn’t thorough enough. Swirl marks often come from using worn buffing wheels or inconsistent motion. Re-buff with a fresh wheel and even, overlapping passes.
Final Thoughts
Creating shiny, professional-quality custom dog tags is within reach for anyone willing to invest attention in detail. The key lies in patience—progressive refinement beats speed every time. From selecting the right metal to sealing the final shine, each step contributes to a durable, eye-catching result. Whether you’re honoring a loved one, identifying a pet, or crafting wearable art, a well-polished tag carries presence and pride.
💬 Start your next metalcraft project today. Share your polished dog tag results or ask questions in the comments—your journey inspires others.