Dogs chew. It’s a fact of life for many pet owners. Whether driven by teething, boredom, or anxiety, chewing can cause costly damage—especially when it targets wooden window sills. A dog-chewed window sill isn’t just an eyesore; it can compromise insulation, invite moisture, and even affect structural integrity over time. The good news? With the right tools and approach, most damage is repairable without replacing the entire frame. This guide walks you through identifying the extent of the damage, making effective repairs, and implementing long-term prevention strategies—all tailored for pet owners who want to protect their homes while keeping their dogs happy.
Assess the Damage: Is It Cosmetic or Structural?
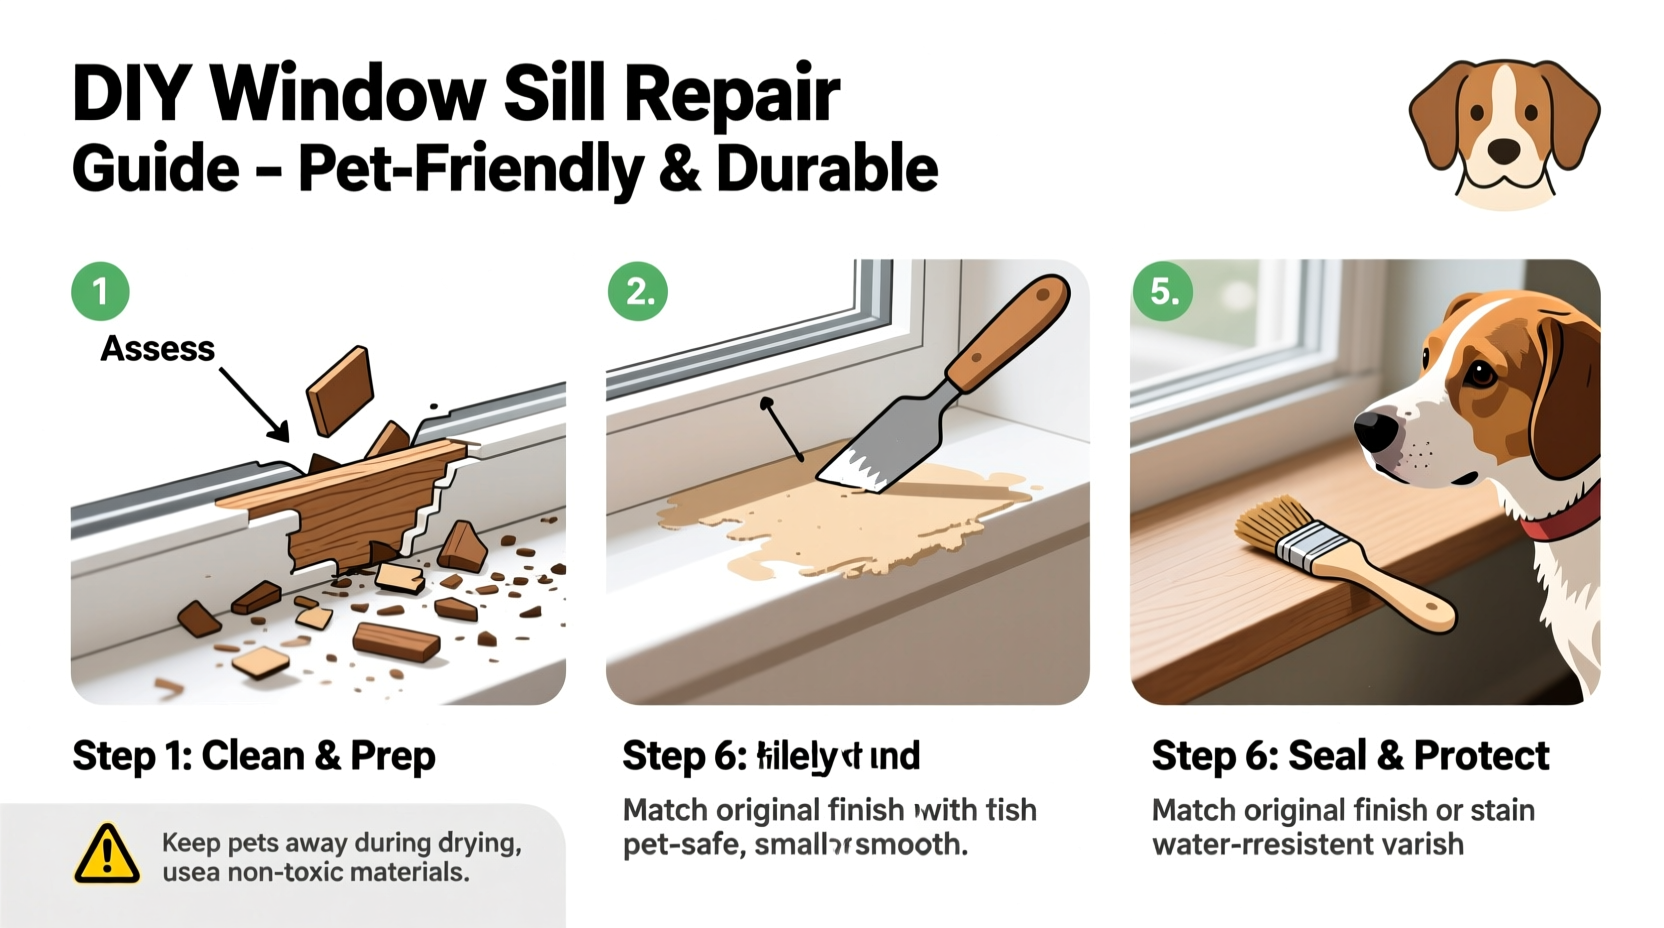
Before grabbing sandpaper or wood filler, determine the severity of the chew marks. Light surface scratches are easy to fix. Deep gouges that expose underlying layers or compromise the wood’s integrity require more involved restoration.
- Cosmetic damage: Surface-level teeth marks, minor dents, shallow grooves.
- Moderate damage: Deeper chips where wood fibers are torn but the sill remains solid.
- Structural damage: Areas where the wood is splintered, crumbling, or missing large chunks that affect stability.
If the sill feels soft when pressed or shows signs of rot (often caused by moisture entering through chewed areas), further inspection may be needed. In severe cases, consult a carpenter before proceeding.
Tip: Use a flashlight at a low angle to highlight imperfections—you’ll see hidden gouges more clearly.Step-by-Step Repair Process
Follow this systematic approach to restore your window sill to its original condition. Most repairs can be completed in a weekend with basic tools.
- Clean the area thoroughly. Remove dust, saliva residue, and loose wood fragments using a dry brush and damp cloth. Let it dry completely.
- Sand down rough edges. Use medium-grit sandpaper (120–150 grit) to smooth jagged areas and create a clean surface for filler adhesion.
- Apply wood hardener (if needed). For soft or fibrous areas, brush on a liquid wood hardener to stabilize weakened fibers. Allow it to cure as per manufacturer instructions.
- Fill deep gouges with epoxy wood filler. Knead two-part epoxy filler according to package directions and press firmly into damaged zones. Overfill slightly to allow for sanding.
- Shape and smooth once cured. After the filler has hardened (usually 4–6 hours), use progressively finer sandpaper (up to 220 grit) to blend the repair with surrounding wood.
- Prime and paint or stain. Apply a high-adhesion primer first, then match the existing finish with paint or wood stain. Multiple thin coats yield better results than one thick layer.
For larger missing sections, consider installing a wood patch cut to size and secured with wood glue and finishing nails before filling seams with putty.
Prevention Strategies: Stop the Chewing Before It Starts
Repairing the sill is only half the battle. Prevent recurrence by addressing the root cause of the chewing behavior.
| Prevention Method | Effectiveness | Notes |
|---|---|---|
| Bitter-tasting deterrent sprays | High (short-term) | Reapply weekly; safe for pets once dry |
| Dog-safe barriers (e.g., removable acrylic shields) | Very High | Clear, non-invasive protection |
| Increased mental stimulation | Moderate to High | Reduces boredom-related chewing |
| Teething toys & chew alternatives | High for puppies | Rotate toys to maintain interest |
| Behavioral training | Long-term best solution | Use positive reinforcement |
“Dogs don’t misbehave out of malice—they act based on instinct, need, or lack of guidance. Redirecting chewing behavior starts with understanding motivation.” — Dr. Lena Patel, Certified Animal Behaviorist
Real-Life Example: Bella the Beagle and the Kitchen Window Sill
Sarah, a pet owner in Portland, noticed her two-year-old beagle Bella had begun gnawing at the kitchen window sill every afternoon. At first, she assumed it was puppy behavior, but Bella was past teething age. After assessing the damage—deep grooves near the latch mechanism—Sarah repaired the sill using epoxy filler and repainted it. She then observed Bella’s routine and realized the chewing occurred when left alone during lunch breaks.
She introduced a stuffed Kong toy and installed a transparent acrylic shield over the sill. Within a week, the chewing stopped. Sarah credits success not just to the physical fix, but to combining repair with behavioral insight and environmental enrichment.
Essential Checklist for Pet Owners Repairing Chewed Window Sills
Use this checklist to ensure no step is missed during your repair project:
- ☐ Inspect the sill for soft spots, rot, or insect damage
- ☐ Clean the chewed area with mild detergent and dry thoroughly
- ☐ Sand damaged zones to create a stable surface
- ☐ Apply wood hardener to compromised fibers
- ☐ Fill gaps with two-part epoxy wood filler
- ☐ Sand smooth after curing
- ☐ Prime and repaint or restain to match
- ☐ Apply pet-safe bitter spray or install a protective cover
- ☐ Provide alternative chew toys and increase daily exercise
- ☐ Monitor behavior and reinforce training cues like “leave it”
Frequently Asked Questions
Can I use regular caulk instead of wood filler?
No. Regular caulk lacks the structural strength needed for load-bearing or high-friction areas like window sills. Use epoxy-based wood filler designed for wood restoration—it hardens like wood and can be sanded and painted.
How do I stop my dog from chewing the same spot again?
Combine physical deterrents with behavioral redirection. Apply a pet-safe bitter spray (like Grannick’s Bitter Apple) and immediately offer a chew toy when you catch your dog near the sill. Consistency over several weeks typically breaks the habit.
Is painting enough to protect the sill long-term?
Paint adds a protective layer but won’t stop a determined chewer. For lasting protection, combine paint with a clear acrylic shield or plastic laminate guard, especially in reach of curious paws and noses.
Protect Your Home and Support Your Dog’s Wellbeing
Fixing a dog-chewed window sill is more than a home improvement task—it’s an opportunity to strengthen the bond between pet and owner. By repairing the damage properly and addressing the reasons behind the chewing, you create a safer, more harmonious living environment. Dogs thrive on structure, stimulation, and boundaries. When those needs are met, destructive behaviors naturally decline.
Start today: assess the damage, gather your supplies, and commit to both the repair and the prevention. Your home will look better, your dog will be happier, and future window sills will remain intact.
💬 Have a pet-damaged home repair story or tip? Share your experience below and help fellow pet owners find smart, lasting solutions!