Crafting your own pet collars isn't just a creative outlet—it's a way to ensure your furry companions wear something safe, comfortable, and uniquely suited to their personality. Commercial collars often use low-grade hardware or generic sizing, but handmade versions let you choose every component: from the strength of the webbing to the charm of the buckle. Whether you're making a delicate collar for a petite kitten or a rugged one for an energetic terrier, this guide walks through the essential steps, material choices, and design considerations that result in long-lasting, attractive collars.
Selecting the Right Materials for Durability and Style
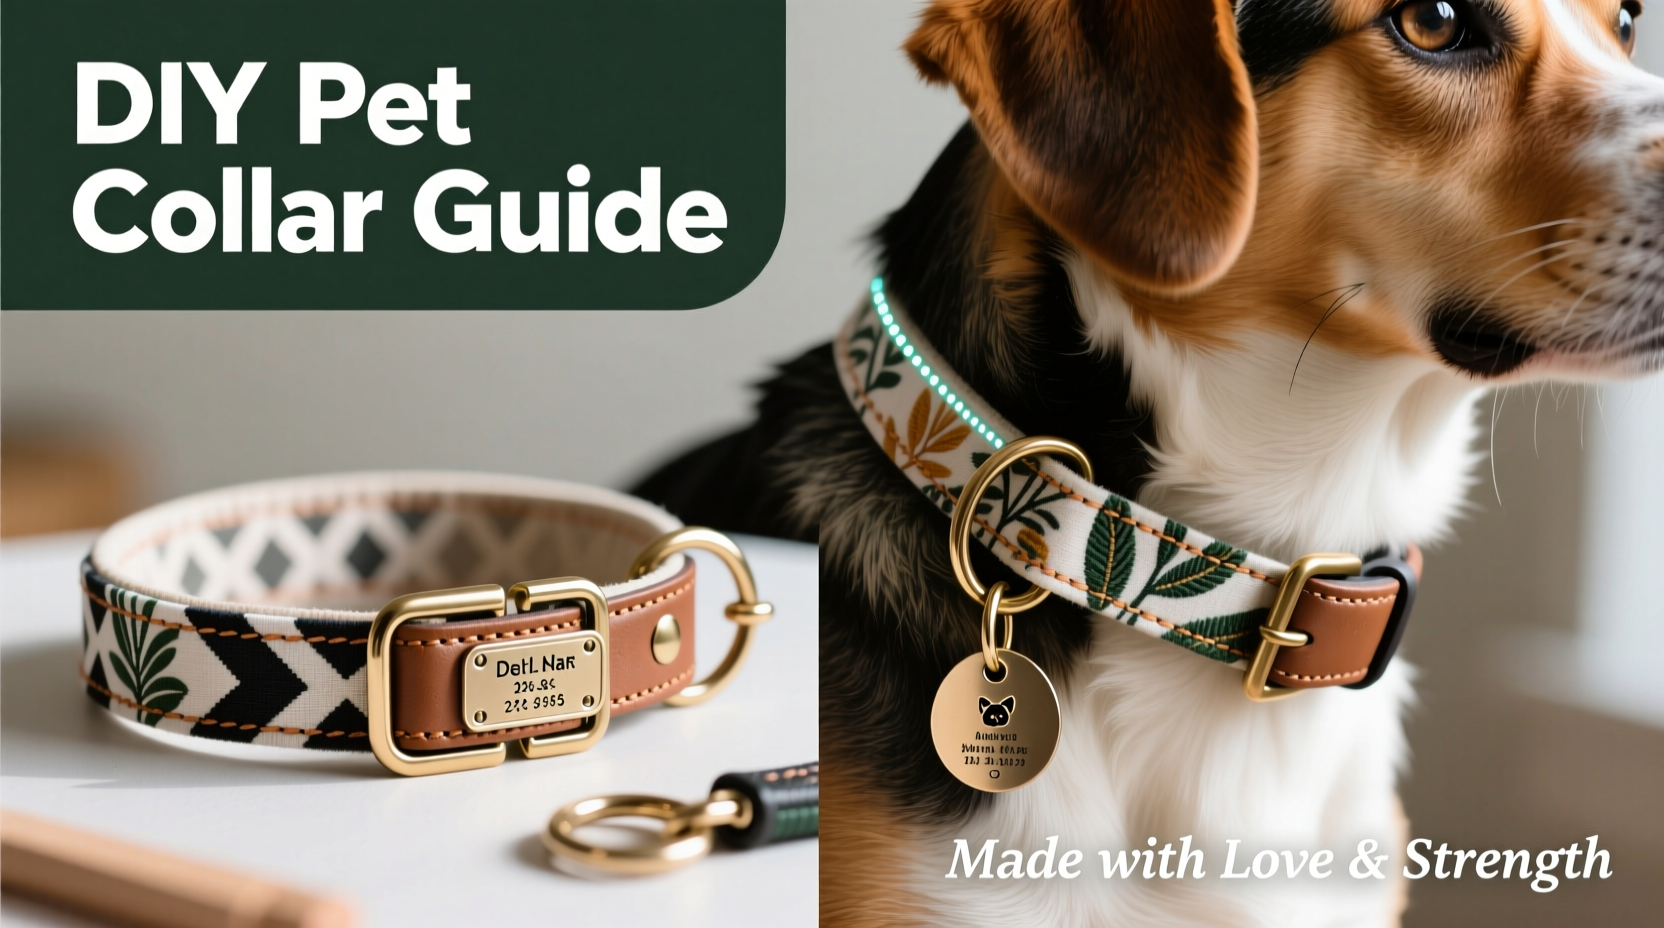
The foundation of any high-quality collar lies in its materials. Unlike mass-produced options, DIY collars allow full control over fabric, fasteners, and reinforcements. The most critical components are the webbing, buckle, D-ring, and stitching thread.
Nylon and polyester webbing are top choices due to their resistance to moisture, UV rays, and abrasion. Nylon is slightly more flexible and commonly used, while polyester holds color better and resists stretching. Width varies by pet size: 3/8 inch for cats and small dogs, 5/8 inch for medium breeds, and 1 inch for large dogs. Always opt for mil-spec (military specification) grade webbing when possible—it’s tested for tensile strength and durability.
Tip: Pre-wash fabric trims or ribbons before attaching them to prevent shrinkage after completion.Hardware should be corrosion-resistant. Nickel-plated or solid brass buckles and D-rings won’t rust easily and maintain a polished look. Avoid plastic clips for dogs that pull—metal is safer. For cats, breakaway buckles are non-negotiable; they release under pressure to prevent choking if the collar snags.
Essential Tools and Setup
You don’t need industrial equipment. A standard sewing machine capable of straight and zigzag stitches is sufficient. Use heavy-duty thread—bonded nylon or upholstery thread—for maximum seam strength. Hand-sewing is possible but requires waxed thread and a leather needle for tight, secure stitches.
Other essentials include:
- Scissors or rotary cutter
- Measuring tape
- Pins or clips
- Lighter or fray check (to seal cut ends)
- Awl or hole punch (for adjusting D-ring placement)
Work on a clean, flat surface with good lighting. Clamping a ruler to your table helps achieve straight cuts. If using decorative ribbon over webbing, align it precisely before sewing to avoid twisting.
Step-by-Step Construction Process
Follow this timeline to create a professional-grade collar at home:
- Measure your pet: Wrap a soft tape around the neck where the collar sits. Add 1–2 inches for comfort and adjustability. Note whether the pet has a broad head (common in cats), which may require a larger first hole.
- Cut the webbing: Cut to length based on measurement plus 1 extra inch for folding and stitching at both ends.
- Seal the ends: Lightly melt the cut edges with a lighter or apply fray check to prevent unraveling.
- Attach the buckle: Slide the male end onto one end of the webbing. Fold over 1/2 inch and stitch securely with a box stitch (square with an X inside) for reinforcement.
- Sew the D-ring: Position the D-ring against the underside of the other end, fold over, and stitch with the same reinforced pattern.
- Add adjustment holes: Use a hole punch to create evenly spaced holes (every 3/4 inch) near the tail end so the buckle can fit securely at multiple lengths.
- Optional: Decorate: Sew on fabric patches, embroider initials, or weave in a ribbon overlay. Ensure embellishments don’t interfere with the buckle or lie against the pet’s skin.
Design Ideas and Customization Options
One of the greatest advantages of DIY collars is personalization. Consider these ideas to enhance both function and flair:
- Reflective stitching: Use reflective thread or add a strip of retroreflective tape beneath the top layer for nighttime visibility.
- Name tags: Attach a custom metal tag with your pet’s name and your phone number. Engraved tags last longer than printed ones.
- Themed patterns: Match seasonal holidays, hobbies, or your pet’s quirks—like a “ninja cat” print or hiking-inspired gear for adventure dogs.
- Layered textures: Combine canvas backing with a silk-like ribbon top for cats, adding elegance without sacrificing strength.
For multi-pet households, assign colors or patterns to each animal to avoid mix-ups. Just ensure dyes are non-toxic and fabrics don’t shed fibers that pets might ingest.
Safety and Fit: What Experts Emphasize
Style should never compromise safety. Veterinarians and pet product designers stress proper fit and escape-proof construction—especially for outdoor animals.
“A well-fitted collar should allow two fingers to slide comfortably beneath it. Too loose risks entanglement; too tight can cause skin irritation or restrict blood flow.” — Dr. Lena Reyes, Small Animal Behavior Specialist
Breakaway collars are mandatory for cats, even indoor ones. They’re engineered to release under sudden force, such as when a claw catches in fencing or furniture. Never use a breakaway for a leash attachment—only for ID purposes. Dogs should have secure buckles, but consider quick-release styles for easier handling during grooming or vet visits.
| Feature | Dog Collar Do’s | Cat Collar Don’ts |
|---|---|---|
| Fitting | Snug but allows two fingers under | Avoid tight or rigid bands |
| Hardware | Heavy-duty metal buckles | No permanent buckles—always use breakaway |
| Material | Durable nylon/polyester | Avoid bulky or dangling decorations |
| Use Case | Leash-compatible with strong D-ring | Never attach a leash to a breakaway collar |
Real-Life Example: Crafting for an Active Border Collie
Sarah from Colorado made her border collie’s collar after noticing store-bought versions frayed within weeks of trail hikes. She selected 1-inch-wide polyester webbing, a cam-lock buckle for easy adjustment, and added a reflective stripe down the center. She embroidered the dog’s name and emergency contact using UV-resistant thread. After six months of daily use—including swimming and bushwhacking—the collar shows minimal wear. “It survived mud, snow, and a tumble down a rocky slope,” she said. “And people always ask where I bought it.”
Frequently Asked Questions
Can I wash homemade collars?
Yes, but hand-wash with mild soap and air-dry. Machine washing can weaken stitching over time, especially around stress points like the D-ring.
How long do DIY collars typically last?
With quality materials and regular inspection, they can last 1.5 to 3 years. Check monthly for fraying, loose threads, or worn hardware.
Is leather suitable for homemade pet collars?
Leather looks elegant but requires conditioning and isn’t ideal for pets that swim or live in humid climates. It can crack or stretch. If used, opt for vegetable-tanned leather and double-stitch all seams.
Final Checklist Before Wearing
- ✅ Measure pet’s neck accurately
- ✅ Choose appropriate width and strength of webbing
- ✅ Confirm hardware is rust-resistant and secure
- ✅ Reinforce all stitched areas with box or diamond patterns
- ✅ Verify breakaway mechanism for cats
- ✅ Inspect for sharp edges or loose threads
- ✅ Allow room for growth in young pets (adjustable holes help)
Start Crafting Today—Your Pet Deserves a Perfect Fit
Making durable, stylish collars at home blends craftsmanship with care. You control the quality, tailor the design, and contribute to your pet’s safety—all while saving money over premium retail brands. Whether you're sewing your first collar or refining your technique, each one becomes a testament to thoughtful pet ownership. Gather your supplies, measure twice, and sew with confidence. Your companion will wear their new accessory proudly—and safely—for adventures ahead.
💬 Have you made a collar that became your pet’s favorite? Share your story, tips, or design ideas in the comments below!