Dogs thrive on mental stimulation as much as physical exercise. A bored dog is often a destructive one. One of the most effective ways to engage your pet’s mind while reinforcing positive behavior is through interactive treat-dispensing toys. While commercial options exist, creating your own DIY dog treat dispenser toy offers a customizable, cost-effective, and rewarding experience—for both you and your pup.
With basic household materials and a little creativity, you can build a durable, fun, and functional toy that challenges your dog to work for their treats. This guide walks you through the entire process, from material selection to final testing, ensuring your creation is safe, engaging, and perfectly suited to your dog’s size and chewing habits.
Why Mental Stimulation Matters for Dogs
Dogs are intelligent animals that benefit greatly from problem-solving activities. Without adequate mental engagement, they may develop anxiety, excessive barking, or destructive behaviors such as chewing furniture or digging. Treat-dispensing toys simulate foraging, a natural canine instinct, encouraging dogs to use their noses, paws, and brains to access food rewards.
According to Dr. Karen Overall, a board-certified veterinary behaviorist, “Enrichment tools like puzzle feeders and treat dispensers reduce stress and improve emotional resilience in dogs.” These toys not only slow down fast eaters but also promote focus, patience, and confidence.
“Enrichment isn’t a luxury—it’s a necessity for a balanced canine life.” — Dr. Sarah Carter, Veterinary Ethologist
Materials You’ll Need
The beauty of this project lies in its simplicity. Most components can be found around the house or purchased inexpensively at a hardware or craft store. Below is a checklist of recommended supplies:
Tip: Always choose non-toxic, pet-safe materials. Avoid glues or paints that could flake off and be ingested.- Plastic bottle (16–32 oz, depending on dog size) – e.g., soda or water bottle
- Cardboard tubes (toilet paper or paper towel rolls)
- Duct tape or masking tape (non-toxic, pet-safe)
- Scissors or box cutter
- Hole punch or sharp tool for making openings
- Dry dog treats or kibble (size appropriate for dispenser holes)
- Optional: Felt scraps, rubber bands, or fabric strips for added texture
Step-by-Step Assembly Guide
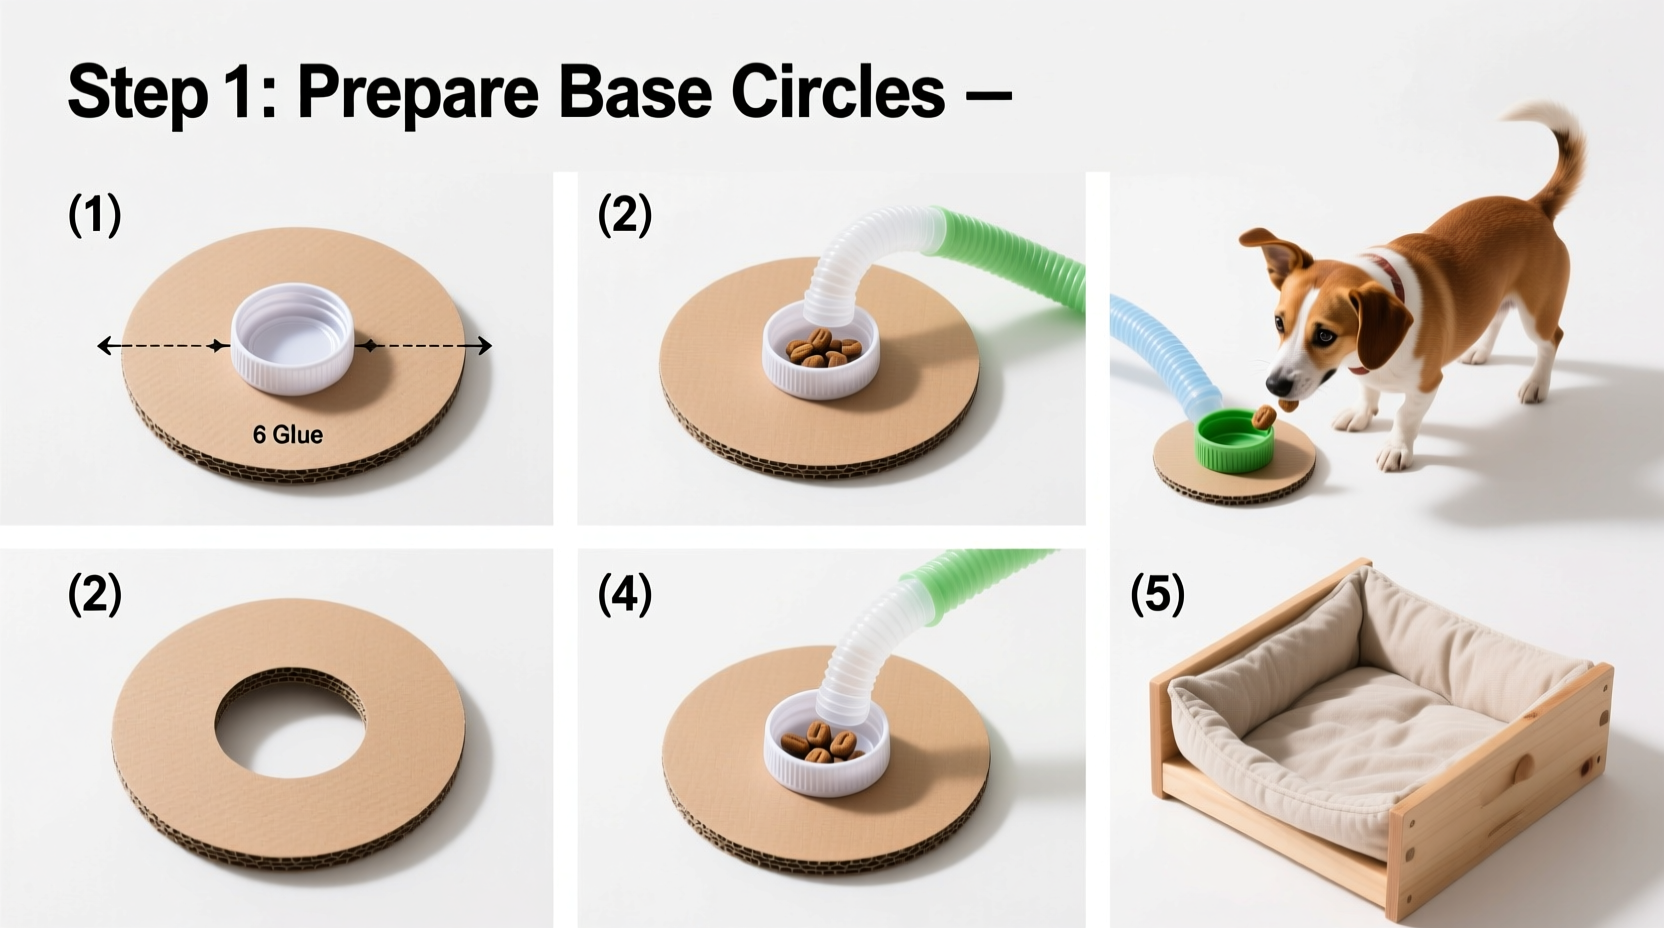
Follow these clear steps to create a simple yet effective treat dispenser. This version uses a plastic bottle as the base, ideal for medium to large dogs. For smaller breeds, scale down using a smaller container.
- Clean and dry the plastic bottle thoroughly. Remove labels and adhesive residue to prevent chemical exposure.
- Determine treat hole size. Using scissors or a heated nail, carefully puncture 3–5 holes around the sides of the bottle. Holes should be just large enough for treats to fall out when the bottle rolls—typically ¾ inch in diameter.
- Test hole functionality. Add a few treats and roll the bottle gently. Adjust hole size if treats don’t dispense or fall out too easily.
- Add internal obstacles to increase difficulty. Insert crumpled paper, cardboard baffles, or cut-up tubes inside the bottle so treats must navigate twists before exiting.
- Seal the cap securely. Use duct tape to reinforce the lid and prevent it from coming loose during play.
- Enhance grip and interest. Wrap sections of the bottle with fabric strips or felt secured with non-toxic tape to provide tactile variety.
- Supervise first use. Introduce the toy in a controlled environment, showing your dog how rolling it releases treats.
Design Variations for Different Skill Levels
Not all dogs learn at the same pace. Customize your dispenser based on your pet’s age, breed, and experience with puzzle toys. The table below outlines three difficulty levels and corresponding modifications.
| Skill Level | Features | Best For |
|---|---|---|
| Beginner | Large holes, no internal barriers, lightweight bottle | Puppies, senior dogs, or first-time users |
| Intermediate | Moderate hole size, 1–2 cardboard tube inserts, textured exterior | Adult dogs with basic puzzle experience |
| Advanced | Small holes, multiple baffles, weighted base (add pebbles), timed release design | Breeds like Border Collies, Poodles, or high-energy dogs |
Real-Life Example: Max the Beagle’s Puzzle Journey
Max, a 3-year-old Beagle known for raiding the trash can, showed signs of boredom during long workdays. His owner, Lisa, built a beginner-level bottle dispenser using a 20-oz soda bottle with three large holes. She filled it with kibble and placed it in the living room.
At first, Max nudged it cautiously. After a treat rolled out when he pushed it with his nose, he caught on quickly. Within two days, he was actively rolling it across the floor. Over the next week, Lisa upgraded to an intermediate version with internal cardboard spirals. The result? No more trash raids—and noticeably calmer behavior.
This small investment in time led to significant improvements in Max’s daily routine, proving that even simple DIY solutions can have lasting behavioral benefits.
Safety and Maintenance Checklist
To ensure your DIY toy remains a safe enrichment tool, follow this essential checklist:
- ✅ Inspect for cracks or sharp edges weekly
- ✅ Wash with warm, soapy water after every 3–4 uses
- ✅ Replace immediately if your dog begins chewing or breaking pieces off
- ✅ Supervise initial play sessions to prevent accidental ingestion
- ✅ Rotate toys every few days to maintain novelty and interest
- ✅ Use only treats that fit safely through holes—avoid oversized or sticky ones
Frequently Asked Questions
Can I use glass containers for treat dispensers?
No. Glass poses a serious safety risk if broken. Always use shatterproof materials like plastic or rubber. Even sturdy plastics should be checked regularly for wear.
My dog loses interest quickly. How can I keep the toy engaging?
Vary the treats used—rotate between kibble, freeze-dried liver, or mini training treats. You can also change the toy’s location, add scent trails, or introduce new designs every few weeks to renew curiosity.
How long should my dog play with the dispenser each day?
Aim for 10–20 minutes per session, once or twice daily. This provides mental stimulation without over-reliance. Pair it with physical exercise for a balanced routine.
Final Thoughts and Next Steps
Creating a DIY dog treat dispenser toy isn’t just about saving money—it’s about deepening your understanding of your pet’s needs and providing meaningful enrichment. With minimal effort, you can transform everyday items into powerful tools for learning, focus, and joy.
Start simple, observe your dog’s response, and iterate. Each adjustment you make brings you closer to a toy perfectly tailored to your dog’s personality and intelligence. And remember: the goal isn’t perfection—it’s connection.
💬 Have you built a DIY toy that your dog loves? Share your design ideas, challenges, and success stories in the comments—your insight could inspire another pet parent to try something new!