A well-organized pencil box is more than just a tidy container—it’s a productivity tool. For students, artists, engineers, or professionals who rely on writing instruments daily, a cluttered case can waste time, damage tools, and disrupt workflow. A large-capacity pencil box offers room to store diverse supplies, but without thoughtful organization, that space becomes chaotic rather than useful. This guide breaks down how to transform your oversized pencil case into a streamlined, accessible system that supports focus, creativity, and efficiency.
Assess Your Tools and Usage Patterns
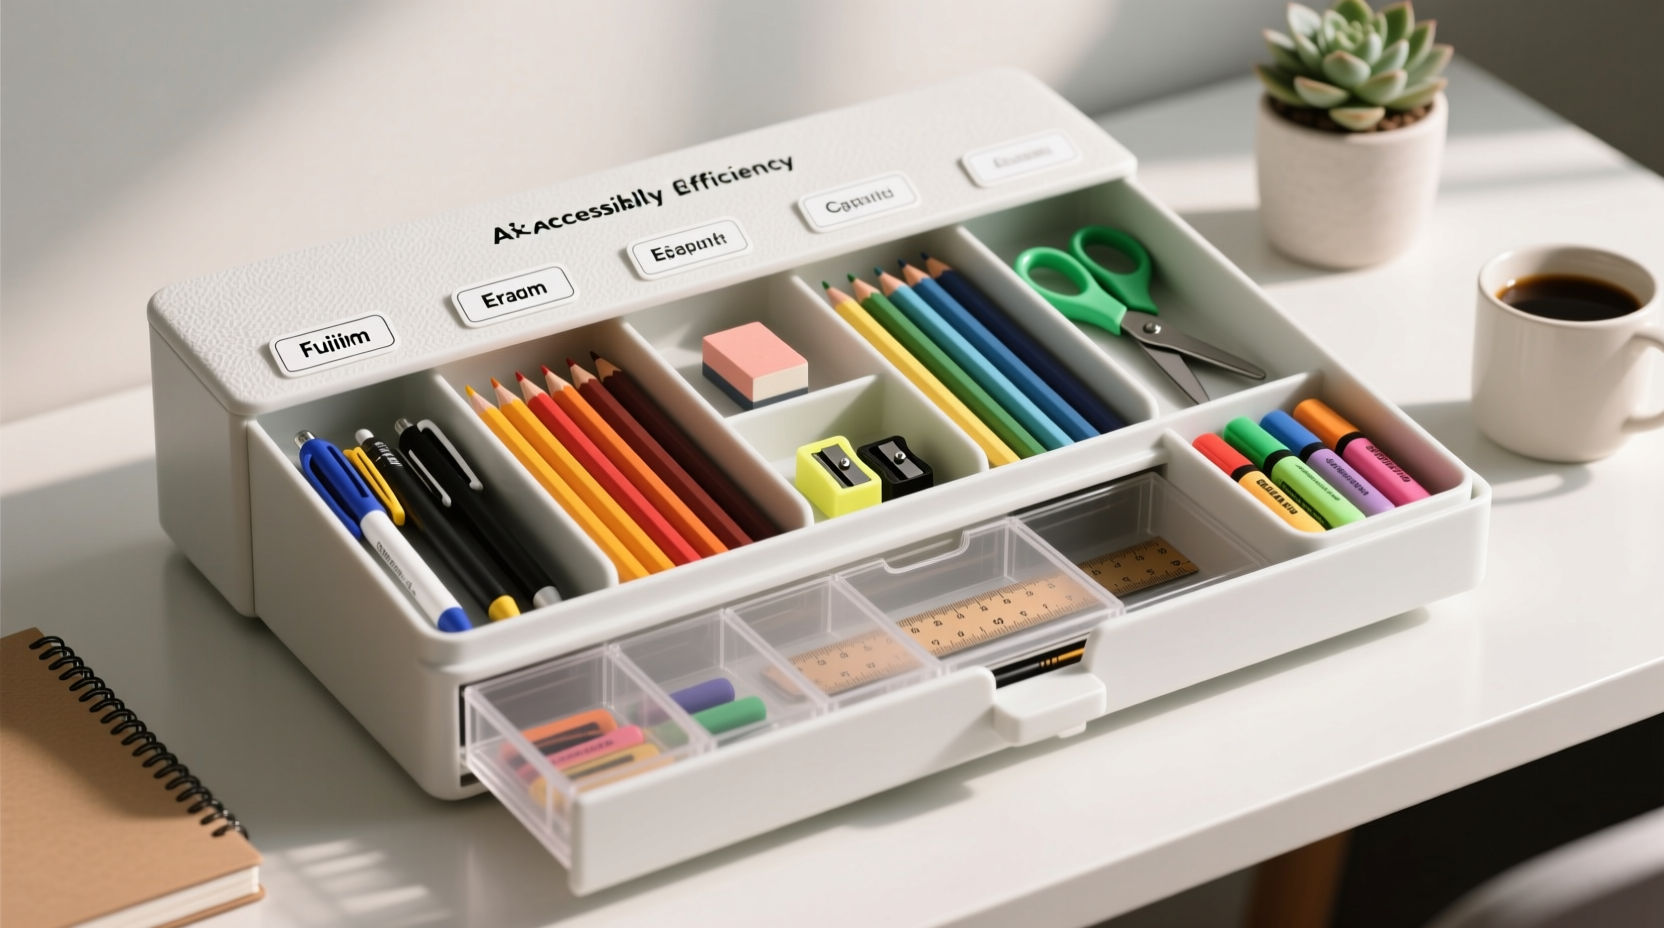
Before arranging anything, take inventory of what you actually use. Pull everything out of your pencil box and lay it on a flat surface. Categorize items by function: writing (pens, pencils), marking (highlighters, markers), measuring (rulers, protractors), erasing (erasers, correction tape), and specialty tools (compasses, stencils).
Next, consider frequency of use. Mark each item as:
- Daily: Items used every day
- Weekly: Used several times a week
- Occasional: Needed once in a while
- Rarely: Seldom or never used
This assessment helps determine placement priority. Frequently used tools should be most accessible, while rare items can occupy less convenient zones.
Tip: If you haven’t used an item in over three months, consider removing it. Storage efficiency begins with relevance.Create Functional Zones Within the Box
Large pencil boxes often feature multiple compartments, but default layouts rarely match real-world needs. Designate specific zones based on tool type and usage. Think of your case like a workshop—each category has its own station.
Common zones include:
- Quick-Access Front Row: Daily-use pens and pencils
- Mid-Depth Section: Highlighters, markers, mechanical pencils
- Back or Bottom Tier: Rulers, compasses, scissors
- Side Pockets or Mesh Sleeves: Small accessories like erasers, lead refills, sticky notes
Use dividers, small containers, or even folded cardboard to customize compartment sizes. Avoid letting tools rattle around loosely—movement causes wear and makes retrieval harder.
“Organization isn’t about fitting everything in—it’s about making the right things easy to reach.” — Dr. Lena Torres, Cognitive Ergonomics Researcher
Step-by-Step Guide: Organizing Your Pencil Box in 6 Stages
Follow this structured process to build a functional, lasting system:
- Empty and clean: Remove all contents. Wipe the interior with a dry cloth to eliminate dust and debris.
- Sort by category: Group similar tools together—pens with pens, pencils with pencils, etc.
- Prioritize by frequency: Identify which tools you use daily and which are backups.
- Assign zones: Map out where each group will live based on access needs and size.
- Implement dividers: Use built-in partitions or add removable organizers (e.g., silicone cups, fabric inserts).
- Label if needed: For shared cases or complex setups, small labels can prevent confusion.
This method ensures deliberate placement rather than haphazard stuffing. The result is faster retrieval and reduced frustration during high-focus tasks.
Do’s and Don’ts of Pencil Box Organization
| Do’s | Don’ts |
|---|---|
| Group similar tools together | Mix pens and pencils without separation |
| Use vertical holders for upright storage | Lay markers horizontally (can dry them out) |
| Store caps securely to avoid loss | Leave pen caps loose at the bottom |
| Include a small pouch for tiny parts | Let erasers and leads roll freely |
| Reassess monthly for clutter buildup | Ignore broken or dried-out tools |
Adhering to these principles prevents common pitfalls that undermine organization over time.
Real-World Example: An Architecture Student’s Setup
Maya, a third-year architecture student, struggled with her 35-slot pencil case. Despite its size, she constantly fumbled for her technical pens during studio critiques. After auditing her usage, she realized she only regularly used seven pens, two pencils, a scale ruler, and a precision eraser.
She restructured her box by placing her most-used technical pens in a front-facing vertical slot. Mechanical pencils went in a magnetic holder on the left side. Larger tools like her triangle ruler were stored flat at the bottom. She added a small zippered mesh bag for spare leads and nibs.
The change cut her tool-retrieval time by over 70%. More importantly, she stopped losing caps and damaging fine tips. Her case now supports her workflow instead of hindering it.
Tip: Use rubber bands or hair ties to keep multi-part tools (like compasses) assembled and ready.Optimize Accessibility with Smart Storage Hacks
Maximizing accessibility goes beyond neatness—it’s about designing for speed and ease under pressure. Consider these advanced techniques:
- Color-code by function: Use colored tape or heat shrink tubing on pen grips to distinguish ink types (e.g., blue = permanent, black = everyday).
- Cap management: Attach a small elastic loop or ribbon inside the lid to hold pen caps securely.
- Stackable trays: In deep boxes, use shallow plastic trays to create layers, keeping small items visible.
- Magnetic strips: Adhesive magnets can hold metal-tipped tools like compasses or mechanical pencils.
- Tool silhouettes: Trace outlines of frequently used items so misplacement is immediately obvious.
These strategies reduce cognitive load and physical effort, especially valuable during timed exams or creative bursts.
Frequently Asked Questions
How often should I reorganize my pencil box?
Perform a full review every 4–6 weeks. Daily users may benefit from a quick 2-minute tidy weekly to remove debris and realign tools.
What’s the best way to store markers to prevent drying?
Always store markers vertically with the tip down. This keeps ink pooled at the writing end and extends lifespan. Avoid exposing them to direct sunlight or extreme temperatures.
Can I use household items as organizers?
Absolutely. Small mint tins, cut-up egg cartons, or repurposed cosmetic containers work well as custom dividers. Just ensure they fit snugly and don’t shift when the box is moved.
Essential Checklist for a High-Performance Pencil Box
Before closing your case, run through this checklist to ensure optimal setup:
- ✅ All tools are clean and functional
- ✅ Dried-out or broken items have been discarded
- ✅ Frequently used tools are within immediate reach
- ✅ Caps and small parts are secured
- ✅ Zones are clearly defined and labeled (if needed)
- ✅ No overcrowding—tools should not require force to close
- ✅ Case closes securely without pressure on contents
Checking these points regularly maintains peak performance and prevents gradual disorganization.
Final Thoughts: Turn Chaos Into Clarity
An efficiently organized pencil box is a small investment with outsized returns. It reduces friction in daily tasks, protects valuable tools, and fosters a mindset of intentionality. Whether you're sketching a design, taking lecture notes, or solving equations, having the right tool instantly available sharpens not just your pencil—but your focus.
🚀 Ready to transform your workspace? Take five minutes today to empty, assess, and rebuild your pencil box using these principles. Share your before-and-after story in the comments—your system might inspire someone else to get organized too.