A garbage disposal that hums but doesn’t grind food waste is a common household frustration. The sound indicates the unit is receiving power and attempting to run, but something is preventing it from operating normally. This often means the motor is jammed or overloaded. While it may seem like a reason to call a professional immediately, many of these issues can be resolved quickly and safely with basic tools and a methodical approach.
Understanding why your disposal is humming—and knowing what steps to take—can save time, money, and unnecessary plumbing service calls. In most cases, the problem stems from minor mechanical obstructions or resettable electrical faults. With proper precautions and the right technique, you can restore function in under 30 minutes.
What Does a Humming Noise Mean?
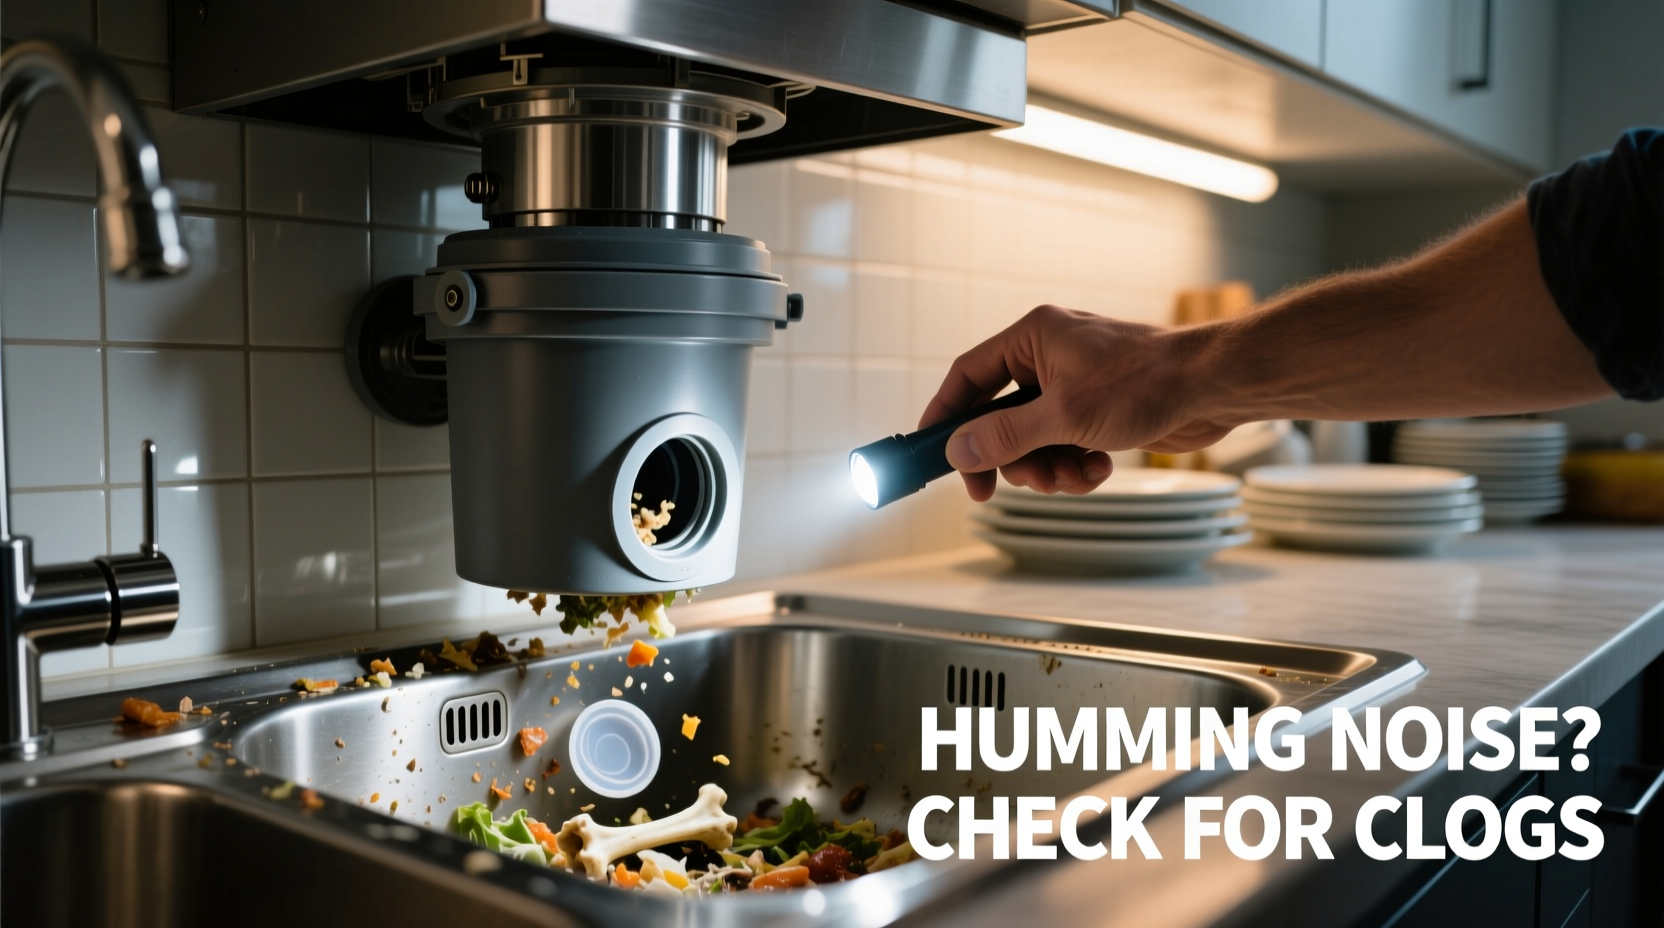
When your garbage disposal emits a continuous low-pitched hum when switched on, it usually means the motor is energized but unable to turn the impellers (the small blades inside). Unlike a loud grinding or clunking sound—which might indicate loose parts or foreign objects—a steady hum suggests one of three primary issues: a jammed grinding chamber, a tripped overload protector, or a failed start capacitor (in older models).
The humming occurs because electricity is reaching the motor, causing magnetic fields to build up, but the rotor cannot spin due to resistance. If left unresolved, this strain can overheat the motor and lead to permanent damage. That’s why prompt action is essential—not just for convenience, but to extend the lifespan of your appliance.
“Many homeowners panic at the first hum, but over 70% of these cases are simple jams that can be cleared in minutes.” — David Langley, Master Plumber & Appliance Technician
Immediate Safety Precautions
Before attempting any fix, safety must come first. Garbage disposals contain sharp components and are connected directly to your home’s electrical system. Never insert hands or metal utensils while the unit is powered.
Tip: Always disconnect power at the circuit breaker before performing manual resets or using tools inside the disposal.Follow these steps to ensure your safety:
- Turn off the disposal switch at the wall. Even if the unit isn’t running, the switch should be in the “Off” position.
- Cut power at the breaker. Locate the correct circuit in your electrical panel and switch it off. This eliminates risk of accidental activation.
- Confirm no power is present by testing the switch or using a non-contact voltage tester near the unit.
- Use only non-metallic tools like wooden spoons or plastic wrenches when interacting with internal parts.
Skipping these steps increases the risk of serious injury. Once the unit is confirmed de-energized, you can proceed with diagnostics and repairs.
Step-by-Step Guide to Fix a Humming Disposal
Most humming issues stem from mechanical jams or resettable faults. Follow this logical sequence to identify and resolve the problem efficiently.
- Check for visible obstructions: Shine a flashlight into the disposal chamber. Look for bones, fruit pits, silverware, or fibrous materials like corn husks or celery strands. If anything is visible, remove it with tongs or pliers—never fingers.
- Attempt a manual reset: Many disposals have a red or black reset button on the bottom or lower side. Press it firmly. You should hear a click if it was tripped. Wait 10 seconds after pressing.
- Manually rotate the impellers: Use a 1/4-inch hex key (Allen wrench) inserted into the center shaft underneath the unit. Turn it back and forth several times. If it’s stuck, apply gentle pressure until movement begins. This breaks up jams and frees seized components.
- Restore power and test: Turn the breaker back on. Flip the wall switch. If the disposal runs normally, the issue is resolved. If it hums again, repeat the process or move to advanced troubleshooting.
- Run cold water and restart: After clearing a jam, always run cold water for 30 seconds while operating the unit to flush out debris and cool internal parts.
If the disposal still hums after these steps, the motor may be burned out or the start capacitor (in older units) could be faulty. These require professional evaluation.
Common Causes and Solutions Table
| Cause | Symptoms | Solution |
|---|---|---|
| Mechanical Jam | Humming sound, no grinding, reset button may be tripped | Use hex key to manually rotate impellers; clear obstruction |
| Tripped Overload Protector | Unit silent or humming weakly, reset button popped out | Press reset button after cooling period (5–10 mins) |
| Foreign Object | Loud grinding or sudden stoppage followed by hum | Remove object with pliers; inspect for damage |
| Failed Start Capacitor | Hum persists even after reset and unjamming | Replace capacitor or consult electrician |
| Burned-Out Motor | Persistent hum, burning smell, no response after reset | Unit likely needs replacement |
Mini Case Study: The Coffee Mug Incident
Sarah M., a homeowner in Portland, noticed her disposal humming one morning after running it following dishwashing. She flipped the switch repeatedly, but the unit wouldn’t start. Remembering advice from a DIY blog, she turned off the breaker and inspected the chamber with a flashlight. To her surprise, the handle of a small coffee mug had slipped down the drain and lodged itself between the impellers and the grinding ring.
Using needle-nose pliers, she carefully extracted the plastic handle. She then used a 5/16-inch Allen wrench to rotate the flywheel beneath the unit. It moved stiffly at first, then freely after a few turns. After resetting the button and restoring power, the disposal ran smoothly. Sarah avoided a $150 service call and learned to check the sink before turning on the disposal.
This case highlights how everyday items can cause major disruptions—and why visual inspection is a crucial first step.
Do’s and Don’ts When Dealing with a Humming Disposal
To prevent further damage or personal injury, follow these best practices:
| Do’s | Don’ts |
|---|---|
| ✅ Do unplug or shut off the breaker before working | ❌ Don’t use hands to remove debris |
| ✅ Do use an Allen wrench to free stuck impellers | ❌ Don’t pour grease or oil down the disposal |
| ✅ Do press the reset button if available | ❌ Don’t continuously flip the switch if it hums |
| ✅ Do run cold water during and after use | ❌ Don’t dispose of fibrous foods regularly (celery, onion skins) |
| ✅ Do schedule annual maintenance checks | ❌ Don’t ignore persistent humming or burning smells |
When to Call a Professional
While many humming issues are fixable at home, some situations require expert help. Consider calling a licensed plumber or electrician if:
- The reset button trips repeatedly after being pressed.
- You detect a burnt electrical smell coming from the unit.
- The disposal makes a humming noise but the motor shaft won’t budge—even with a wrench.
- Water leaks from the bottom of the unit, indicating seal failure.
- The unit is over 10 years old and has frequent operational issues.
In such cases, continued attempts to restart or unjam the disposal could worsen internal damage or create electrical hazards. A technician can diagnose winding failures, capacitor issues, or mounting problems that aren’t visible to the average homeowner.
Frequently Asked Questions
Can I use a broom handle to unjam my disposal?
Yes, but only if it’s made of wood and you do so with the power completely off. Insert the handle into the top of the disposal and gently twist to rotate the impellers. Avoid excessive force, which could damage internal components.
Why does my disposal hum only sometimes?
Intermittent humming often indicates a partial jam or a failing motor that struggles under load. It may work fine with soft waste but stall with harder materials. This is a warning sign—address it before complete failure occurs.
How long should a garbage disposal last?
With proper use and maintenance, most disposals last between 8 and 15 years. Regular cleaning, avoiding hard-to-grind foods, and immediate attention to unusual noises can extend its life significantly.
Preventive Maintenance Checklist
To avoid future humming issues, incorporate these habits into your routine:
- ✔️ Run cold water for 15–30 seconds before and after each use.
- ✔️ Grind citrus peels monthly to clean and deodorize the chamber.
- ✔️ Avoid disposing of grease, coffee grounds, pasta, rice, and fibrous vegetables.
- ✔️ Clean the rubber baffle and splash guard weekly with vinegar and baking soda.
- ✔️ Test the reset button every six months as part of appliance maintenance.
- ✔️ Listen for changes in sound or performance after each use.
Conclusion
A humming garbage disposal isn’t necessarily a death sentence for the unit. In most cases, the issue is a simple jam or resettable fault that can be corrected within minutes using basic tools and safety awareness. By understanding the causes, following a structured troubleshooting process, and practicing preventive care, you can keep your disposal running efficiently for years.
💬 Have a disposal success story or a tricky jam you solved? Share your experience in the comments—your insight could help another homeowner avoid a costly repair!