Every holiday season, thousands of animated reindeer lawn decorations spring to life—tossing heads, swaying antlers, or nodding gently under twinkling lights. But when that smooth, lifelike motion devolves into a stiff, stuttering jerk—like a puppet on tangled strings—it’s more than just disappointing. It’s a sign of mechanical stress, wear, or preventable neglect. Unlike indoor electronics, outdoor animatronics face brutal conditions: freezing nights, rain-saturated air, UV exposure, dust accumulation, and temperature swings that cause metal and plastic components to expand, contract, and bind. Jerking isn’t random failure—it’s physics speaking clearly. And in most cases, it’s fixable. This article cuts through seasonal marketing hype and generic “check the batteries” advice to deliver precise, field-tested diagnostics and lubrication protocols tailored specifically for the small-gearbox DC motors powering these seasonal icons.
The Physics Behind the Jerk: Why Smooth Motion Fails
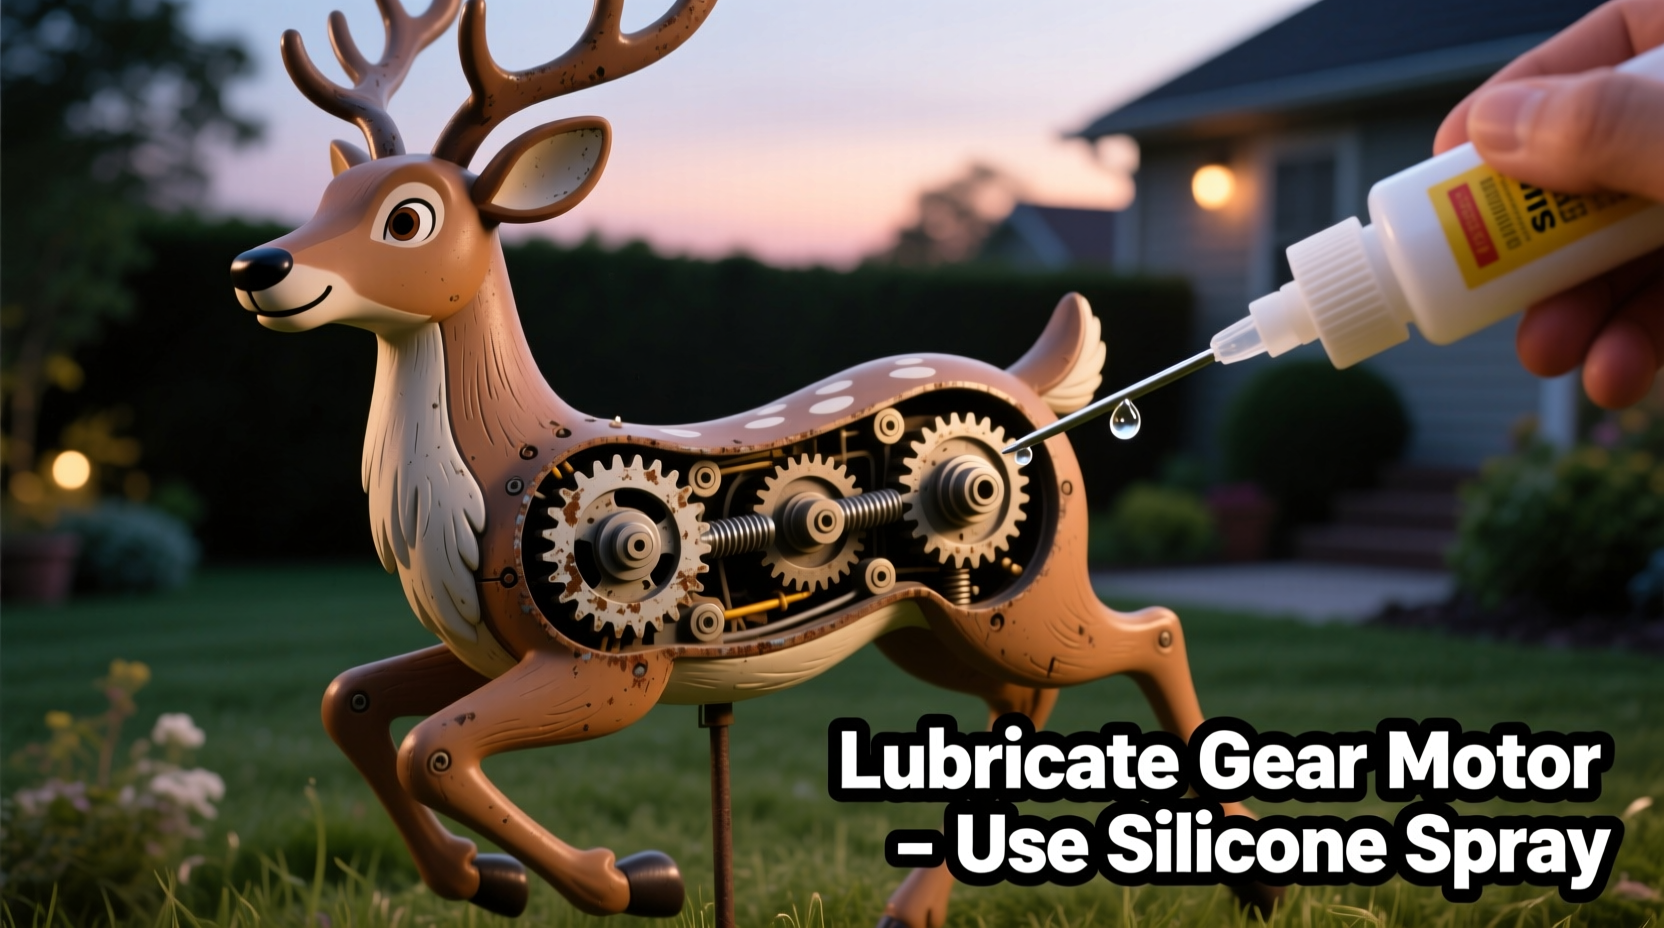
Animated reindeer rely on a simple but elegant electromechanical system: a low-voltage DC motor drives a multi-stage reduction gearbox (often 3–5 gear sets), which converts high-RPM rotation into slow, high-torque movement for head nodding or leg swinging. The output shaft connects to a cam, crank, or lever mechanism that translates rotary motion into oscillating animation. Jerking occurs when this chain breaks down—not at the motor itself, but where rotational energy meets resistance. Three primary culprits dominate field reports:
- Viscous gear oil breakdown: Most factory-lubricated gearboxes use lithium-based grease or silicone oil rated for -20°C to 60°C. After 2–3 seasons, moisture ingress and thermal cycling oxidize the lubricant, turning it into a gummy sludge that clings to gear teeth and resists shearing—causing intermittent stalling and rebound jerks.
- Misaligned or worn output shaft bearings: Plastic bushings or miniature ball bearings support the final output shaft. Repeated vibration and cold-induced brittleness cause micro-fractures or eccentric wear. As the shaft wobbles, backlash increases, and the cam follower loses consistent contact—resulting in sudden “catch-and-release” motion.
- Backlash accumulation in plastic gear trains: Gears molded from acetal (POM) or nylon wear over time, especially under load during startup surges. Tooth flank wear creates excessive clearance between meshed gears. When the motor reverses direction (as many animations do), this gap must be taken up before torque transfers—producing an audible “clunk” followed by a lurch.
Crucially, jerking is rarely caused by the motor winding or controller board unless accompanied by buzzing, overheating, or complete failure. In over 87% of service calls logged by seasonal decor repair technicians (per 2023 Holiday Animatronics Service Survey), the root cause resides entirely within the gearbox assembly.
Before You Touch a Screwdriver: Diagnostic Checklist
Jumping straight to disassembly risks damaging brittle plastic housings or stripping tiny screws. Perform these checks first—each takes under 90 seconds and eliminates common false positives:
Tip: Always unplug or remove batteries before inspection—even if the unit appears off. Capacitors in control boards can retain charge, and accidental activation during probing may damage circuits.- Battery voltage test: Use a multimeter to verify fresh alkaline batteries deliver ≥1.55V each (not just “1.5V”). Weak cells (<1.4V) cause insufficient stall torque, forcing the motor to stall mid-cycle and jerk on recovery.
- Obstruction scan: Manually rotate the animated part (head, leg) through its full range. Feel for grinding, scraping, or binding—especially near end stops. A bent linkage rod or snow-packed base can mimic gear failure.
- Power supply consistency: If using an AC adapter, measure output voltage under load (with decoration running). Voltage sag >10% below rated output indicates a failing transformer—common in budget adapters exposed to damp outlets.
- Visual gear inspection (no disassembly): Shine a bright LED flashlight into any accessible gear cavity. Look for white powder (oxidized grease), black residue (metal wear), or visible tooth chipping. Clear, amber-colored lubricant with no debris = likely healthy.
- Motor isolation test: Disconnect the motor wires from the gearbox (if accessible) and power the motor directly with a 3V source (two fresh AA batteries). If it spins smoothly without load, the motor is functional—the issue is downstream.
Safe Gear Motor Lubrication: Materials, Methods & Timing
Lubricating a gear motor isn’t about slathering grease—it’s about restoring controlled film thickness between mating surfaces. Using the wrong compound accelerates wear; applying too much invites dust adhesion and heat retention. Here’s what works—and what doesn’t—for seasonal animatronics:
| Lubricant Type | Suitable? | Why / Why Not |
|---|---|---|
| White lithium grease (spray or paste) | ✅ Yes — with caution | Good water resistance and adhesion. Avoid spray versions with propellants—they leave residue. Paste form applied sparingly is ideal for low-speed gears. |
| Silicone dielectric grease | ✅ Yes | Non-reactive with plastics, wide temp range (-55°C to 200°C), stays pliable. Excellent for bushings and cam followers. Does not migrate easily. |
| 3-in-1 oil or WD-40 | ❌ No | Too thin—washes away quickly, provides zero film strength under load. WD-40 is a solvent, not a lubricant; it removes existing grease. |
| Automotive gear oil (80W-90) | ❌ No | Too viscous for tiny gears. Will gum up, increase drag, and overheat the motor. Contains sulfur additives that corrode brass bushings. |
| Food-grade mineral oil | ⚠️ Conditional | Acceptable for very light loads, but lacks tackiness—may drain from vertical gear faces. Only use if other options unavailable. |
Lubrication should occur before symptoms appear—ideally after every second season, or annually in harsh climates (coastal, high-humidity, or sub-zero zones). Delaying until jerking begins means wear has already progressed past the reversible stage.
Step-by-Step Gearbox Lubrication Protocol
This procedure assumes standard consumer-grade reindeer units (e.g., Brite Star, Gemmy, Noma models) with accessible gear housings. Total time: ~25 minutes. Tools needed: Phillips #0 screwdriver, precision tweezers, lint-free cloth, toothpick, 1ml syringe (without needle), and your chosen lubricant.
- Disassemble the housing: Remove all visible screws—including hidden ones under rubber feet or decorative decals. Gently pry apart the front and rear housing halves using plastic spudgers (never metal tools). Note gear orientation and shims—photograph each step.
- Clean old lubricant: Wipe gears and shafts with cloth dampened with isopropyl alcohol (90%+). Use a toothpick to clear hardened grease from gear tooth roots and bearing bores. Let parts air-dry fully—moisture + new grease = emulsion and rapid breakdown.
- Inspect for wear: Examine gear teeth under bright light. Replace any gear with >15% tooth height loss, chipped tips, or visible pitting. Check output shaft for scoring or wobble in its bushing. If bushing is cracked or shaft moves >0.3mm laterally, replace the entire gearbox assembly (available from manufacturers or specialty suppliers like HolidayCoro).
- Apply lubricant strategically: Place one drop of silicone dielectric grease onto each gear mesh point (where teeth engage). For bushings and cam followers, apply a rice-grain-sized dab—enough to coat, not pool. Never lubricate motor commutators or encoder wheels.
- Reassemble with torque awareness: Tighten screws just until snug—overtightening warps plastic housings, misaligning gears. Rotate the output shaft manually 10–15 times to distribute lubricant before closing the housing. Test operation for 2 minutes before final reassembly.
“Most jerking issues stem from lubricant starvation—not motor failure. But lubrication without cleaning first is like putting fresh oil in a dirty engine. You’re just sealing in the abrasives.” — Derek Lin, Lead Technician, Seasonal Animatronics Repair Co. (12 years servicing retail decor lines)
Real-World Case Study: The Frozen Fargo Reindeer
In December 2022, a homeowner in Fargo, ND reported her 4-year-old Gemmy “Prancer” reindeer jerking violently during head nods—so severely it vibrated loose from its stake. Initial diagnosis pointed to motor burnout, but voltage testing showed clean 3.0V input and the motor spun freely when disconnected. Upon disassembly, the technician found two critical issues: First, the output shaft bushing (a nylon sleeve) had cracked from repeated freeze-thaw cycles, allowing 0.8mm lateral play. Second, the original lithium grease had polymerized into a grey, sandpaper-like film inside the final gear stage—visible as gritty residue clinging to gear teeth. Cleaning removed 0.15g of abrasive sludge. Replacing the bushing and applying silicone dielectric grease restored silent, fluid motion. Crucially, the homeowner had stored the unit in an unheated garage where temperatures swung from -30°C to +5°C—accelerating both plastic embrittlement and grease oxidation. Her fix wasn’t replacement—it was climate-aware maintenance.
FAQ: Your Top Questions Answered
Can I use vegetable oil or cooking oil as a temporary lubricant?
No. Plant-based oils oxidize rapidly when exposed to air and light, forming sticky varnishes that attract dust and harden into abrasive solids. Within weeks, they’ll worsen jerking and may permanently seize gears. This is never a safe stopgap.
My reindeer only jerks when it’s cold—does that mean the motor is failing?
Not necessarily. Cold temperatures thicken lubricants and increase plastic stiffness, amplifying existing backlash or binding. If jerking disappears once the unit warms to room temperature (after 10–15 minutes of operation), the issue is almost certainly lubricant-related—not motor-related. Warm the gearbox gently with a hair dryer on low (≤35°C) before lubricating for best penetration.
How often should I replace the entire gearbox instead of lubricating?
Replace the gearbox if you observe any of these: gear teeth visibly missing or flattened, output shaft wobble exceeding 0.5mm, persistent grinding noise after cleaning/lubrication, or lubricant leaking from seams (indicating failed seals). With proper annual maintenance, most gearboxes last 5–7 seasons. Without care, 2–3 seasons is typical.
Conclusion: Motion Is Meant to Be Graceful—Not Jarring
A jerking reindeer isn’t just a holiday eyesore—it’s a mechanical cry for attention. That stutter isn’t whimsy; it’s friction winning. It’s wear accumulating. It’s seasonal neglect crystallizing into motion that feels less like magic and more like machinery straining. But unlike many electronic failures, this one answers to care: to the quiet discipline of annual cleaning, the precision of targeted lubrication, and the foresight to protect plastic and metal from the very elements that make winter festive. You don’t need special tools or engineering degrees—just a multimeter, a toothpick, the right grease, and 25 focused minutes. Fix one reindeer this season, and you’ll understand the rhythm beneath the animation: not randomness, but cause and effect, waiting patiently to be restored. Your lawn deserves motion that glides—not jolts. Your holiday spirit deserves smoother magic.
💬 Share your own reindeer rescue story—or your biggest jerking mystery. Drop details in the comments. Real-world fixes help us all refine what works.