
Every year, millions of households pull out their Christmas lights only to face the same frustrating ritual: untangling a chaotic web of wires. What should be a joyful part of seasonal decorating becomes a test of patience and dexterity. The good news? With the right techniques, you can store your Christmas lights so they remain neat, accessible, and tangle-free for years to come. This isn’t about perfection—it’s about practicality, consistency, and a few clever tricks that make all the difference.
The root of the problem lies not in the lights themselves, but in how we handle them after the holidays. Throwing strands into a box or wrapping them haphazardly around cardboard leads directly to knots. But with intentional storage strategies—backed by real-world experience and expert insight—you can eliminate the annual battle once and for all.
Why Christmas Lights Tangle—and How to Prevent It
At first glance, it might seem like lights tangle on their own. But physics tells a different story. When flexible cords are loosely coiled or compressed, small movements during storage cause loops to slip and twist. Over time, especially when jostled in a crowded closet or attic, these micro-shifts accumulate into stubborn knots.
Researchers at the University of California, San Diego studied knot formation in strings and found that even short lengths of cord can spontaneously knot under agitation. Their 2007 study revealed that the probability of knotting increases with length, flexibility, and unsecured ends. Christmas lights check all three boxes.
To prevent tangles, the goal is simple: minimize movement, secure both ends, and maintain consistent coil structure. The best storage methods do this through controlled winding, physical barriers, or compartmentalization.
Tip: Always disconnect light strands before storing—never wrap them together while still plugged in.5 Proven Methods to Store Christmas Lights Without Tangles
No single method works for every home, but each of these five approaches has been tested by decorators, electricians, and storage experts. Choose the one that fits your space, budget, and level of holiday enthusiasm.
1. The Toilet Paper Roll Wrap (Beginner-Friendly)
A low-cost, highly effective solution uses something most homes already have: empty toilet paper rolls. Slide the roll over a pencil or dowel, start wrapping the lights from one end, keeping tension steady. Once fully wrapped, secure the last loop with a small piece of tape or a twist tie. Fold the end flaps inward to enclose the wire ends.
This method keeps coils uniform and prevents slippage. The cardboard also absorbs minor moisture, reducing corrosion risk in damp basements.
2. The PVC Spool System (For Heavy-Duty Use)
If you have outdoor light displays or multiple long strands, consider building a custom spool from PVC pipe. Cut a 4-inch diameter pipe into 3-inch rings, then glue two caps to each end with a central rod running through. Mount the rod between wooden blocks or use a removable axle.
Wrap lights slowly around the spool, guiding them evenly. When finished, cap the ends to lock the coil in place. Label each spool by location (e.g., “Front Porch,” “Tree Top”). This system is durable, weather-resistant, and ideal for professional-grade setups.
3. The Cable Reel Box (Store-Bought Convenience)
Commercial cable reels aren’t just for extension cords. Many are designed specifically for Christmas lights, featuring built-in handles, crank mechanisms, and enclosed compartments. Simply wind the strand around the reel using the guide slot, then close the lid.
These are particularly useful if you lack wall space or prefer a plug-and-play option. Look for models with rubberized guides to prevent fraying and UV protection if storing outdoors.
4. The Zipper Bag + Cardboard Frame (Flat Storage Solution)
For those who stack storage bins vertically, flat is better. Cut a piece of corrugated cardboard to fit inside a large resealable plastic bag. Punch holes near the top and bottom edges. Thread the light strand through the holes, starting at the plug end, and wrap downward in straight lines.
Once fully wound, seal the bag. The plastic protects against dust and pests; the cardboard maintains shape. Write the light type and color on the outside with a dry-erase marker.
5. The Command Hook Wall Strip (In-Use Accessibility)
If you live in a climate where holiday decorations stay up longer—or you reuse lights for events year-round—mount a strip of adhesive hooks on a garage or closet wall. Attach one end of the light strand to the bottom hook, then zigzag upward in a figure-eight pattern across the row.
This keeps lights visible and instantly deployable. Just unhook and go. Best for garages or sheds where temperature fluctuations are minimal.
| Method | Best For | Cost | Tangle Prevention |
|---|---|---|---|
| Toilet Paper Roll | Indoor mini-lights, small collections | $ (uses recycled materials) | ★★★★☆ |
| PVC Spool | Outdoor displays, long-term use | $$ | ★★★★★ |
| Cable Reel Box | Convenience-focused users | $$$ | ★★★★☆ |
| Zipper Bag + Frame | Apartment dwellers, tight spaces | $ | ★★★★☆ |
| Command Hook Strip | Seasonal or semi-permanent setups | $$ | ★★★☆☆ |
Step-by-Step: How to Wind Lights Like a Pro
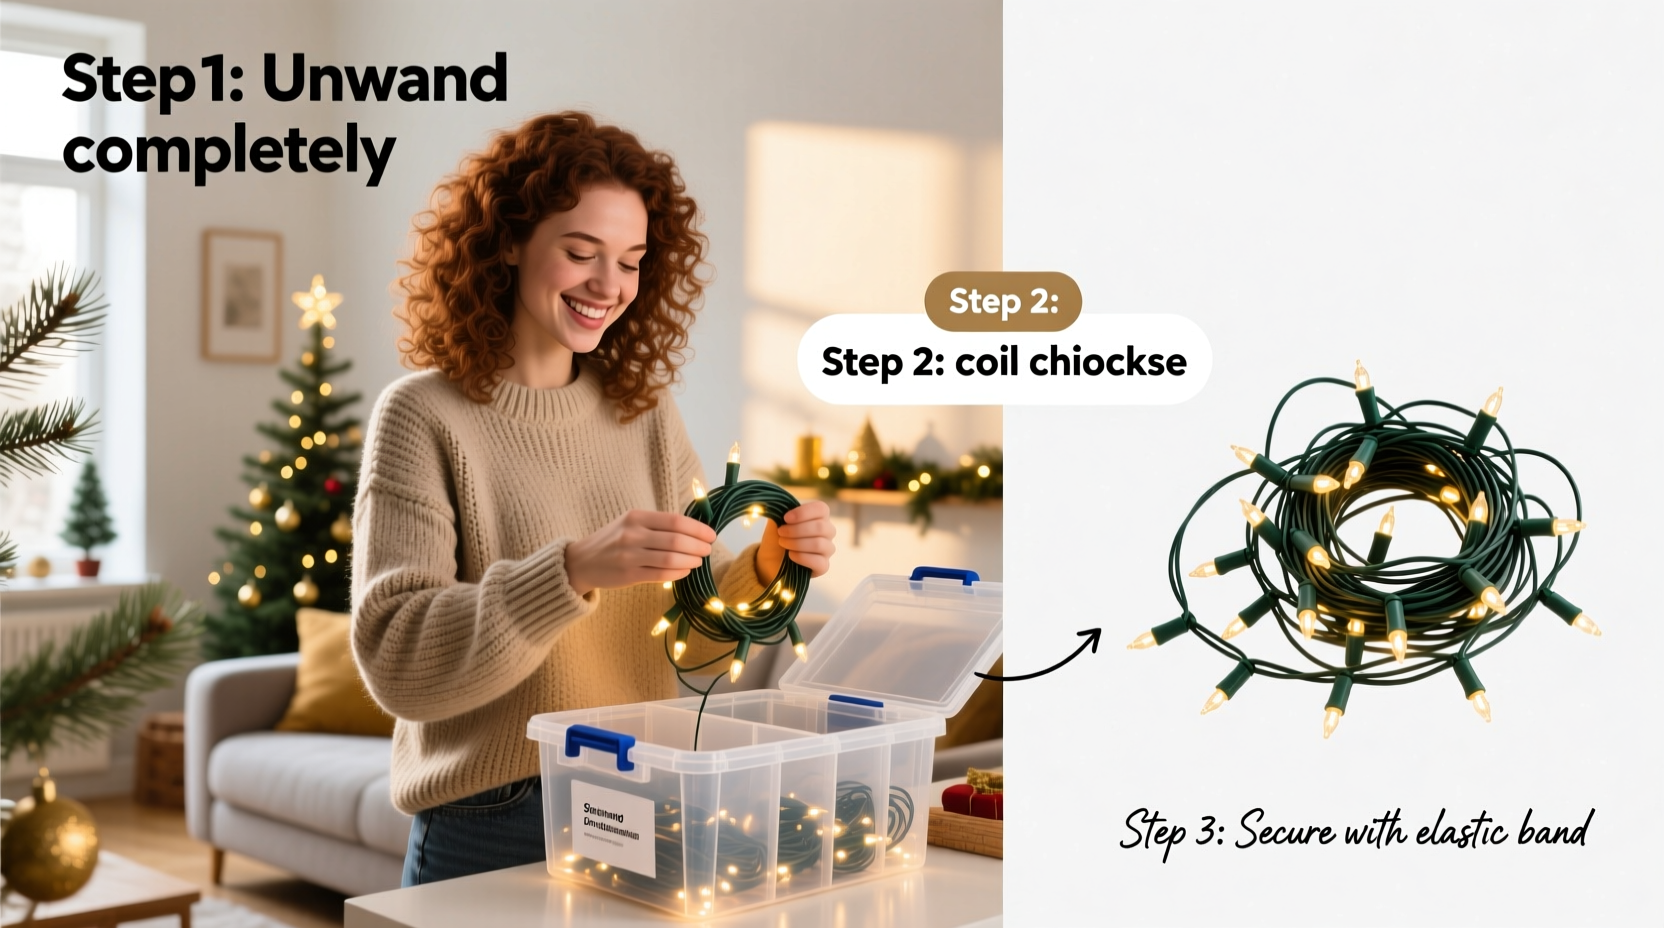
Even the best storage tool fails if the winding technique is flawed. Follow this six-step process to ensure clean, reliable results every time.
- Test Each Strand First: Plug in lights before storing. Replace any broken bulbs or damaged sections. A faulty strand stored improperly can degrade faster.
- Cut Excess Wire (If Needed): Some pre-lit trees or outdated sets have long tail cords. If safe and permitted, trim excess non-lighted wire to reduce bulk—but never cut between sockets.
- Start at the Plug End: Always begin wrapping from the plug. This ensures the heaviest component (the plug) stays anchored and reduces strain on connections.
- Maintain Even Tension: Don’t yank, but don’t let slack build up. Let the wire glide smoothly through your fingers as you wrap.
- Secure Both Ends: After wrapping, use a reusable zip tie, Velcro strap, or tape to fasten the final loop. Never rely on the coil alone to hold shape.
- Label Clearly: Note voltage, color, length, and usage (indoor/outdoor). Use color-coded tags if you have multiple types.
Real Example: How a Holiday Display Pro Eliminates Tangles
Mark R., a landscape lighting technician from Portland, Oregon, manages over 20,000 LED lights for residential clients each year. His team decorates 30+ homes annually, requiring flawless organization.
“We used to spend half our setup time de-knotting,” he says. “Now, every strand goes onto a labeled PVC spool immediately after removal. We number each spool and log it in a spreadsheet—type, location, amperage draw. When December comes, we pull them out like files from a cabinet.”
His system reduced installation time by nearly 40%. “It’s not flashy,” he adds, “but consistent winding and proper storage mean we’re never scrambling. That’s what clients notice—the reliability.”
“Tangles aren’t inevitable—they’re a sign of inconsistent handling. The moment you stop treating lights like junk wire, they’ll last longer and behave better.” — Lisa Tran, Home Organization Consultant
Checklist: Your Annual Light Storage Routine
Follow this checklist every January to keep your lights ready for next season:
- ✅ Test all strands for function and damage
- ✅ Replace blown bulbs or faulty fuses
- ✅ Clean connectors with a dry cloth (avoid water)
- ✅ Choose appropriate storage method based on length and use
- ✅ Wind carefully from the plug end
- ✅ Secure both ends with ties or caps
- ✅ Label each bundle clearly
- ✅ Store in a cool, dry place away from rodents
- ✅ Keep away from heavy objects that could crush coils
- ✅ Inventory and log if managing multiple sets
Common Mistakes That Lead to Knots
Avoid these pitfalls that undo even the best intentions:
- Overfilling storage containers: Crowding causes pressure and shifting. Use separate bins for different types.
- Wrapping too tightly: Excessive tension stresses wire insulation, leading to cracks and shorts.
- Using metal twist ties: These can cut into wires over time. Opt for soft Velcro or fabric ties.
- Storing in attics or garages without climate control: Extreme heat or cold weakens plastic casings and solder joints.
- Leaving lights plugged together: Daisy-chained strands are harder to inspect and more prone to cascading failures.
Frequently Asked Questions
Can I use bread clips to store Christmas lights?
Bread clips can work in a pinch for short indoor strands, but they lack durability. They tend to crack in cold temperatures and don’t provide enough grip for heavier cables. For long-term use, choose sturdier options like reusable zip ties or spools.
Should I store Christmas lights in the original packaging?
Only if the original packaging includes a rigid spool or form. Most holiday light boxes ship with loosely wrapped coils that shift during storage. Transferring them to a structured system is almost always better.
How long do Christmas lights last if stored properly?
LED lights can last 50,000 hours or more—potentially 10–15 holiday seasons—with proper care. Incandescent bulbs typically last 1,000–3,000 hours. Proper storage extends lifespan by preventing physical damage, moisture exposure, and connector corrosion.
Final Thoughts: Make Next Season Easier Than This One
The frustration of tangled Christmas lights doesn’t have to be an annual tradition. It’s a solvable problem—one that rewards a small investment of time with lasting benefits. Whether you repurpose household items or invest in dedicated tools, the key is consistency. Treat your lights with care, wind them deliberately, and store them thoughtfully.
Next December, when others are cursing in their garages, you’ll be plugging in perfectly coiled strands with confidence. That peace of mind—wired into your routine—is the real holiday gift.
💬 Ready to end the knot chaos? Pick one method from this guide and apply it this weekend. Share your storage hack in the comments—your tip might help someone skip years of tangles.