Reviving tired, outdated furniture doesn’t require hours of sanding or heavy-duty tools. Many people avoid painting their old pieces simply because they dread the labor-intensive preparation. But what if you could achieve a beautiful, durable finish without touching a sander? Modern paints and primers make it entirely possible—when you know the right methods.
This guide walks through proven strategies to transform worn dressers, dated nightstands, and chipped cabinets using no-sand approaches. Whether your furniture is coated in glossy varnish, sticky residue, or decades-old lacquer, there’s a way to prepare it properly and apply paint that lasts—without stripping down to bare wood.
Why Skip Sanding? The Practical Advantages
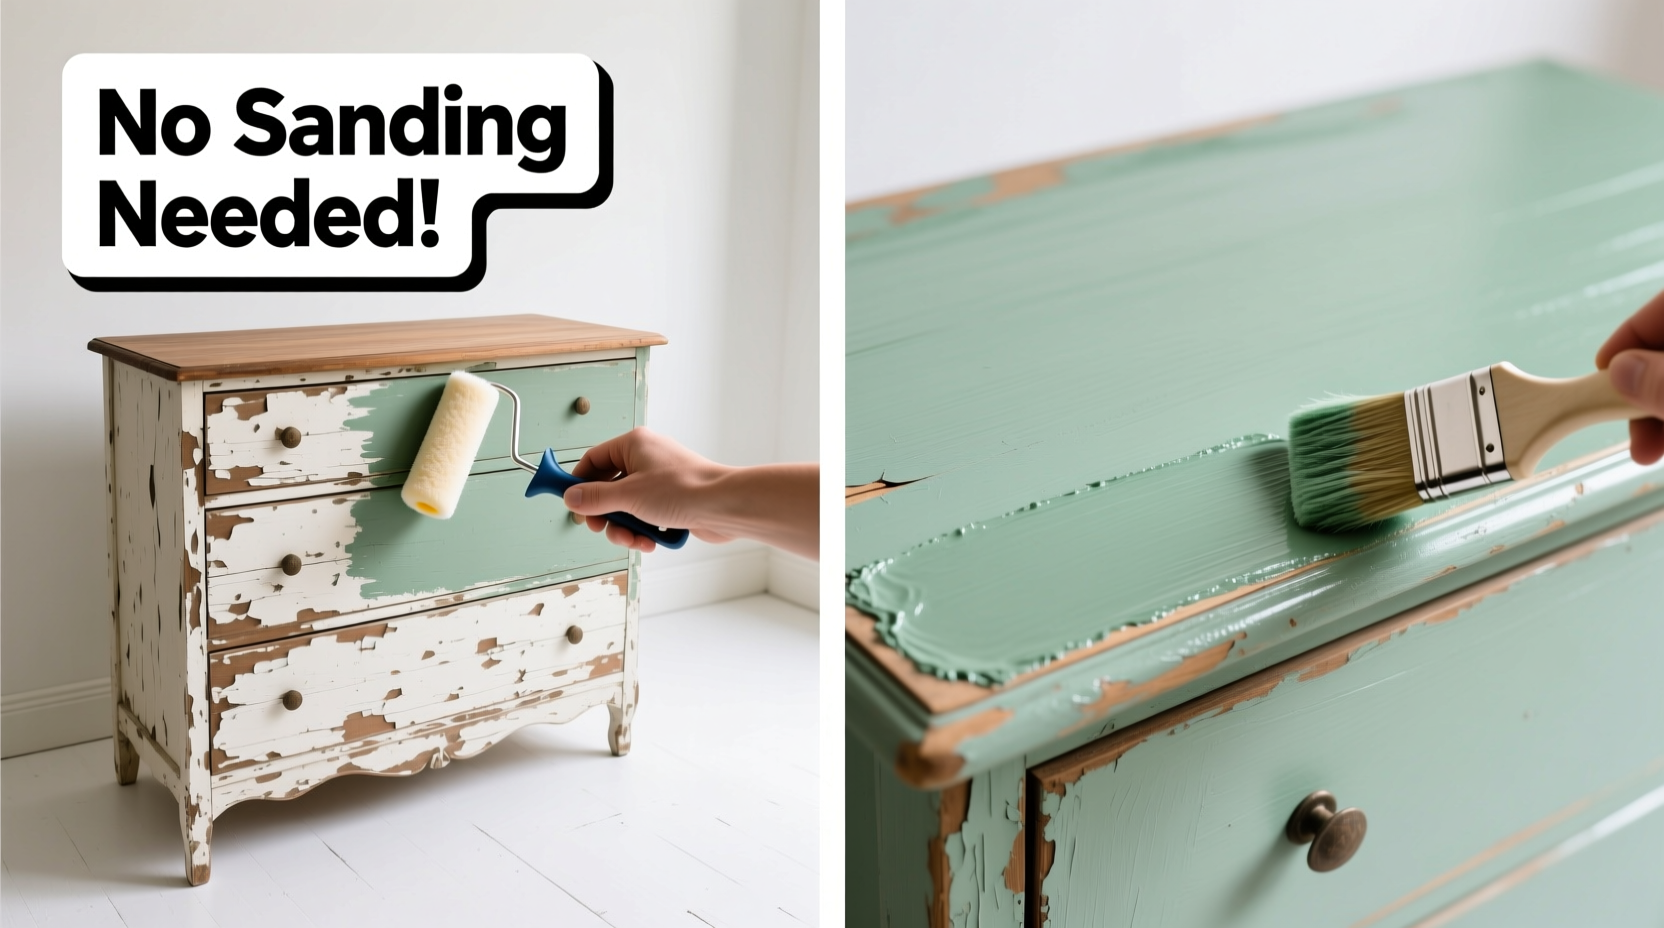
Sanding has long been considered essential for paint adhesion. While it does create a rough surface for paint to grip, it's not always necessary—and often overused. Skipping sanding saves time, reduces dust, and avoids damaging delicate carvings or veneers.
The key isn't skipping prep altogether—it's replacing aggressive sanding with smarter alternatives. With the right cleaning agents, deglossers, and bonding primers, you can achieve excellent results while preserving the integrity of your furniture.
Tip: Always test any product on an inconspicuous area first—like the back of a drawer or underside of a table—to ensure compatibility.Step-by-Step Guide: Painting Furniture Without Sanding
Follow this detailed process to refresh your furniture safely and effectively, even when skipping traditional sanding.
- Clean Thoroughly
Begin by removing all dirt, grease, wax, and grime. Use a solution of warm water and mild dish soap (like Dawn) applied with a microfiber cloth. For stubborn buildup—especially on kitchen cabinets or frequently handled surfaces—add 1 part white vinegar to 3 parts water. Wipe down every surface, including edges and hardware areas. Rinse with clean water and let dry completely (at least 2–4 hours). - Remove Hardware and Repair Damage
Take off knobs, pulls, hinges, and any metal fixtures. Set them aside for cleaning or replacement. Fill small dents, scratches, or nail holes with wood filler. Use a putty knife to smooth and allow drying as per manufacturer instructions. Lightly wipe filled areas with a damp cloth after sanding minimally only where filler was applied (this is acceptable since it’s localized). - Apply a Deglosser (Liquid Sandpaper)
This step replaces physical sanding. A chemical deglosser—often called “liquid sandpaper”—breaks down the glossy top layer of varnish, polyurethane, or lacquer so new paint can bond properly. Popular options include Krud Kutter Liquid Sandpaper or Minwax Deglosser.
Apply with a lint-free cloth or sponge, following grain direction. Let sit for 5–10 minutes (check label), then wipe away residue with a clean rag. Wait at least one hour before proceeding. - Prime with a Bonding Primer
Choose a high-adhesion primer designed for slick surfaces. Two top choices are:
- Zinsser B-I-N Shellac-Based Primer: Excellent for sealing tannins, preventing bleed-through, and adhering to glossy finishes.
- Kilz Adhesion High-Bonding Primer: Specifically formulated for difficult substrates like glass, tile, and varnished wood.
- Paint with Durable Finish Paint
Use paint specifically made for furniture. Chalk-style paints (e.g., Annie Sloan, Rust-Oleum Chalked) adhere well to non-porous surfaces and don’t require sanding. Alternatively, opt for mineral-based or acrylic enamel paints like Benjamin Moore Advance or Sherwin-Williams Emerald Urethane Trim Enamel for a harder-wearing, washable finish.
Apply two thin coats, waiting 2–4 hours between coats depending on humidity. Avoid thick layers to prevent drips and extended drying times. - Seal for Protection
Even though you skipped sanding, sealing ensures durability. For chalk paint, use clear wax or water-based polycrylic (Minwax Polycrylic is popular). Brush on in thin layers, letting each dry fully. Two coats are usually sufficient. Buff waxed surfaces lightly with a soft cloth after 24 hours for sheen.
Best Products for No-Sand Furniture Painting
Not all paints and primers perform equally on unsanded surfaces. Below is a comparison of recommended products based on adhesion, ease of use, and longevity.
| Product Type | Recommended Brand | Adhesion Level | Drying Time | Notes |
|---|---|---|---|---|
| Deglosser | Krud Kutter Liquid Sandpaper | High | 10 min active / 1 hr cure | Non-toxic, biodegradable formula |
| Primer | Zinsser B-I-N | Very High | 45–60 min | Shellac-based; strong odor; excellent sealant |
| Primer | Kilz Adhesion | High | 1–2 hrs | Water-based; low odor; ideal for latex topcoats |
| Paint | Rust-Oleum Chalked | High (on prepped surfaces) | 2 hrs | No wax needed unless desired |
| Paint | Benjamin Moore Advance | Very High | 6–8 hrs (recoat) | Brush-on oil-modified enamel; self-leveling |
| Topcoat | Minwax Polycrylic | High | 4–6 hrs | Water-clear; avoid sunlight exposure during drying |
When You Should Still Consider Light Sanding
While many projects succeed without sanding, certain conditions call for minimal abrasion:
- Peeling or Flaking Surfaces: If the existing finish is lifting, remove loose material and lightly sand edges to feather them.
- Plastic Laminate or Melamine: Common on budget dressers and kitchen cabinets; these ultra-smooth surfaces benefit from light scuffing with fine-grit paper (220 grit).
- Heavy Gloss or Polyurethane Buildup: Extremely shiny finishes may resist deglossers. A quick pass with medium-grit sandpaper increases success.
“Modern bonding primers have changed the game. You don’t need to sand everything to bare wood—just clean well and use the right chemistry.” — Laura Owen, Interior Refinishing Specialist with 18 years of restoration experience
Real Example: Reviving a 1970s Oak Sideboard
Jamie, a homeowner in Portland, inherited a bulky oak sideboard from her grandparents. It had a dark, orange-toned varnish and sticky spots from years of polish buildup. She didn’t own a sander and wanted to avoid dust in her small apartment.
She cleaned the piece with TSP substitute and vinegar solution, then used Krud Kutter Liquid Sandpaper to degloss the surface. After applying one coat of Zinsser B-I-N primer, she painted it with two coats of Sherwin-Williams Sea Salt in a satin finish. Finally, she sealed it with two layers of Minwax Polycrylic.
The result? A bright, modern storage unit that looked professionally refinished—all done in three days with hand tools and zero sanding. Jamie later shared photos online, inspiring dozens of others to try the same method.
Tip: Work in a well-ventilated area when using shellac-based primers or solvent deglossers. Open windows and use fans to reduce fumes.Checklist: Paint Old Furniture Without Sanding
Use this concise checklist before starting your project:
- ✅ Remove all hardware (knobs, hinges, etc.)
- ✅ Clean surface with soapy water and rinse thoroughly
- ✅ Dry completely (no moisture left in crevices)
- ✅ Test deglosser on hidden spot
- ✅ Apply deglosser evenly and wipe residue
- ✅ Prime with high-adhesion product (Zinsser or Kilz)
- ✅ Let primer cure fully before painting
- ✅ Use furniture-grade paint in thin, even coats
- ✅ Seal with polycrylic or wax for protection
- ✅ Reattach hardware or upgrade with new pulls
Frequently Asked Questions
Will paint peel if I don’t sand?
Paint will not automatically peel if you skip sanding—provided you clean and degloss properly. The real enemy is poor surface prep, not the absence of sanding. Using a bonding primer and compatible topcoat significantly reduces risk.
Can I use regular wall paint on furniture?
Standard interior wall paint lacks the durability needed for furniture. It tends to chip, scratch, and yellow over time. Always choose paint formulated for trim, cabinets, or furniture—such as acrylic enamel or chalk-style paint—for better wear resistance.
How long should I wait before using the furniture?
Wait at least 24 hours before gentle use. For heavy-use items like tables or cabinets, allow 5–7 days for full cure, especially with oil-based or enamel paints. Curing continues beyond drying and affects hardness and resilience.
Final Thoughts: Transform Furniture Smarter, Not Harder
Refreshing old furniture with paint doesn’t have to mean hours of elbow grease and clouded goggles. By shifting focus from mechanical prep (sanding) to chemical prep (cleaning and deglossing), you can achieve professional-looking results with less effort and mess.
The secret lies in understanding surface science: paint sticks best to clean, slightly porous, and chemically receptive surfaces—not necessarily raw wood. With today’s advanced primers and deglossers, you’re equipped to bypass outdated methods and embrace a more efficient approach.
🚀 Ready to give new life to that forgotten dresser or dated coffee table? Grab a deglosser and a can of bonding primer—your next transformation starts today!