Hanging curtains is one of the simplest yet most effective ways to enhance privacy, control natural light, and elevate the aesthetic of a room. However, many people—especially renters or those in shared housing—hesitate to install traditional curtain rods because they require drilling into walls. The good news: you don’t need permanent hardware to enjoy beautiful window treatments. With the right tools and techniques, it’s entirely possible to hang curtains securely and stylishly without leaving a single hole.
This guide explores reliable, non-invasive methods that maintain both functionality and design integrity. Whether you're dealing with delicate drywall, rental restrictions, or simply want a temporary solution, these approaches offer flexibility and peace of mind.
Why Avoid Drilling? Common Challenges
There are several reasons why avoiding wall penetration makes sense:
- Rental agreements often prohibit structural modifications, with penalties for damage upon move-out.
- Drywall fragility means even small screws can crack or crumble, especially if improperly installed.
- Future reconfiguration becomes difficult when holes limit furniture or decor placement.
- Aesthetic preservation matters in historic homes or high-end interiors where visible hardware disrupts clean lines.
According to interior designer Naomi Reed, “More clients are seeking reversible solutions that allow them to personalize spaces without commitment. Damage-free window treatments are now a standard request.”
“With thoughtful product selection and installation technique, you can achieve a polished look without compromising your walls.” — Naomi Reed, Interior Designer & Sustainable Living Advocate
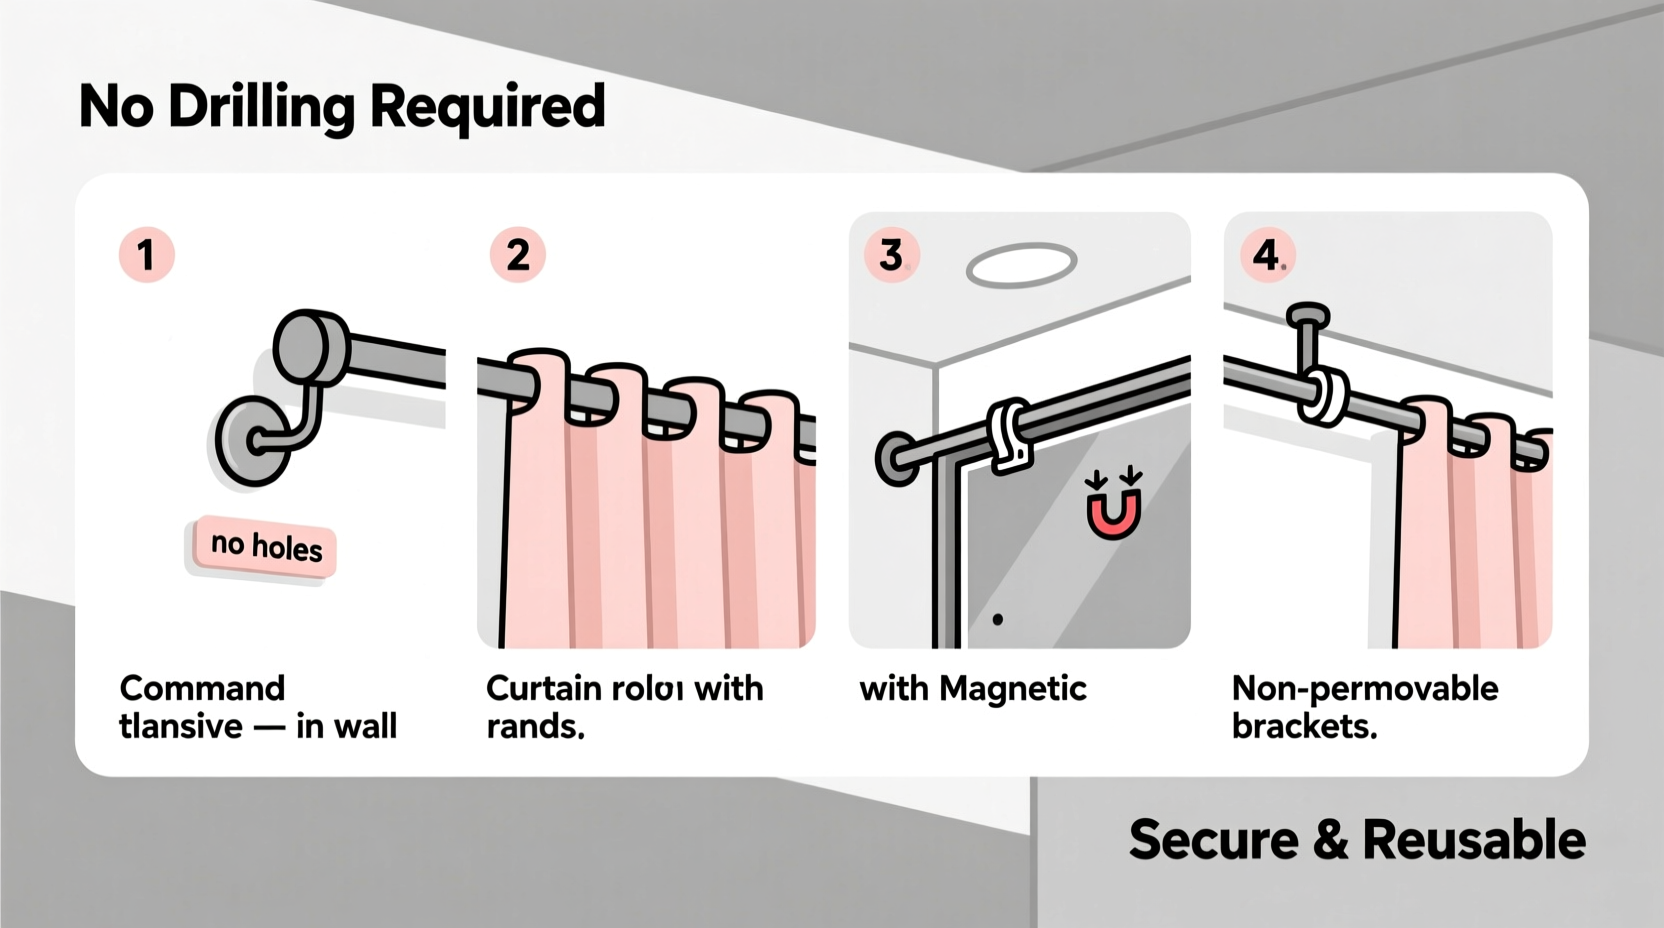
Top 5 No-Hole Curtain Hanging Methods
Each method below balances strength, appearance, and ease of use. Your best choice depends on window type, curtain weight, and how long you plan to keep the setup.
1. Tension Rods – The Classic No-Drill Solution
Tension rods rely on spring-loaded mechanisms that press firmly between two surfaces—typically the inside edges of a window frame. They’re widely available, affordable, and simple to install.
Tip: Choose a tension rod with a rubberized grip to prevent slippage and protect window frames from scratches.Ideal for lightweight to medium fabrics like cotton, linen, or sheer panels. Avoid using with heavy drapes unless the rod is specifically rated for extra load.
To install:
- Measure the inner width of your window frame.
- Select a rod within that range (most extend from 24” to 72”).
- Twist the rod clockwise to expand it slightly beyond the window width.
- Press one end into place, then compress and fit the other side.
- Test stability by gently tugging.
2. Adhesive Hooks and Brackets
Modern adhesive technology has made strong, removable mounting options accessible. These hooks use high-bond tapes (like 3M Command™ strips) to support lightweight rods and curtains.
Best suited for sheers, valances, or café-style curtains weighing under 2 pounds per bracket. Always follow weight limits specified by the manufacturer.
Installation steps:
- Clean the wall surface thoroughly with rubbing alcohol—no dust or grease.
- Peel backing and press hook firmly for at least 30 seconds.
- Wait 1 hour before loading to ensure full adhesion.
- Attach a decorative rod across multiple hooks.
3. Magnetic Curtain Rods
If your window frame is metal, magnetic rods offer an elegant, invisible solution. Strong neodymium magnets secure the rod ends directly to the frame.
These work exceptionally well on steel-framed windows common in older apartments or industrial lofts. Not suitable for vinyl, wood, or aluminum frames unless a metal plate is added.
For non-magnetic frames:
- Attach thin steel plates to the sides using adhesive tape.
- Let cure overnight before applying the rod.
Magnetic rods typically support up to 5 lbs, making them viable for mid-weight fabrics when properly secured.
4. Ceiling-Mounted Retractable Systems (No Drill)
Some retractable blinds and track systems are designed to mount via tension or adhesive caps rather than screws. These span from ceiling to floor or wall to wall and are ideal for covering large openings like sliding glass doors.
They function similarly to freestanding room dividers but are mounted overhead. Brands like RoomDark and ZebraRoller offer models with pressure-fit top brackets that clamp into place without fasteners.
Key advantages:
- Full coverage for patio doors or bay areas.
- Smooth glide operation with cordless lift options.
- Can be removed cleanly when needed.
5. Over-the-Door Hardware Adaptation
While traditionally used for closets, over-the-door racks can be creatively repurposed for curtains—especially in dorms or small studios.
Choose a sturdy model with wide arms and non-slip padding. Install it over the top of a bedroom or bathroom door, then run a rod through the hooks or across the crossbar.
This works particularly well for privacy curtains in open-concept living spaces. Just ensure the door remains functional or is not frequently used.
“In tiny homes and micro-apartments, multi-functional hardware is essential. Repurposing existing fixtures reduces clutter and avoids unnecessary wall damage.” — Diego Mendez, Urban Space Optimization Consultant
Comparison Table: No-Hole Methods at a Glance
| Method | Max Weight Capacity | Best For | Limits |
|---|---|---|---|
| Tension Rods | 3–5 lbs | Standard windows, light-medium fabric | Narrow frames only; may slip over time |
| Adhesive Hooks | 1–2 lbs per hook | Sheers, valances, short-term use | Surface prep critical; not for humid areas |
| Magnetic Rods | Up to 5 lbs | Metal window frames | Limited compatibility |
| Retractable Tracks (Ceiling) | 4–6 lbs | Sliding doors, tall windows | Bulkier profile; needs ceiling clearance |
| Over-the-Door Racks | 2–3 lbs | Dorms, closets, room dividers | Only usable on certain doors |
Step-by-Step: Installing a Tension Rod with Professional Finish
Even no-drill installations benefit from precision. Follow this sequence for a seamless result:
- Measure accurately: Use a metal tape measure to determine the exact internal width of the window casing at three points—top, middle, bottom. Use the smallest measurement.
- Select rod diameter: Thinner rods (½ inch) suit sheers; thicker ones (1 inch) handle heavier fabrics and add visual presence.
- Adjust length: Twist the inner rod to extend it about ½ inch longer than your window width.
- Position carefully: Hold one end against the left side, then angle the opposite end in while compressing slightly. Aim for even pressure on both sides.
- Check alignment: Step back and verify the rod is level. Adjust by shifting pressure until straight.
- Hang curtains: Slide panels onto the rod before securing it, or use clip rings after installation.
- Test stability: Gently pull downward and sideways to confirm it won’t dislodge.
Real-World Example: A Renter’s Success Story
Sophie L., a graphic designer in Chicago, moved into a historic apartment building where landlords prohibited any wall alterations. She wanted blackout curtains in her bedroom but couldn’t drill.
After researching options, she chose a ceiling-mounted retractable track system that uses tension-fit brackets. The unit spans 78 inches and supports blackout fabric with minimal sag. She installed it in under 15 minutes and was able to adjust the height precisely using the telescopic design.
“I was skeptical at first,” she said, “but it holds perfectly—even when I close it forcefully. When I move out, I just twist the caps and remove everything. No trace left behind.”
Her experience highlights how modern alternatives can meet both functional and aesthetic demands without compromise.
Checklist: Preparing for a Hole-Free Installation
Before you begin, gather and confirm the following:
- ✅ Measured window dimensions (width, height, depth)
- ✅ Curtain weight and fabric type
- ✅ Clean, dry mounting surfaces (for adhesive or magnetic options)
- ✅ Suitable rod style and length
- ✅ Level or laser guide for alignment
- ✅ Felt pads or protective tape (to prevent scuffing)
- ✅ Patience to allow adhesive curing time if applicable
Frequently Asked Questions
Will adhesive hooks damage my paint when removed?
High-quality adhesive hooks—such as those with a controlled-release tab—are engineered to detach cleanly. Pull the tab straight down slowly; never yank sideways. Most leave no residue or mark when used correctly and removed as directed.
Can I use tension rods on windows with deep sills?
Yes, provided the rod fits snugly within the frame. For deeper recesses, consider extending the rod further or pairing it with hold-down clips to prevent swaying. Alternatively, mount the rod just outside the frame using adhesive brackets.
Are there no-hole options for heavy thermal curtains?
Limited, but possible. Use a reinforced tension rod rated for 5+ lbs, or combine multiple heavy-duty adhesive brackets spaced closely together. For maximum support, opt for a ceiling-mounted retractable system designed for insulation-grade fabrics.
Final Tips for Long-Term Success
No-hole solutions can last months or even years with proper care. Extend their performance with these practices:
- Inspect mounts monthly for signs of loosening.
- Avoid excessive pulling or hanging items from the curtain rod.
- In humid environments (like bathrooms), prefer rust-resistant materials such as aluminum or coated steel.
- Rotate seasonal curtains to reduce strain on mounting systems.
Conclusion
Hanging curtains without making holes in the wall is not only feasible—it's increasingly the preferred choice for modern living. From sleek tension rods to smart magnetic and adhesive innovations, today’s market offers durable, attractive alternatives that respect both design and property rules.
The key lies in matching the method to your specific needs: window size, fabric weight, and duration of use. With accurate measurements, quality products, and careful installation, you can enjoy all the benefits of window coverings—privacy, light control, and style—without a single screw.
💬 Have a favorite no-drill trick or product? Share your experience in the comments and help others decorate freely and responsibly!