
Hanging Christmas lights on a vaulted ceiling can transform your home into a winter wonderland. The dramatic angles and open space of vaulted ceilings offer a stunning canvas for festive lighting, but they also present unique challenges. Traditional methods often rely on bulky clips, nails, or cords that detract from the elegance of both the architecture and the lights themselves. Achieving a seamless, floating effect—where the lights appear to hover without support—is possible with the right tools, planning, and technique. This guide walks you through professional-grade strategies to install Christmas lights on a vaulted ceiling while keeping hardware nearly invisible.
Understanding the Challenges of Vaulted Ceilings
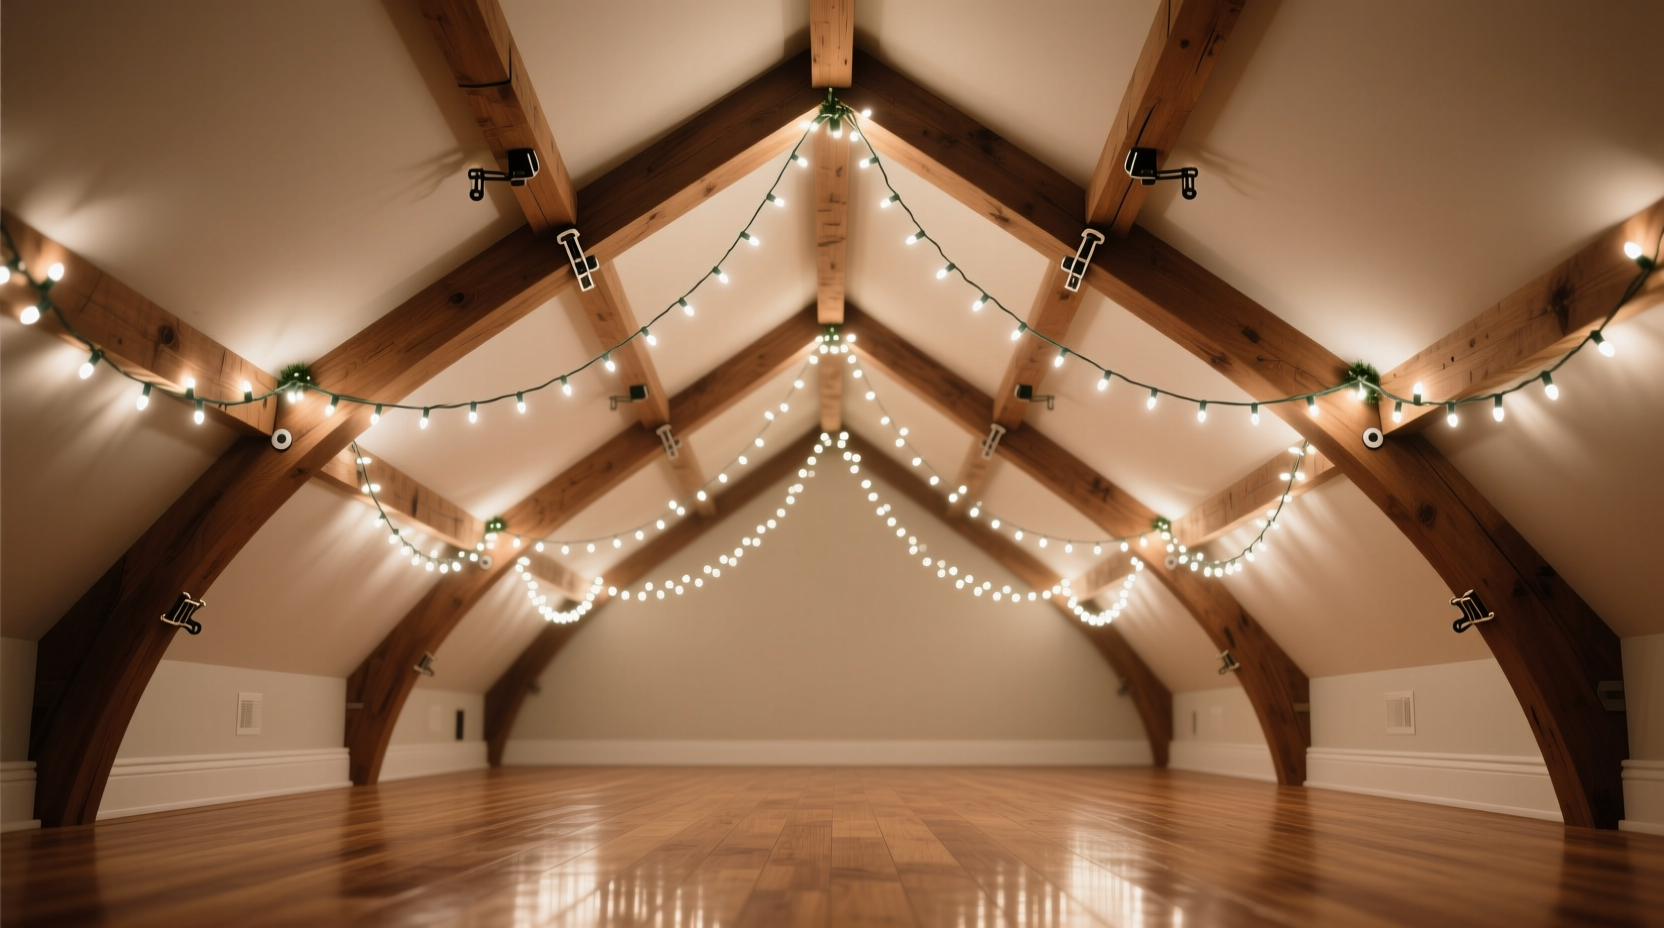
Vaulted ceilings are architectural highlights in many homes, especially in living rooms, entryways, and great halls. Their steep inclines and high peaks make them visually striking but logistically complex when decorating. Standard light-hanging methods designed for flat ceilings or walls don’t translate well here. Ladders may not reach critical points, and over-the-door hooks or tape won’t hold under the weight and tension of multiple strands.
The goal isn't just to hang lights—it's to do so in a way that preserves the room’s aesthetic. Visible wires, brackets, or adhesive residue undermine the magic. The ideal installation should:
- Securely anchor lights along the slope without sagging
- Minimize visual clutter from fasteners
- Allow for easy removal without damage to drywall or paint
- Distribute weight evenly to prevent strain on any single point
These objectives require a blend of strategic placement, low-profile hardware, and smart material choices.
Choosing the Right Lights and Accessories
Not all Christmas lights are created equal—especially when it comes to vaulted installations. Opting for the correct type can reduce visibility issues and simplify mounting.
LED Mini Lights are the top choice. They’re lightweight, energy-efficient, and generate little heat, reducing fire risk near ceilings. Choose warm white or multicolor based on your decor theme, but ensure they come with thin, flexible wire cores for easier routing.
Look for strands with a tight bulb spacing (3–6 inches apart) to create a continuous glow rather than isolated dots. For longer runs, consider connecting no more than three strands end-to-end unless labeled as connectable for greater lengths.
Equally important are accessories designed for discretion:
- Clear monofilament fishing line – Nearly invisible when taut, used to suspend lights at key anchor points.
- Mini plastic clips with nail-free backing – These use UV-resistant adhesive pads instead of screws.
- Magnetic hangers (for metal beams) – If your ceiling has exposed steel supports, magnetic clips eliminate drilling entirely.
- Hook-and-loop tape (micro-size) – Ideal for temporary attachment where adhesion is needed but bulk must be avoided.
Step-by-Step Installation Process
A successful vaulted ceiling lighting project unfolds in stages. Rushing leads to crooked lines, gaps, or damage. Follow this sequence for optimal results.
- Plan Your Layout: Sketch the ceiling profile and map out where lights will run. Common patterns include parallel diagonal lines from peak to wall, concentric chevrons, or a central starburst. Measure total linear footage needed and purchase 10% extra for overlaps or errors.
- Clean and Prep Surfaces: Wipe the ceiling along intended paths with isopropyl alcohol to remove dust and oils. This ensures maximum adhesion for clips or tapes.
- Install Primary Anchors: At the highest point (ridge), attach small eye-screws or adhesive-backed hooks every 3 feet. Use clear fishing line threaded through each to drop down to secondary anchors along the slope.
- Run Support Lines: Tie fishing line from ridge anchors to base-level hooks near the wall. Keep lines taut but not stretched. These act as invisible rails for clipping lights.
- Attach Light Strands: Using micro clips, fasten the light wire to the fishing line every 6–8 inches. Avoid wrapping the strand around the line, which creates visibility. Instead, clip perpendicularly so only the tiny plastic arm shows.
- Conceal Power Cords: Route extension cords along baseboards using paint-matched cord covers or under rugs. Never drape cords across walkways.
- Test Before Finalizing: Plug in the system and inspect for dark spots, flickering, or uneven spacing. Adjust clips as needed before securing everything permanently.
This method keeps the majority of mechanical components hidden above eye level, with only minuscule clips breaking the visual plane—easily overlooked once illuminated.
Do’s and Don’ts: Hardware Comparison
| Method | Visibility | Durability | Surface Risk | Best For |
|---|---|---|---|---|
| Fishing line + micro clips | Low (nearly invisible) | High (if tied properly) | None | Smooth drywall, painted ceilings |
| Adhesive-backed plastic clips | Medium (visible up close) | Medium (fails in cold/humidity) | Low (may peel paint) | Short-term displays, rentals |
| Eye-screws with nylon thread | Very low (tiny hole) | Very high | Minimal (pinprick hole) | Permanent or annual reuse |
| Magnetic hangers | Low | High (on metal) | None | Exposed steel beams |
| Tape (duct, electrical, etc.) | High | Low (degrades, sags) | High (stains, tears) | Avoid entirely |
As shown, combining permanent-but-inconspicuous anchors (like eye-screws) with transparent suspension lines offers the best balance of strength and subtlety. Even if you return the lights annually, repairing a few pinholes is far simpler than dealing with peeling paint or damaged trim.
Real Example: A Family Room Transformation
Jamie R., a homeowner in Colorado, wanted to decorate her two-story great room with cathedral ceilings for her children’s first Christmas at home. She initially tried adhesive clips, but after two days, several strands fell due to poor grip on textured paint. Frustrated, she switched to a hybrid method: installing brass eye-screws at the apex and along wooden trusses, then running 15-pound test fishing line diagonally down to corner anchors. She clipped LED mini lights to the lines using clear plastic fasteners spaced every 6 inches.
The result was a glowing grid that followed the roofline perfectly. From the floor, the lights appeared to float in midair. Jamie reported that guests consistently asked, “How did you get them up there without anything holding them?” The entire setup took four hours over a weekend, and she now reuses the same anchor points each year. No damage occurred during removal, and touch-up paint covered screw holes in minutes.
Expert Insight: What Interior Designers Recommend
“The secret to elegant holiday lighting is making the structure disappear. On vaulted ceilings, that means offloading weight to hidden supports like fishing line or existing beams. You want the eyes drawn to the light pattern—not the hardware.” — Lena Torres, Residential Lighting Designer, Pacific Home Studios
“I always advise clients to invest time in planning. A poorly hung string distracts more than no lights at all. Spend an extra hour measuring and testing, and the payoff lasts all season.” — Marcus Lee, Holiday Display Consultant
Essential Checklist for Success
- Measure ceiling dimensions and sketch layout
- Purchase LED mini lights with slim wire and consistent spacing
- Acquire clear fishing line (10–15 lb test) and micro clips
- Choose anchoring method: adhesive, screw, or magnetic
- Clean ceiling surface thoroughly
- Install primary and secondary anchors
- Run support lines taut and level
- Clip lights securely every 6–8 inches
- Route power cords safely and conceal
- Test full setup before final adjustments
Frequently Asked Questions
Can I hang Christmas lights on a vaulted ceiling without drilling?
Yes, but with caveats. High-quality adhesive clips or magnetic hangers can work if the surface is smooth and non-porous. However, long-term reliability decreases, especially in homes with fluctuating temperatures. For seasonal reuse, minimal-drill options like micro eye-screws are preferable—they leave tiny holes that vanish with paint.
How do I prevent lights from sagging in the middle?
Sagging occurs when tension isn’t maintained. Use support lines (fishing line or nylon thread) anchored at both ends and clipped frequently. For spans over 6 feet, add a center support point. Avoid using the light strand itself as the primary suspension wire.
Are LED lights safe to leave on overnight on a vaulted ceiling?
Yes, modern LED strings are cool-running and energy-efficient, making them safe for extended use. Ensure they are UL-listed for indoor use and connected to a surge-protected outlet. Avoid covering them with flammable materials like fabric or paper decorations.
Final Tips for a Flawless Finish
Once installed, step back and view the display from multiple angles—especially from seating areas. What looks straight from a ladder may appear skewed from below. Make micro-adjustments by loosening clips and repositioning.
If your ceiling has wooden beams or trusses, consider wrapping lights directly around them using twist ties or zip ties painted to match the wood. This integrates the lights into the architecture rather than suspending them separately.
Finally, label your power cords and note plug locations. When storing lights after the season, coil them carefully and keep clips attached to prevent loss. Document your layout with photos or notes to speed up next year’s installation.
Conclusion: Illuminate with Confidence
Hanging Christmas lights on a vaulted ceiling doesn’t have to mean compromising aesthetics for practicality. With careful planning, the right materials, and attention to detail, you can achieve a breathtaking display where the lights take center stage—and the hardware stays out of sight. Whether you're creating a cozy ambiance for family gatherings or impressing holiday guests, a well-lit vaulted ceiling becomes a signature feature of your seasonal decor. Start preparing now, follow these proven steps, and enjoy a dazzling, damage-free installation that elevates your home’s holiday spirit.
💬 Have a vaulted ceiling lighting success story? Share your tips, tricks, or photos in the comments—your experience could inspire someone else’s perfect holiday display!