Selecting the right decoration accessories for a photo studio isn’t about filling space with pretty objects—it’s about building a functional, repeatable visual language. Whether you’re setting up your first home studio, upgrading a commercial space, or refining a niche portrait or product photography practice, every backdrop, prop, texture, and modifier must serve intention: consistency, efficiency, brand alignment, and client satisfaction. Poorly chosen accessories lead to inconsistent lighting behavior, wasted shoot time, mismatched color temperatures, damaged gear, and ultimately, compromised image quality. This guide cuts through marketing hype and focuses on real-world decision criteria used by working studio photographers, stylists, and production managers.
1. Understand Your Core Use Cases Before You Shop
Start not with what’s trending, but with what you *actually shoot*. A newborn photographer needs soft, seamless, non-distracting surfaces and gentle textures. A jewelry e-commerce studio demands ultra-flat, color-accurate backdrops with zero glare or texture interference. A fashion editorial shooter may prioritize dimensional fabrics, sculptural props, and modular systems that allow rapid scene iteration. Ask yourself three questions before browsing any catalog:
- What percentage of your shoots are product, portrait, lifestyle, or commercial?
- What’s your most common lighting setup? (e.g., single softbox, dual-light Rembrandt, continuous LED panels)
- Do you require portability (on-location work), permanence (dedicated studio walls), or modularity (swap-in/swappable zones)?
These answers dictate material choices, mounting methods, and scalability. For example, a 10' x 12' vinyl backdrop is overkill—and impractical—for a mobile food photographer using a 36\" collapsible backdrop stand. Conversely, a permanent cyclorama wall eliminates constant setup but sacrifices flexibility for themed sessions.
Tip: Sketch a simple floor plan of your studio space and annotate where each accessory will live—backdrop rail, prop shelf, lighting modifier storage. If it doesn’t fit physically or functionally in that zone, don’t buy it.2. Backdrops: Beyond “White” and “Seamless”
Backdrops are the foundation—not just background. Their surface finish, substrate, color fidelity, and physical properties directly affect exposure, light wrap, post-processing time, and even sensor dust attraction. Vinyl, muslin, polyester, paper, and painted walls all behave differently under identical lighting.
| Material | Best For | Key Limitation | Lifespan (with care) |
|---|---|---|---|
| Vinyl (matte finish) | Product, headshots, high-detail subjects | Reflects ambient light; requires precise lighting control | 5–7 years |
| Muslin (cotton/poly blend) | Lifestyle, portraits, textured scenes | Wrinkles easily; absorbs moisture and stains | 2–4 years |
| Polyester (wrinkle-resistant) | High-volume studios, rental spaces | Can generate static cling with synthetic clothing | 6+ years |
| Seamless paper (26\"–107\") | Studio-based product & fashion work | Single-use per roll section; tears if mishandled | 1–3 rolls per session (not reusable) |
| Painted drywall or MDF panel | Permanent, color-calibrated studios | No portability; color shifts with aging and humidity | 10+ years (with recoating every 2–3 years) |
Color accuracy matters more than aesthetics. Always request spectral reflectance data from manufacturers—not just RGB or Pantone names. A “pure white” vinyl may read as D65 (6500K) under daylight-balanced LEDs but shift to 5800K under tungsten-coated strobes. Test swatches under your actual lights before committing to full-size purchases.
3. Props & Styling Elements: Function Over Fashion
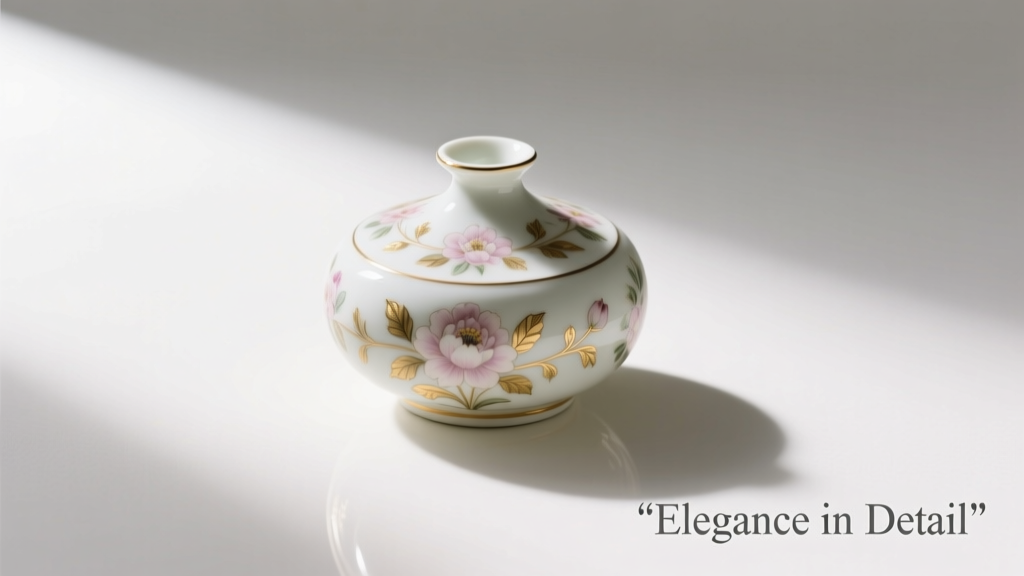
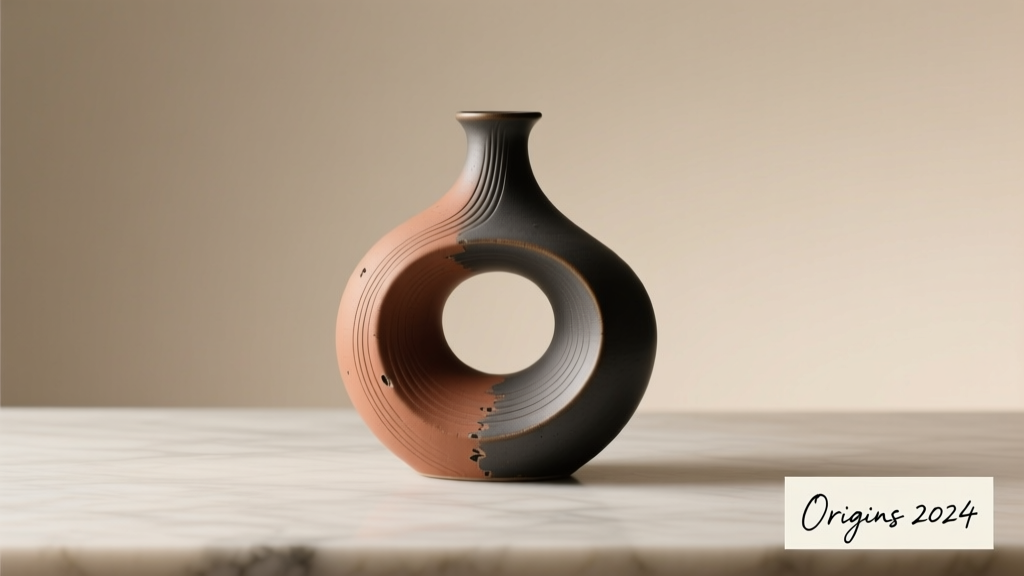
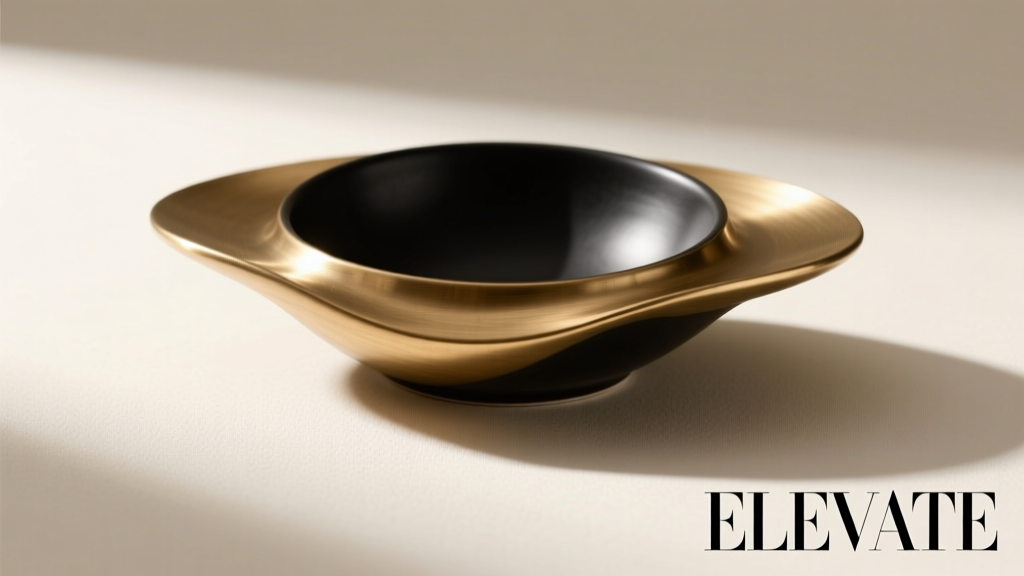
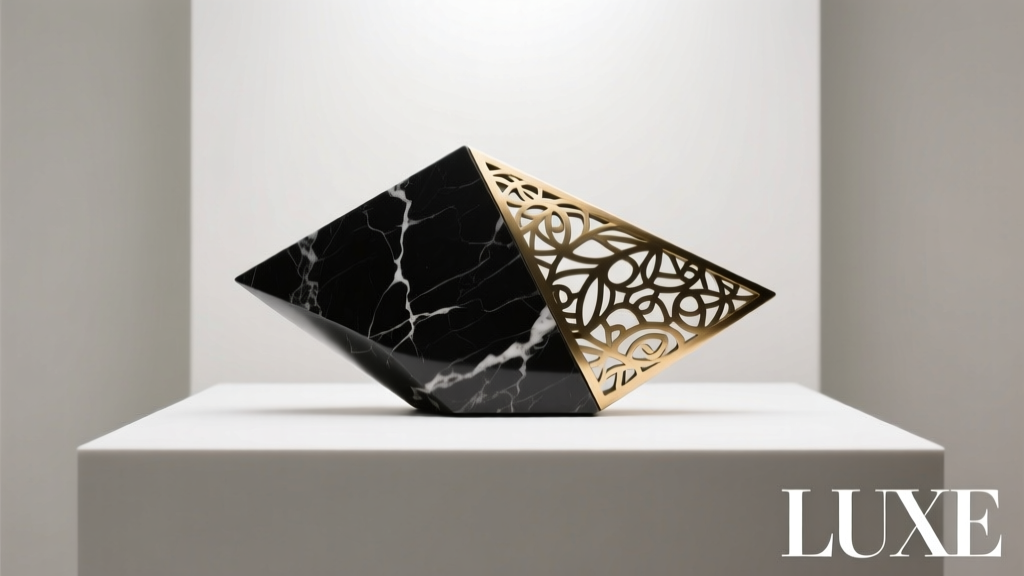
Props should enhance narrative—not compete with subject. In commercial and branding work, they often carry subtle brand cues: a ceramic mug with a custom logo, a hand-thrown vase in your client’s signature glaze, or a vintage typewriter aligned with their “craft heritage” messaging. But function remains primary: weight, stability, surface reflectivity, and cleaning protocol determine usability.
Consider this real scenario: Maya, a commercial food photographer based in Portland, replaced her collection of ornate brass trays after two consecutive client shoots ended with streaky oil residue she couldn’t remove without abrasive scrubbing—damaging both tray patina and camera sensor during cleanup. She switched to matte-finish anodized aluminum trays with beveled edges and integrated silicone grips. They cleaned in under 30 seconds with isopropyl alcohol wipes, stayed stable under heavy plating setups, and reflected light predictably. Her retake rate dropped 40%, and clients began requesting the “clean, modern tray aesthetic” as part of their brief.
When evaluating props, apply the Three-Second Rule: Can you set it up, adjust its position, and lock it in place within three seconds? If not, it slows your workflow and increases the chance of error mid-shoot. Prioritize pieces with built-in leveling feet, non-slip bases, or magnetic attachment points compatible with your studio grid system.
4. Lighting Modifiers & Textural Enhancers
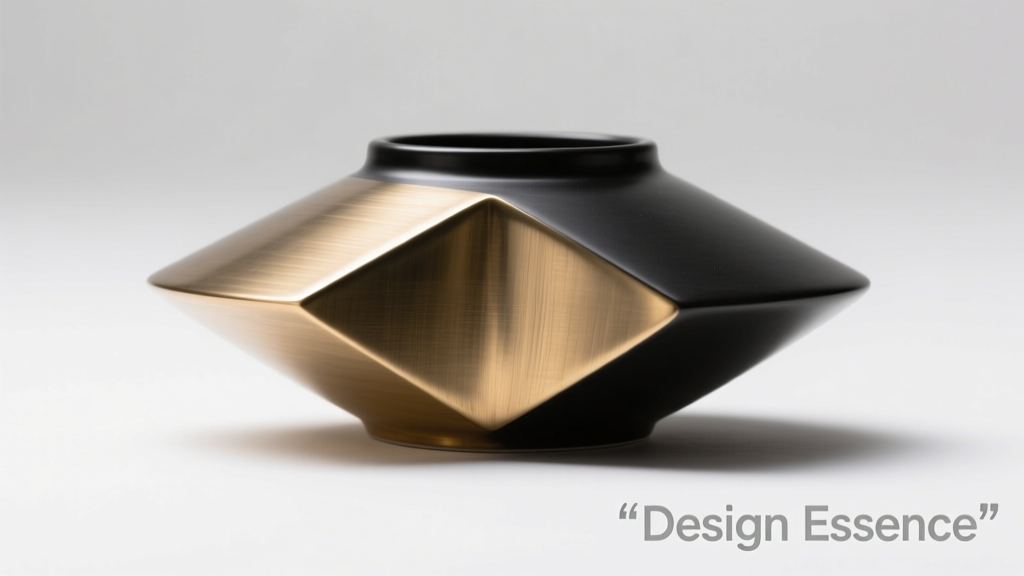
Many photographers overlook how decoration accessories interact with light. A lace curtain isn’t just “pretty”—it’s a diffusion filter. A hammered copper bowl isn’t just “stylish”—it’s a specular highlight generator. Treat every decorative element as a secondary light-shaping tool.
Here’s how to assess them:
- Transmission vs. Reflection: Does the item pass light (e.g., frosted acrylic sheet), bounce it (e.g., white ceramic tile), or absorb it (e.g., raw burlap)? Each affects exposure compensation and shadow density.
- Surface Micro-Texture: Under magnification, does it have directional grain (like wood veneer), random scatter (like crushed stone), or isotropic smoothness (like tempered glass)? This determines whether highlights appear soft, sharp, or fragmented.
- Thermal Stability: Will it warp, crack, or off-gas near hot continuous lights? Acrylic sheets rated for LED use only may yellow or bubble within months when placed 18\" from a 500W tungsten fixture.
“Your most powerful lighting modifier is often something you already own—a linen napkin, a piece of smoked glass, or even crumpled foil. The key is knowing *how* it bends light—not just how it looks.” — Javier Ruiz, Studio Lighting Director at Lumina Collective (12-year studio veteran)
5. Integration Checklist: Does It Fit Your Workflow?
Even perfect accessories fail if they don’t integrate into your operational rhythm. Use this field-tested checklist before finalizing any purchase:
Checklist: Studio Accessory Integration Readiness✅ Confirmed compatibility with existing backdrop support system (e.g., Manfrotto Super Clamps fit 1.5\" pipes)
✅ Verified weight capacity of stands/mounts exceeds accessory weight by ≥2x
✅ Tested cleaning method on a small area—no dye transfer, warping, or finish breakdown
✅ Measured physical footprint against storage space (including folded/collapsed dimensions)
✅ Confirmed color rendering index (CRI) and R9 value match your lighting kit (≥95 CRI + ≥90 R9 required for accurate skin tones and product colors)
✅ Documented serial numbers and warranty terms in your studio asset log
This isn’t bureaucracy—it’s risk mitigation. A $299 velvet drape becomes a liability if its deep pile traps dust that migrates onto lenses, or if its fire-retardant certification lapsed and violates your municipal studio code. Professional studios track accessories like gear—not decor.
6. Budget Realities & Long-Term Value Calculations
Avoid the “cheap now, expensive later” trap. A $35 muslin backdrop may seem economical—until you factor in ironing time (15 minutes per use), replacement frequency (every 3–4 months), and the cost of reshoots caused by inconsistent texture. Calculate total cost of ownership (TCO) over 12 months:
- Upfront cost (purchase + shipping + tax)
- Maintenance cost (cleaning supplies, steaming services, repair kits)
- Time cost (setup/teardown minutes × your hourly rate)
- Downtime cost (replacement lead time × lost booking days)
- Depreciation (resale value after 12 months)
For example, a $249 premium polyester backdrop with reinforced grommets and UV-stabilized dye may cost 5× more upfront than a budget option—but if it lasts 36 months with zero maintenance and saves 8 hours/month in setup time, its effective monthly cost drops below $7, versus $22+ for the cheaper alternative when factoring labor and turnover.
FAQ
How do I prevent color casts from backdrops affecting my white balance?
Never rely solely on auto white balance. Use a calibrated gray card placed *on the backdrop surface* at the same distance and angle as your subject, then set a custom white balance in-camera. Also, avoid mixing light sources with different CCTs (e.g., 5600K strobes + 3200K LEDs) unless intentionally grading for effect—this creates irreconcilable color splits across the backdrop plane.
Are fabric backdrops safe near strobes?
Yes—if properly rated. Look for NFPA 701 or BS 5867 flame-retardant certification stamped on the label or spec sheet. Untreated cotton or silk ignites instantly at typical strobe flash temperatures (~5000°C at arc point). Never drape fabric over bare flash heads or place it within 36\" of continuous hot lights without thermal shielding.
Can I mix accessories from different brands?
You can—but verify mechanical compatibility. A 5/8\" baby pin from one manufacturer may have tighter tolerances than another’s, causing wobble or slippage. Similarly, magnetic prop mounts vary in gauss strength; a 4000G magnet may hold a steel plate securely, while a 1200G version fails under vibration or gravity load. When in doubt, test-load with 2× expected weight before client use.
Conclusion
Photo studio decoration accessories are neither frivolous nor optional—they’re precision tools operating at the intersection of light physics, material science, and visual storytelling. Every choice sends a message: about your professionalism, your understanding of craft, and your respect for your clients’ time and vision. Stop shopping for “aesthetic.” Start engineering for repeatability, durability, and measurable return on creative investment. Audit one category this week—backdrops, then props, then modifiers—and replace just one item using the integration checklist and TCO framework outlined here. Small, intentional upgrades compound: cleaner files, faster edits, fewer reshoots, stronger client trust. Your studio isn’t a showroom. It’s a calibrated instrument. Tune it deliberately.
💬 Your turn: Which accessory gave you the biggest workflow upgrade? Share your real-world tip in the comments—we’ll feature the top three insights in next month’s studio operations roundup.