
Living with a small closet doesn’t mean living in clutter. With thoughtful organization, even the tiniest wardrobe can hold everything you need—neatly and accessibly. The good news? You don’t need to knock down walls, install custom shelving, or spend hundreds on a remodel. By rethinking how you use space, prioritize items, and leverage affordable tools, you can transform a cramped, chaotic closet into a streamlined storage hub—all without lifting a hammer.
The key lies in working *with* your existing structure, not against it. This guide reveals proven strategies that interior organizers and minimalist lifestyle experts use daily. From vertical layering to seasonal rotation, these techniques are designed for real people in real homes—apartments, dorm rooms, older houses with awkward closets, and beyond.
Assess and Edit: Start with What You Have
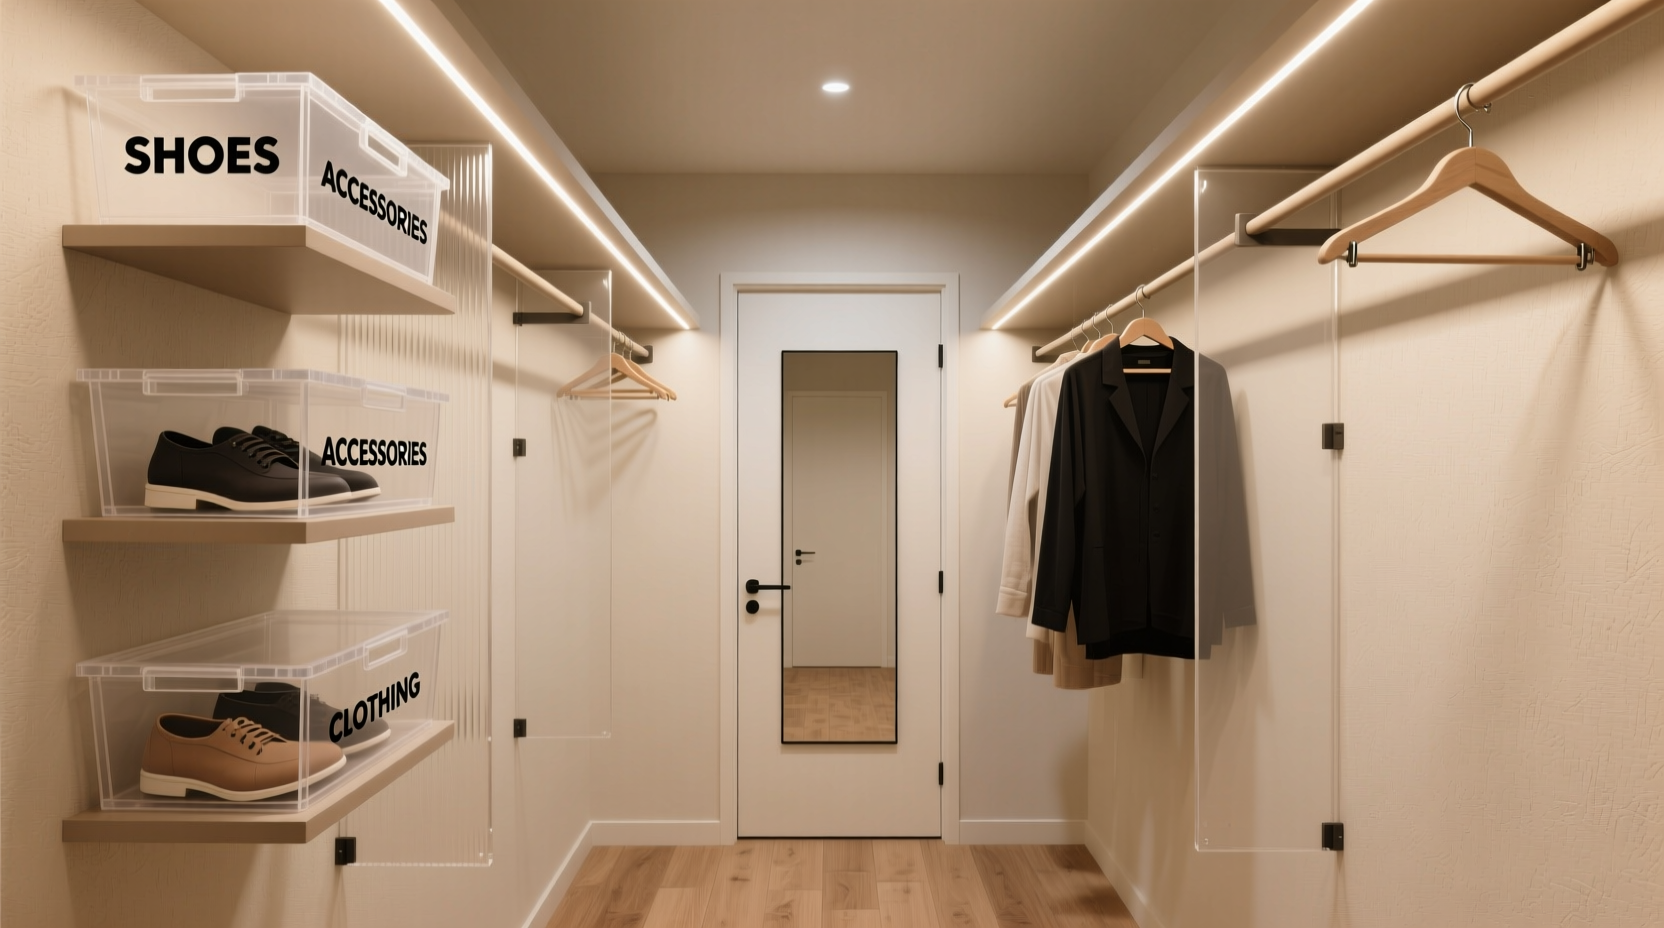
Before adding any new tools or systems, take stock of what’s already in your closet. A crowded space often stems not from lack of room but from excess belongings. Begin by removing every item and sorting them into three categories: keep, donate/sell, and discard. Be honest about what you actually wear. If an item hasn’t been used in the past 12 months—or no longer fits your lifestyle—it’s likely time to let it go.
Tip: Try the hanger trick: turn all hangers backward at the start of the season. After wearing an item, return the hanger facing forward. In six months, anything still backward is a candidate for removal.Use this audit as a chance to identify patterns. Are certain types of clothing piling up? Do shoes dominate floor space? Is folded clothing toppling off shelves? These observations inform your next steps. Once you’ve reduced the volume, cleaning the closet (shelves, baseboards, floor) creates a fresh foundation for reorganization.
Maximize Vertical Space with Layered Storage
Most small closets underutilize their height. Standard hanging rods leave a large gap between the rod and the shelf above—a space perfect for stacking bins or adding a second rod. Consider installing a tension rod beneath the main one to hang shorter garments like shirts or skirts, freeing up upper rod space for longer items like dresses or coats.
Shelving units don’t have to be permanent. Stackable fabric bins, acrylic drawers, or collapsible plastic cubes fit neatly on existing shelves and allow visibility and access. For folded items like sweaters or jeans, use the “file folding” method—fold clothes into compact rectangles and stand them upright so each piece is visible and easy to grab without disturbing others.
| Storage Zone | Ideal For | Avoid Storing Here |
|---|---|---|
| Top Shelf | Off-season clothing, luggage, memory boxes | Daily-use items, heavy objects |
| Hanging Rod (Upper) | Dresses, coats, suits | Casual tees, accessories |
| Hanging Rod (Lower/Tension) | Blouses, pants, skirts | Bulky sweaters, bags |
| Floor | Shoe racks, storage ottomans, bins | Loose shoes, piled laundry |
| Door & Back Wall | Over-the-door organizers, hooks, pegboards | Nothing—underused potential! |
“Vertical layering is the number one strategy we teach clients with small closets. It instantly doubles usable space without changing a single fixture.” — Lena Torres, Certified Home Organizing Consultant
Smart Accessories That Work Without Permits
You don’t need built-in cabinetry to achieve a high-function system. Many non-permanent tools deliver professional results. Over-the-door organizers, for example, add up to 30 pockets of storage for scarves, belts, socks, or folded tops. Choose clear-front versions to see contents at a glance.
Adhesive hooks are another game-changer. Mount them on the back of the door or side walls to hang jewelry, robes, or frequently used bags. Unlike screws, they leave minimal marks and support moderate weight when applied correctly. For deeper closets, consider a slim rolling cart—often used in bathrooms—that fits between the rod and rear wall. Use tiers for shoes, workout gear, or folded loungewear.
Double-hangar clips allow two garments to share one hanger, ideal for pairing tank tops with cardigans or shirts with ties. Velvet non-slip hangers are worth the small investment—they prevent slippage, save space with their slim profile, and reduce shoulder bumps on delicate fabrics.
Tip: Group similar items together using labeled bins or color-coded hangers. For example, use white hangers for workwear, black for casual, and wood for outerwear.Step-by-Step: Transform Your Closet in One Weekend
Follow this realistic timeline to overhaul your closet over two days without disrupting your routine.
- Saturday Morning: Empty & Sort (2–3 hours)
Remove everything. Clean surfaces. Sort into keep/donate/discards. Bag donations immediately. - Saturday Afternoon: Plan Zones (1 hour)
Decide which areas will hold clothes, shoes, accessories. Sketch a simple layout on paper. - Saturday Evening: Shop Smart (1 hour)
Purchase only what your plan requires—e.g., two stackable bins, one over-the-door organizer, adhesive hooks. Stick to a $30–$50 budget. - Sunday Morning: Install & Organize (2–3 hours)
Set up new tools. Fold, hang, and place items in designated zones. Label containers if helpful. - Sunday Afternoon: Test & Tweak (30 minutes)
Try accessing frequently worn items. Adjust heights or positions as needed.
This approach prevents overwhelm and ensures progress. Most supplies can be found at dollar stores, home retailers, or online marketplaces. Focus on function first—decorative touches can come later.
Real-Life Example: Maria’s Studio Apartment Closet
Maria lives in a 450-square-foot studio in Chicago. Her reach-in closet measured just 3 feet wide and 2 feet deep, yet had to store all her clothing, shoes, and winter accessories. Initially, she crammed everything onto a single rod, tossing shoes and bags on the floor. “I’d waste 10 minutes every morning digging for outfits,” she said.
She followed the edit-first principle, donating 40% of her wardrobe. She then installed a tension rod below the main one for blouses and added a narrow rolling cart for shoes and gym clothes. An over-the-door shoe organizer held scarves and leggings. Clear bins on the top shelf stored off-season sweaters with cedar blocks to deter moths.
Within one weekend and under $60, her closet transformed. “Now I see everything at once,” Maria shared. “Getting dressed feels faster and calmer. I didn’t think it was possible without remodeling.”
Common Pitfalls to Avoid
Even well-intentioned efforts can backfire if common mistakes aren’t addressed. Here are the most frequent errors in small closet organization—and how to avoid them.
- Overbuying organizers: Purchasing baskets, dividers, and hangers before assessing needs leads to clutter disguised as order. Buy only after editing and planning.
- Ignoring frequency of use: Store everyday items at eye level and within easy reach. Reserve high shelves and low corners for seasonal or rare-use pieces.
- Folding bulky knits: Heavy sweaters should be rolled or stored on shelves to prevent stretching. Never hang cashmere or wool long-term.
- Blocking airflow: Overstuffed shelves or sealed plastic bins can trap moisture, especially in older homes. Use breathable fabric bins and leave small gaps between items.
- Forgetting lighting: Poor visibility makes finding items frustrating. Add a battery-powered LED strip or motion-sensor puck light inside the closet.
FAQ: Quick Answers to Common Questions
Can I organize a closet without drilling holes?
Absolutely. Tension rods, freestanding shelves, over-the-door organizers, adhesive hooks, and rolling carts require no drilling. These solutions are renter-friendly and easily removed.
How do I stop my closet from getting messy again?
Build in maintenance habits. Spend five minutes nightly returning items to their zones. Schedule a 15-minute tidy every Sunday. Reassess every season to adjust for weather or lifestyle changes.
What’s the best way to store shoes in a small closet?
Use a tiered shoe rack, over-the-door organizer, or under-hanging-bin shelf. Store off-season pairs in flat boxes labeled with photos. Keep daily-wear shoes near the floor or entry point for convenience.
Final Checklist: Your No-Renovation Closet Plan
Before you begin, ensure you’ve covered all bases with this actionable checklist:
- ✅ Remove all items from the closet
- ✅ Sort into keep, donate, discard piles
- ✅ Clean shelves, floor, and walls
- ✅ Measure dimensions (height, width, depth)
- ✅ Define zones: hanging, folding, shoes, accessories
- ✅ Purchase only necessary organizers (tension rod, bins, door rack)
- ✅ Install tools without permanent modifications
- ✅ Fold using file method; hang wrinkle-prone items
- ✅ Label bins and sections for clarity
- ✅ Test accessibility and adjust as needed
Conclusion: Small Space, Big Potential
A small closet isn’t a limitation—it’s an invitation to design smarter. By focusing on intelligent layout, disciplined editing, and versatile, non-permanent tools, you can create a system that works seamlessly with your life. The goal isn’t perfection, but ease: opening your closet and finding exactly what you need, effortlessly.
Start today. Pull out one shelf, sort one category, add one organizer. Momentum builds quickly once you see progress. Share your transformation story or tag someone who needs this inspiration. Great style begins not with square footage, but with intention.
💬 Ready to reclaim your closet? Pick one tip from this guide and apply it tonight. Then come back and tell us what changed!