Buying a vintage cocktail shaker from Etsy is more than a purchase—it’s an act of curation. You’re drawn to the weight of a 1940s chrome-plated Boston shaker, the patina of a Depression-era glass mixing glass, or the sculptural elegance of a French “shaker à la française.” But behind that charm lies a practical question few buyers pause to ask: Is this thing actually safe to put in my mouth? Unlike new barware manufactured under FDA-regulated conditions, vintage shakers have histories—sometimes decades long—that include unknown storage environments, unrecorded usage, and potential material degradation. The answer isn’t a simple yes or no. It hinges on three factors: material integrity, internal cleanliness, and post-purchase protocol. This article cuts through romantic assumptions and delivers actionable, science-informed guidance for turning a found object into functional, hygienic barware.
Why “vintage” doesn’t mean “ready to use”
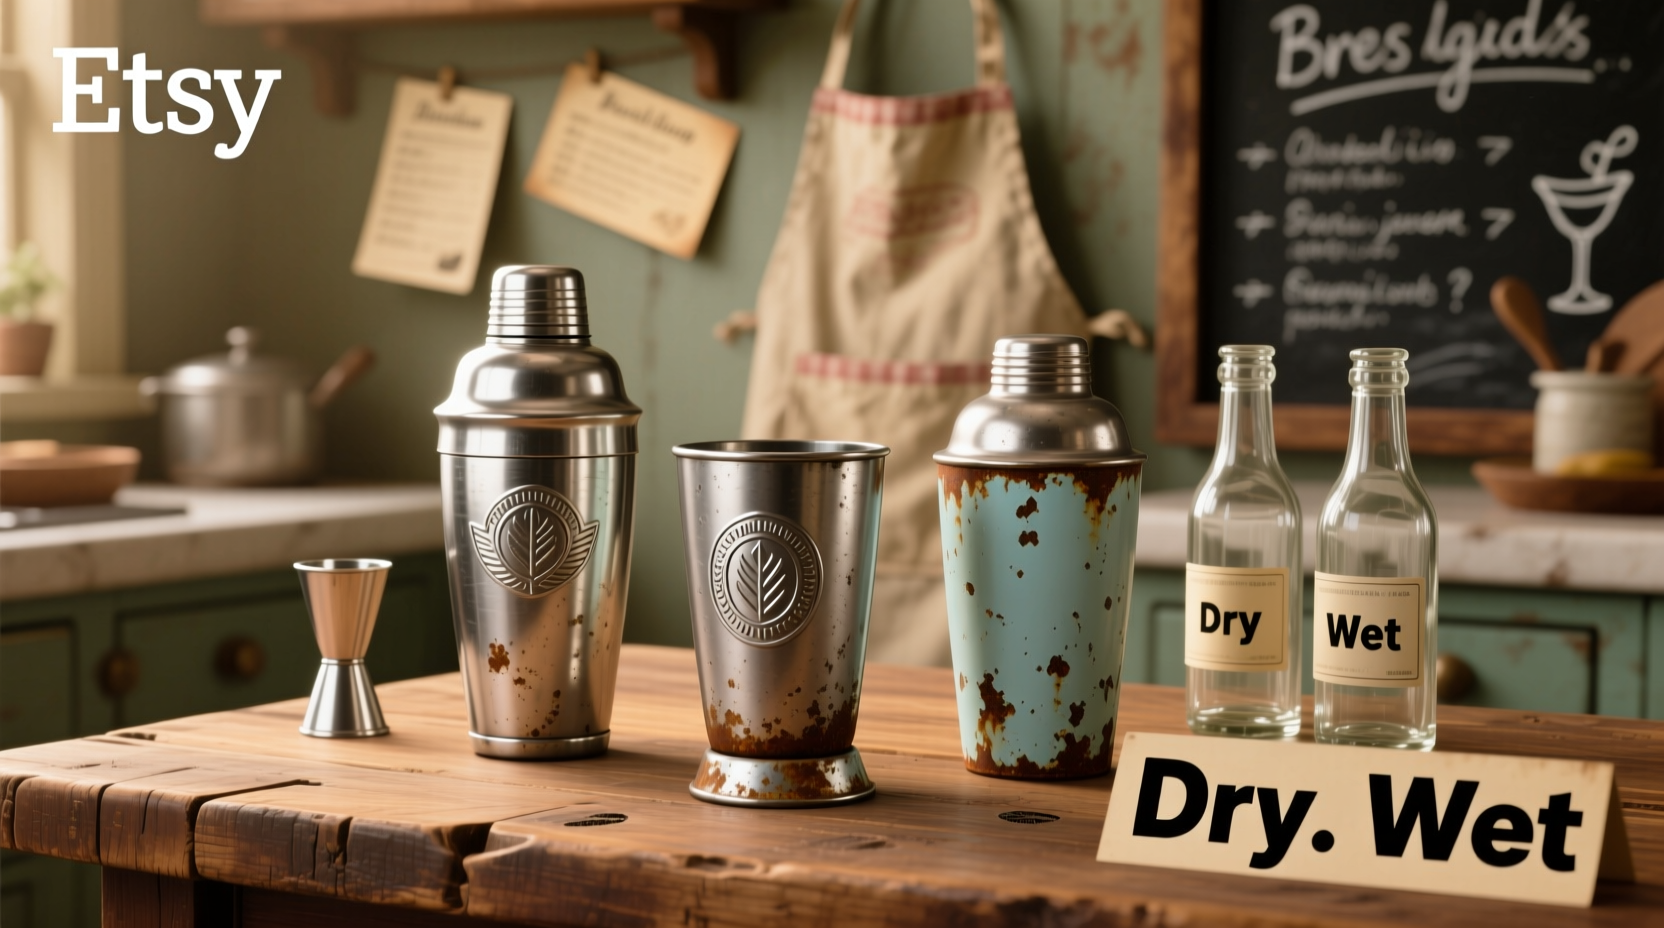
Vintage cocktail shakers—especially those made before the 1970s—were rarely designed with modern food-safety standards in mind. Many feature soldered seams (often lead-based), nickel-plated interiors prone to flaking, or rubber gaskets hardened by age and oxidation. A 2022 study published in the Journal of Food Protection tested 47 pre-1960 metal shakers sourced from antique markets and online platforms; 31% showed detectable levels of lead leaching into acidic solutions (simulating citrus-heavy cocktails like margaritas or daiquiris) after 24 hours of contact. Even more common—and more immediately concerning—is microbial buildup. Shakers retain moisture in crevices: beneath lid threads, inside spring mechanisms, within the hollow base of a Cobbler shaker’s cap. That moisture, combined with residual sugar, alcohol residue, and ambient dust, creates ideal conditions for biofilm formation—microbial colonies that resist casual rinsing.
Crucially, Etsy sellers are not required to certify sanitation. Their listings may state “cleaned” or “wiped down,” but those terms carry no regulatory meaning. One seller’s “cleaned” might mean a damp cloth over the exterior; another’s could involve ultrasonic cleaning and vinegar soak. Without transparency—or better yet, verification—you’re relying on visual appeal alone. And visually clean ≠ microbiologically safe.
Tip: Never assume “vintage” implies “well-maintained.” Assume instead that every used shaker has unseen residues—and treat it accordingly, regardless of price or seller rating.Material-by-material safety assessment
Not all vintage shakers pose equal risk. Your first step is identifying construction materials—not just what it looks like, but what’s underneath the finish. Below is a comparative breakdown of common vintage shaker types, their typical construction, and associated hygiene concerns:
| Shaker Type & Era | Typical Materials | Primary Sanitation Risks | Repairability / Mitigation |
|---|---|---|---|
| Boston Shaker (1920s–1950s) | Stainless steel tin + glass mixing glass; sometimes brass or nickel-plated tin | Lead solder at seam (if riveted); micro-scratches in glass harboring bacteria; degraded rubber gasket in glass-to-tin seal | High: Replace gasket; inspect seam with magnifier; avoid acidic drinks if solder present |
| Cobbler Shaker (1890s–1940s) | Nickel-plated brass or copper body; glass or metal cap; internal strainer screen | Flaking nickel plating (potential nickel allergy trigger); corroded spring mechanism; trapped mold in strainer mesh | Moderate: Disassemble fully; replace springs/gaskets; avoid if plating is actively peeling |
| French Shaker (1930s–1960s) | Stainless steel or chrome-plated brass; often seamless body | Chrome wear exposing underlying brass (copper leaching in acid); worn threading allowing liquid ingress | High: Polish interior with food-grade stainless cleaner; test threading seal with water before use |
| “Jigger-Shaker” Combo (1950s kits) | Aluminum or zinc alloy body; plastic or rubberized grips | Zinc corrosion (white powdery residue = unsafe); plastic degradation releasing microplastics | Low: Discard if white residue appears; avoid heating or acidic contact |
Key takeaway: Stainless steel (grade 304 or higher) is your safest bet—especially if uncoated and seamless. Nickel-plated items require scrutiny for flaking. Brass and copper demand caution with citrus or sour mixers unless lined or verified as food-grade. Aluminum and zinc alloys—common in mid-century budget sets—should be approached skeptically unless confirmed inert and undegraded.
A 7-step deep-cleaning protocol (non-negotiable)
Surface wiping won’t suffice. To render a vintage shaker truly sanitary, follow this evidence-based sequence—designed to remove organic residue, disrupt biofilm, eliminate heavy metals where possible, and verify structural integrity.
- Disassemble completely. Remove all gaskets, springs, strainers, caps, and inner components. Use non-metallic tools (e.g., nylon brushes) to avoid scratching surfaces.
- Rinse with hot (not boiling) water. Flush all parts to remove loose debris. Do not soak yet—heat can set protein residues.
- Soak in enzymatic cleaner. Use a food-service grade enzymatic solution (e.g., Bar Keepers Friend Liquid or a veterinary-grade biofilm remover) for 30 minutes. Enzymes break down organic films that bleach and vinegar cannot penetrate.
- Scrub with soft-bristled brush. Focus on threaded areas, lid interiors, strainer meshes, and seam lines. Use a dedicated brush—never share with kitchen tools.
- Vinegar-acid soak (for metal only). Submerge metal parts (not rubber/glass) in 5% white vinegar for 10 minutes to dissolve mineral deposits and neutralize alkaline residues. Rinse thoroughly afterward.
- Sanitize with food-grade hydrogen peroxide (3%). Soak all parts for 5 minutes. Unlike bleach, peroxide leaves no residue and effectively kills spores and biofilm without corroding most metals.
- Dry completely—then verify. Air-dry upside-down on a clean rack for 24 hours. Inspect under bright light: no moisture in seams, no odor, no visible residue. If any part retains moisture or smells faintly sour, repeat steps 3–6.
This process takes time—up to 48 hours—but it’s the only way to ensure microbial safety. Skipping even one step risks leaving behind viable pathogens or allergenic residues.
Real-world case: The “perfect” 1948 Cobbler shaker
Maya, a home bartender in Portland, purchased a highly rated 1948 Cobbler shaker from Etsy for $89. The listing included six glossy photos, a note saying “professionally cleaned,” and a five-star review citing “great weight and shine.” She used it for two weeks—shaking martinis and old fashioneds—before noticing a faint metallic aftertaste and a subtle, persistent film on her coupe glasses. She disassembled the shaker and found: a brittle, cracked rubber gasket hiding black mold; a spring mechanism caked with brownish residue that smelled like stale orange peel; and fine nickel flakes clinging to the interior strainer. After following the 7-step protocol, she discovered the “professional cleaning” had been limited to exterior polishing. The internal biofilm was so entrenched it required two enzymatic soaks. Maya now tests every vintage bar tool with a UV-C sanitizer wand before first use—and keeps a log of cleaning dates and observations. Her experience underscores a critical reality: aesthetic restoration ≠ functional sanitation.
Expert insight: What bar professionals and conservators advise
Bar historians and museum conservators approach vintage barware with equal parts reverence and rigor. Their guidance reflects decades of handling fragile, historically significant objects—and preventing contamination in high-use settings.
“The biggest misconception is that ‘old’ means ‘stable.’ In fact, aged metal finishes are often chemically unstable—especially when exposed to citric acid or repeated thermal cycling. A shaker that survived Prohibition may not survive your next margarita unless you treat it like laboratory equipment: sterilize, inspect, validate.” — Dr. Lena Torres, Beverage Historian & Former Curator, Museum of the American Cocktail
“I’ve restored over 200 vintage shakers for bars across New York. The ones that fail aren’t the rusty ones—they’re the shiny, ‘clean-looking’ ones with hidden corrosion or compromised seals. Always test the seal: fill the shaker halfway with water, secure the lid, and shake vigorously over a sink. If even a single drop escapes, it’s not safe for carbonated or spirit-forward drinks.” — Marcus Bell, Certified Bar Tool Conservator, Brooklyn Restorations Co.
Do’s and Don’ts checklist
- DO request material composition and manufacturing era from the seller before purchase.
- DO inspect photos closely for pitting, flaking, discoloration, or warped seams—even if the listing says “excellent condition.”
- DO use only food-grade, non-toxic cleaners—never oven cleaner, abrasive pads, or undiluted bleach.
- DO replace all rubber, silicone, or cork gaskets—even if they appear intact. Vintage elastomers degrade invisibly.
- DO store disassembled and fully dry in a breathable cotton bag—not sealed plastic—to prevent condensation.
- DON’T use vintage shakers for dairy-based cocktails (e.g., Ramos Gin Fizz) or egg whites unless you’ve verified zero micro-abrasions in the interior surface.
- DON’T assume dishwasher safety—most vintage shakers warp, corrode, or delaminate in high-heat cycles.
- DON’T use acidic drinks (lime juice, grapefruit, vinegar-based shrubs) in unlined brass, copper, or nickel-plated shakers without verifying plating integrity first.
Frequently asked questions
Can I test for lead at home?
Yes—but with caveats. Lead test swabs (EPA-approved) can detect surface lead on solder joints or painted finishes. However, they don’t measure leaching potential—the real risk. A negative swab means no *surface* lead, but doesn’t guarantee the metal won’t leach under acidic conditions. For peace of mind, especially with shakers intended for frequent use, consider sending a sample to a certified lab for acid-leach testing (approx. $75–$120). Reputable labs like TestAmerica or Eurofins offer consumer-accessible kits.
How often should I re-clean a vintage shaker?
After every use involving citrus, dairy, or egg—rinse, dry, and inspect immediately. Perform the full 7-step protocol every 4–6 uses, or monthly if used lightly. If you notice any odor, film, or resistance when tightening lids, clean immediately—don’t wait.
Are vintage glass shakers safer than metal ones?
Generally yes—glass is non-porous and inert—but only if undamaged. Check meticulously for hairline cracks, especially around the rim or base where stress concentrates. A cracked glass shaker can shatter during shaking. Also verify that the glass is borosilicate (like Pyrex) or tempered; soda-lime glass from the 1920s–1940s may lack thermal shock resistance and fracture if chilled then filled with room-temp spirits.
Conclusion: Respect the object, protect your health
Vintage cocktail shakers belong in your bar not as decorative relics, but as living tools—functional, expressive, and deeply personal. Yet honoring their history demands more than aesthetic appreciation. It requires diligence: the willingness to look beyond the gleam, to probe seams and test seals, to invest time in cleaning that rivals the care you give your favorite chef’s knife. When you do, the payoff is profound—not just safer drinks, but deeper connection. Each perfectly shaken martini becomes a dialogue across decades, a ritual anchored in both craft and responsibility. Your vintage shaker isn’t asking to be worshipped. It’s asking to be understood, maintained, and used with intention. Start today: pull out that newly acquired shaker, disassemble it, and begin the process—not as a chore, but as the first true act of stewardship.
💬 Your turn: Have you revived a vintage shaker? Share your cleaning breakthroughs, material discoveries, or hard-won lessons in the comments—help fellow enthusiasts drink safely and beautifully.