Making homemade salsa is a rewarding way to capture the vibrant flavors of fresh tomatoes, peppers, onions, and herbs. But without proper preservation, that batch can spoil within days. To enjoy your salsa year-round—without risking food safety���it’s essential to understand the science and techniques behind safe, long-term storage. This guide walks you through every critical step: from selecting the right ingredients and acidity levels to mastering water bath canning and avoiding common pitfalls. Whether you're new to home canning or refining your process, these methods ensure your salsa stays fresh, flavorful, and safe.
Why Proper Preservation Matters
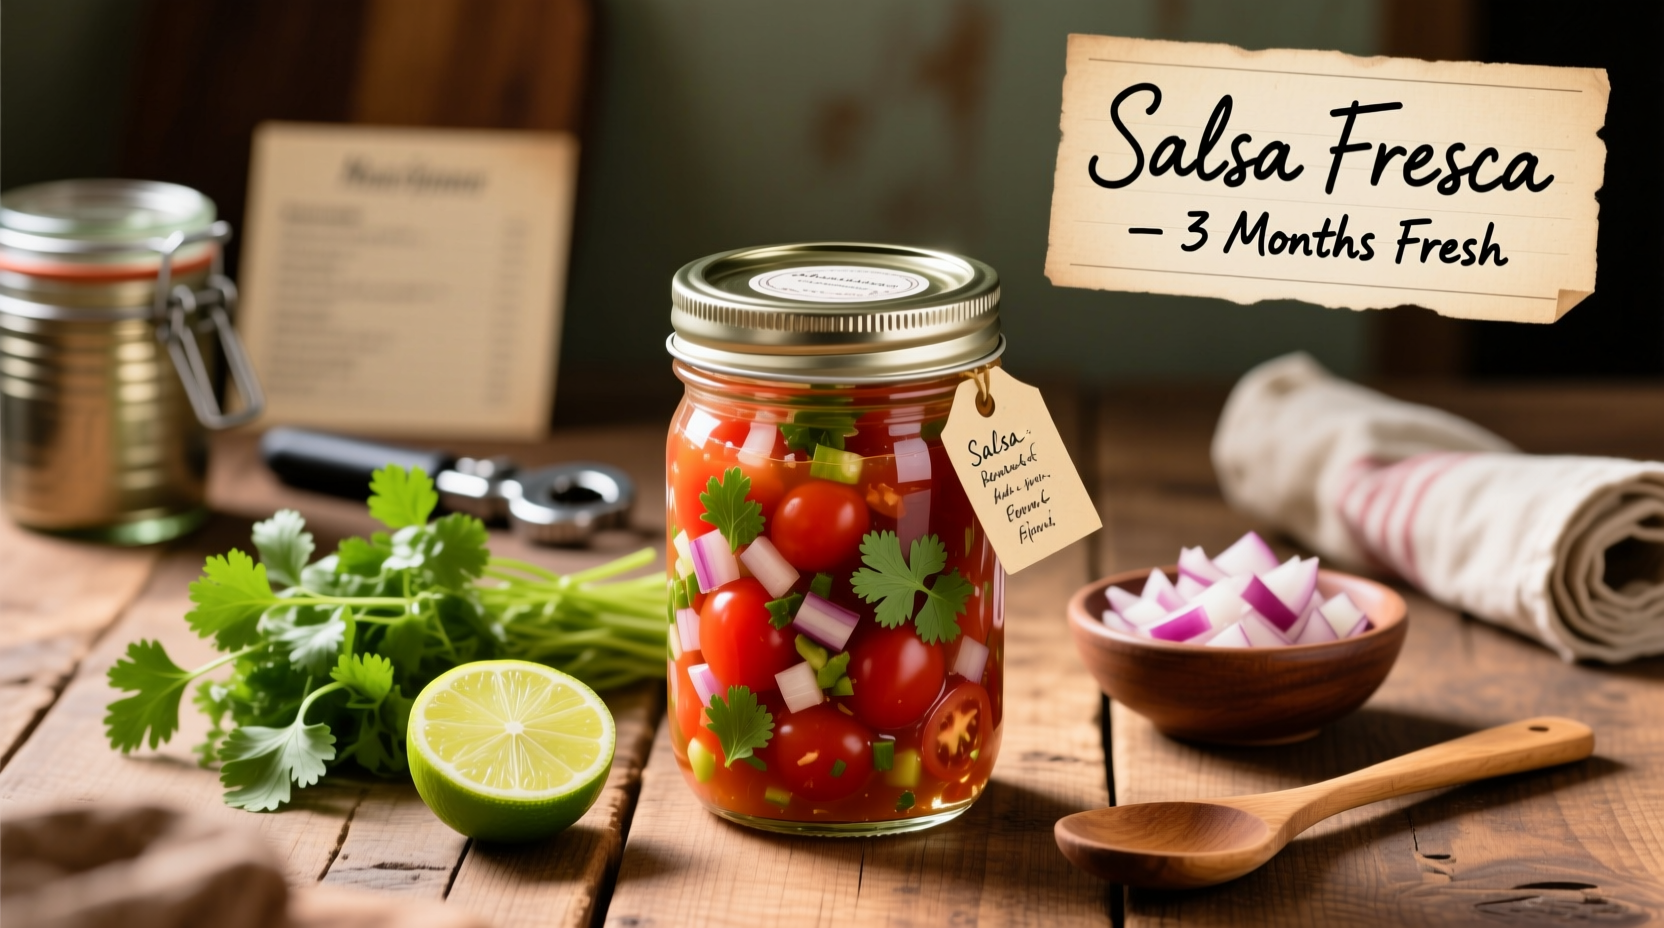
Salsa is a low-acid food when made primarily with vegetables like tomatoes, onions, and peppers. However, its pH must be carefully managed to prevent the growth of harmful bacteria such as Clostridium botulinum, which causes botulism—a rare but potentially fatal illness. The U.S. Department of Agriculture (USDA) emphasizes that acidification and proper heat processing are non-negotiable for shelf-stable canned salsa.
Unlike refrigerated salsas, which last only 5–7 days, properly preserved salsa stored in sealed jars can remain safe and tasty for up to 18 months. After that, quality may decline, but it remains safe if unopened and stored correctly. The key lies in following research-tested recipes and procedures designed specifically for home canning.
“Never improvise when it comes to canning low-acid foods. Even small changes in ingredients can alter pH and create serious health risks.” — Dr. Linda Harris, Food Safety Specialist, UC Davis
The Science of Safe Salsa: Acidity, pH, and Processing
For safe water bath canning, salsa must have a pH of 4.6 or lower. At this level, harmful microorganisms cannot survive the boiling process (212°F / 100°C). Tomatoes naturally hover around pH 4.3–4.9, but variations due to ripeness or variety mean added acid is required.
Always include bottled lemon juice or white vinegar (5% acidity) in your recipe. Bottled products have consistent acidity; fresh lemons do not. Use the following guidelines per pint jar:
- Add 1 tablespoon of bottled lemon juice or
- Add 2 tablespoons of 5% acidity white vinegar.
These amounts ensure sufficient acid even if tomato pH varies. Never reduce acid in a tested recipe—even for taste.
Tip: Add acid directly to each jar before filling to ensure even distribution and maximum safety.Step-by-Step Guide to Water Bath Canning Salsa
This method is ideal for high-acid, chunky salsas and ensures long-term shelf stability. Follow this timeline precisely for best results.
- Prep Ingredients (30 min): Wash all produce thoroughly. Use firm, ripe tomatoes—avoid overripe or damaged ones. Dice peppers, onions, garlic, and cilantro as desired.
- Cook Salsa (20–30 min): Combine ingredients in a large pot. Bring to a boil, then simmer for 15–20 minutes to blend flavors and reduce moisture. Stir occasionally.
- Prepare Jars (15 min): Wash jars, lids, and bands in hot soapy water. Keep jars warm in a simmering water bath (180°F) to prevent thermal shock.
- Fill Jars (20 min): Using a funnel, ladle hot salsa into warm jars, leaving ½ inch headspace. Remove air bubbles with a non-metallic utensil. Wipe rims clean with a damp cloth.
- Add Lids and Bands: Place sterilized lids on jars, screw bands on fingertip-tight—not too tight.
- Process in Water Bath (15–20 min): Submerge jars in boiling water, ensuring at least 1 inch of water covers them. Process pints for 15 minutes, quarts for 20 minutes. Adjust time for altitude above 1,000 feet.
- Cool and Test Seals (12–24 hr): Remove jars and place on a towel-lined counter. Let cool undisturbed for 12–24 hours. Press center of lid—if it doesn’t flex, it’s sealed.
Label sealed jars with date and store in a cool, dark place. Unsealed jars should be refrigerated and used within a week.
Do’s and Don’ts of Homemade Salsa Preservation
| Do’s | Don’ts |
|---|---|
| Use tested recipes from USDA, National Center for Home Food Preservation, or university extensions. | Never use heirloom tomatoes exclusively without testing pH or adding extra acid. |
| Add bottled lemon juice or vinegar to every jar. | Don’t thicken salsa with flour, cornstarch, or butter—these interfere with heat penetration. |
| Process jars immediately after filling while both food and jars are hot. | Don’t reuse canning lids—the sealing compound loses effectiveness. |
| Store sealed jars below 70°F in a dark, dry location. | Don’t store jars with bands on long-term—they can rust and make spoilage harder to detect. |
| Inspect jars before opening: check for mold, off-odors, or bulging lids. | Don’t taste questionable salsa. When in doubt, throw it out. |
Real Example: A Kitchen Lesson in Salsa Safety
Jessica, a home cook in New Mexico, loved making smoky roasted salsa with fire-roasted green chiles and onions. One year, she skipped adding vinegar to “keep it pure,” processed jars for only 10 minutes, and stored them in her garage. Three months later, she noticed one lid was slightly raised. She opened it anyway—and smelled a faint sourness. She discarded it, unaware she’d narrowly avoided a potential botulism risk. After consulting her local extension office, she learned that omitting acid and under-processing created dangerous conditions. Now, she follows USDA guidelines exactly and shares safe recipes with her community group.
Her experience underscores a crucial truth: tradition doesn’t override microbiology. Safe preservation requires precision, not intuition.
Alternative Preservation Methods: Freezing and Refrigeration
If canning feels intimidating, freezing is a safe alternative. While texture may soften slightly upon thawing, flavor remains excellent for cooked dishes or blended sauces.
To freeze salsa:
- Cool freshly made salsa completely.
- Pour into freezer-safe containers or heavy-duty resealable bags, leaving ½–1 inch headspace for expansion.
- Label with date and freeze for up to 12 months.
- Thaw in refrigerator overnight before use.
Refrigeration works for short-term storage. Fresh salsa lasts 5–7 days in a tightly sealed container. For longer fridge life, add extra lime juice to slow oxidation and microbial growth.
Tip: Freeze salsa in ice cube trays first, then transfer cubes to bags—perfect for portioning into soups, stews, or eggs.Frequently Asked Questions
Can I use less salt in my canned salsa?
Yes. Salt is optional in salsa recipes and used only for flavor—it does not affect preservation. You may reduce or omit it without compromising safety.
Is it safe to can salsa with avocado or mango?
No. Avocados and mangoes are low-acid and high-fat, making them unsuitable for water bath canning. These ingredients should only be used in fresh salsa consumed immediately or refrigerated for short periods.
How do I know if my canned salsa has gone bad?
Check for visible mold, cloudiness, spurting liquid when opened, or foul odors. Any of these signs means discard the entire jar—do not taste. Also discard if the lid fails to pop when opened or appears bulged.
Final Checklist for Safe Salsa Preservation
- ✅ Use a tested, high-acid recipe with proper pH balance.
- ✅ Include bottled lemon juice or vinegar in every jar.
- ✅ Sterilize jars and use new lids for each batch.
- ✅ Process pints for 15 minutes, quarts for 20 minutes in a boiling water bath.
- ✅ Cool jars undisturbed and confirm seals before storage.
- ✅ Label jars with date and store in a cool, dark place.
- ✅ Inspect before opening—discard anything suspicious.
Enjoy the Flavor, Safely Preserved
Preserving homemade salsa isn’t just about convenience—it’s about honoring the harvest, reducing waste, and enjoying seasonal flavors all year. With the right knowledge and careful attention to detail, you can create batches that are not only delicious but also safe for your family. Stick to science-based methods, respect the role of acidity and heat processing, and never compromise on cleanliness. Your future self will thank you when winter rolls around and you open a jar of summer-fresh salsa, bursting with garden goodness.
💬 Have a trusted salsa recipe or canning tip? Share it in the comments below and help others preserve their harvest with confidence.