Fresh herbs elevate meals with vibrant flavor and aroma, but their short shelf life often leads to waste. Most people toss wilted basil or slimy cilantro within days of purchase—sometimes before they even get the chance to use them. The good news: with the right storage techniques, fresh herbs can last well over a week, retaining their color, texture, and taste. Whether you're stocking up at the farmers' market or buying in bulk from the grocery store, proper handling makes all the difference.
The key is understanding that not all herbs are created equal. Tender leafy herbs like basil and cilantro have different needs than hardy woody ones like rosemary and thyme. Treating them the same way leads to disappointment. By tailoring your storage method to each herb’s biology, you can extend freshness by 7–14 days or more.
Understanding Herb Types: Tender vs. Woody
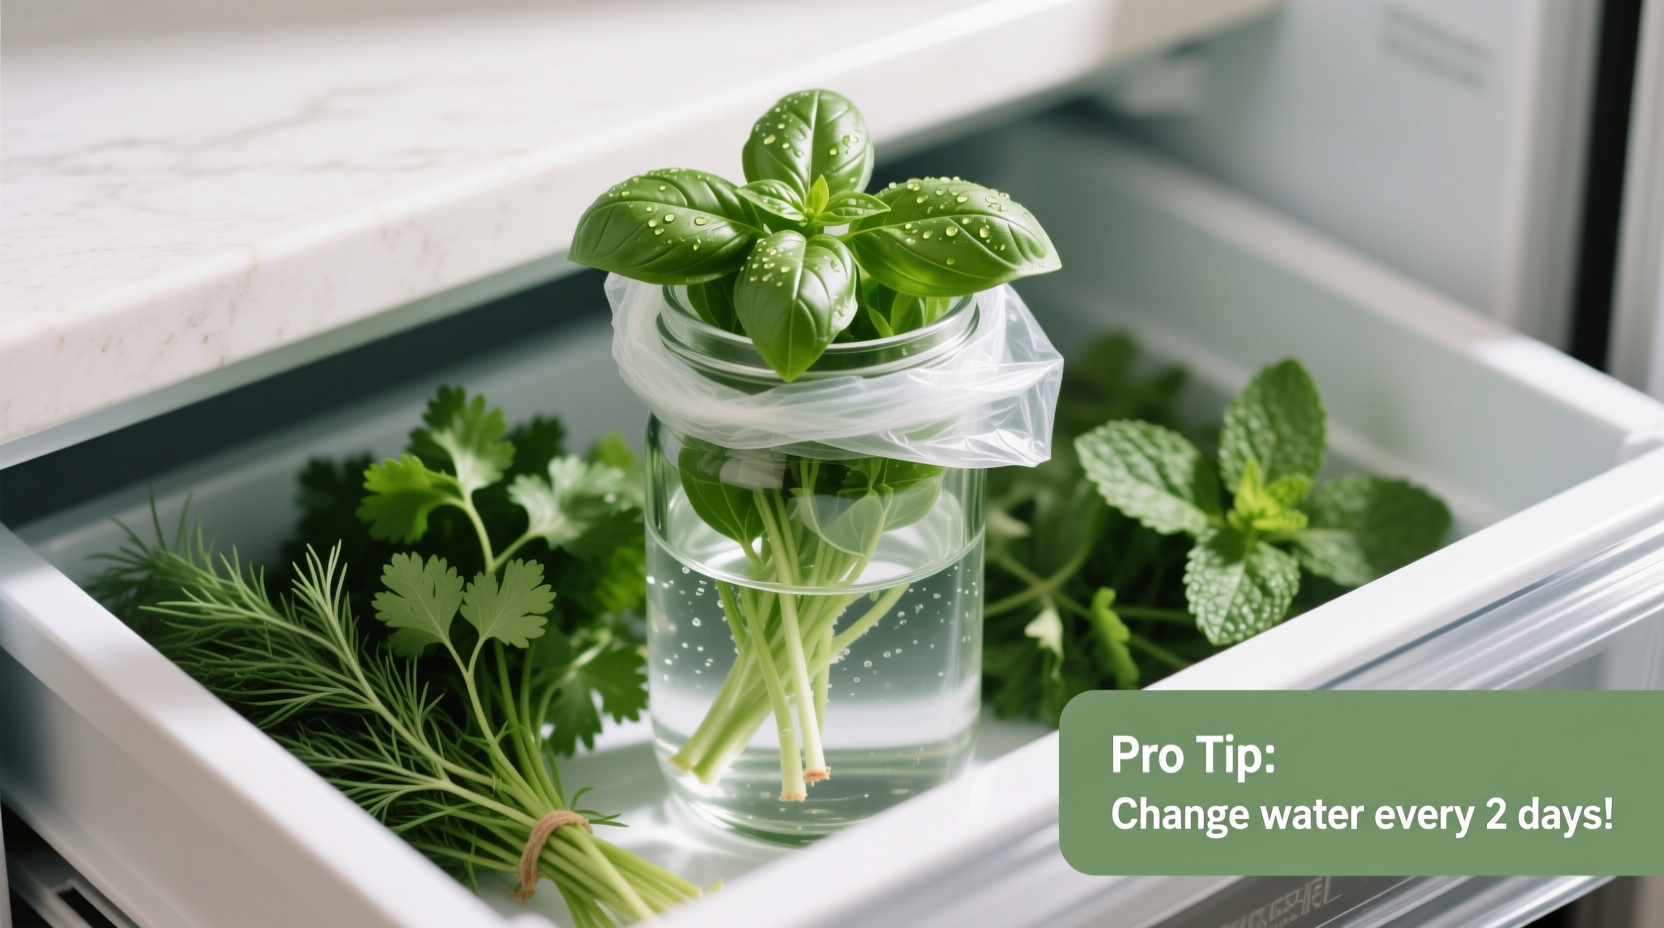
Before diving into storage techniques, it's essential to classify your herbs correctly. This distinction determines whether they should be treated like cut flowers or leafy greens.
- Tender herbs: Basil, cilantro, parsley, dill, mint, tarragon, chervil. These have soft stems and high water content. They wilt quickly if dehydrated and are prone to cold damage.
- Woody herbs: Rosemary, thyme, oregano, sage, marjoram, lavender. These have rigid, fibrous stems and lower moisture levels. They respond better to dry, cool storage.
Mistaking one for the other leads to premature spoilage. For example, placing basil in a sealed container without airflow causes it to blacken, while leaving rosemary in water invites stem rot.
Tip: When shopping, check stems and leaves. If the stem bends easily and feels juicy, it’s a tender herb. If it snaps crisply, it’s woody.Step-by-Step Guide: How to Store Tender Herbs
Tender herbs thrive when treated like fresh-cut flowers. The goal is to maintain hydration while preventing bacterial growth and ethylene exposure (a gas produced by ripening fruits that accelerates decay).
- Trim the stems: Use sharp scissors to cut about ½ inch off the bottom of each stem. This opens the vascular system for better water uptake.
- Remove submerged leaves: Strip any leaves that would sit below the waterline. Wet foliage promotes mold and slime.
- Use a jar or glass: Fill a clean jar with 1–2 inches of cool water. Place the herbs stem-side down, like a bouquet.
- Loosely cover: Tent the top with a plastic produce bag or reusable silicone lid. This maintains humidity without sealing completely.
- Store in the fridge (except basil): Keep the jar in the crisper drawer. Replace water every 2–3 days.
Basil is the exception. It’s tropical and sensitive to cold. Instead of refrigerating, keep it on the counter away from direct sunlight, changing water daily. If you must refrigerate due to space, wrap it loosely in a damp cloth and place it in the warmest part of the fridge—usually the door.
Real Example: Reviving Wilted Cilantro
Sophia bought a large bunch of cilantro for a Mexican feast but only used half. After three days in a sealed container, the remaining herbs looked limp and sad. Remembering a chef’s tip, she trimmed the stems, placed them in a glass of water, and covered them with a loose plastic bag. Within hours, the leaves perked up. Ten days later, she was still using bright green sprigs in salsas and guacamole.
How to Store Woody Herbs for Maximum Longevity
Woody herbs don’t need water immersion. Their low moisture content means excess humidity encourages mold. Instead, treat them like dry greens.
- Dry thoroughly: If washed, pat completely dry with a clean towel or use a salad spinner.
- Wrap in paper towel: Lay the herbs on a dry paper towel, then roll them gently. This absorbs excess moisture and prevents condensation.
- Place in a container: Slide the rolled bundle into a resealable glass container or reusable produce bag. Do not seal airtight—allow slight airflow.
- Refrigerate in crisper: Store upright or flat, depending on space. Check weekly for signs of mold.
For long-term storage, freeze woody herbs whole on a tray before transferring to a freezer bag. They won’t be suitable for garnish but work perfectly in soups, stews, and sauces.
Tip: Never wash herbs until just before use. Premature washing traps moisture and speeds decay.Do’s and Don’ts of Herb Storage
| Herb Type | Do’s | Don’ts |
|---|---|---|
| Tender (e.g., cilantro, parsley) | Store in water, change water every 2–3 days, cover loosely | Seal in plastic, refrigerate basil, leave leaves in water |
| Woody (e.g., rosemary, thyme) | Wrap in paper towel, store in breathable container | Submerge in water, store near fruit, leave wet |
| All Herbs | Inspect upon arrival, trim damaged parts, label storage date | Store near apples/avocados, overcrowd containers, skip drying |
“Proper herb storage isn’t about perfection—it’s about mimicking the plant’s natural environment. Water for leafy types, dry air for woody ones.” — Chef Rafael Mendez, Culinary Instructor & Herb Gardener
Advanced Tips for Extending Freshness Beyond 10 Days
For those who cook infrequently or buy in bulk, a few advanced strategies can push longevity even further.
Blanch and Freeze Delicate Herbs
Basil and parsley can be blanched for 10 seconds in boiling water, shocked in ice water, squeezed dry, and frozen in oil (like pesto cubes). This preserves flavor and color for up to six months.
Create Herb Ice Cubes
Chop tender herbs finely, place in ice cube trays, cover with water or olive oil, and freeze. Perfect for adding directly to soups, sauces, or marinades.
Use a Produce Saver Bag
Specialized produce bags made with ethylene-absorbing liners or micro-perforations regulate humidity and gas exchange. Brands like BluApple or EvertFresh can double the life of herbs stored in the fridge.
Dry Small Quantities at Home
If you have a small surplus of thyme or oregano, tie the stems into a loose bundle and hang upside down in a dark, well-ventilated area for 5–7 days. Once fully dry, strip the leaves and store in an airtight jar away from light.
Tip: Label frozen herb cubes with the herb name and date. Most retain peak quality for 4–6 months.Checklist: Your Weekly Herb Maintenance Routine
Stay ahead of spoilage with this simple weekly routine:
- ☐ Inspect all stored herbs every 3–4 days
- ☐ Replace water in jars for tender herbs
- ☐ Swap out damp paper towels for woody herbs
- ☐ Trim any discolored or slimy stems immediately
- ☐ Move herbs away from ethylene-producing fruits (apples, bananas, tomatoes)
- ☐ Use oldest herbs first—practice “first in, first out”
- ☐ Consider freezing extras if not used within 7–10 days
Frequently Asked Questions
Can I store mixed herbs together?
It’s best to separate tender and woody types. Mixing them risks exposing dry herbs to excess moisture or submerging woody stems unnecessarily. If storing together, group by category and ensure proper ventilation.
Why do my herbs turn slimy in water?
Slime forms when bacteria grow on submerged leaves or in stagnant water. Always remove leaves below the waterline and change water every 2–3 days. Using filtered or distilled water can reduce microbial load.
Is it safe to eat herbs that have started to yellow?
Slight yellowing may indicate aging or light exposure but isn’t inherently dangerous. However, if accompanied by mushiness, odor, or slime, discard the herb. When in doubt, err on the side of caution.
Conclusion: Turn Waste Into Flavor
Storing fresh herbs properly isn’t complicated—but it does require attention to detail. By categorizing herbs correctly, using targeted storage methods, and maintaining a simple maintenance routine, you can consistently enjoy vibrant, aromatic herbs for two weeks or more. This reduces food waste, saves money, and ensures you always have flavor at the ready.
Imagine opening your fridge and seeing crisp parsley, perky mint, and fragrant rosemary—all looking as fresh as the day you bought them. That level of freshness is achievable with just a few adjustments. Start tonight: check your current herbs, trim what needs it, and set up a proper storage system. Your future self—and your recipes—will thank you.
💬 Have a favorite herb storage hack? Share your tip in the comments and help others keep their kitchen staples fresher, longer.