
There’s something deeply comforting about the aroma of warm cinnamon rolls fresh from the oven—sweet, spiced, and tender enough to melt in your mouth. Yet many home bakers shy away from making them, assuming the process is too time-consuming or technically demanding. The truth? With the right approach, you can create bakery-quality cinnamon buns at home using simple ingredients and straightforward techniques.
This recipe delivers soft, pillowy rolls with a rich swirl of cinnamon-sugar filling and a silky glaze that drapes over each one like morning dew. Whether you're preparing breakfast for a weekend gathering or surprising loved ones on a quiet Sunday morning, these cinnamon buns are guaranteed to impress—without requiring advanced baking skills.
The Secret to Soft, Fluffy Cinnamon Rolls
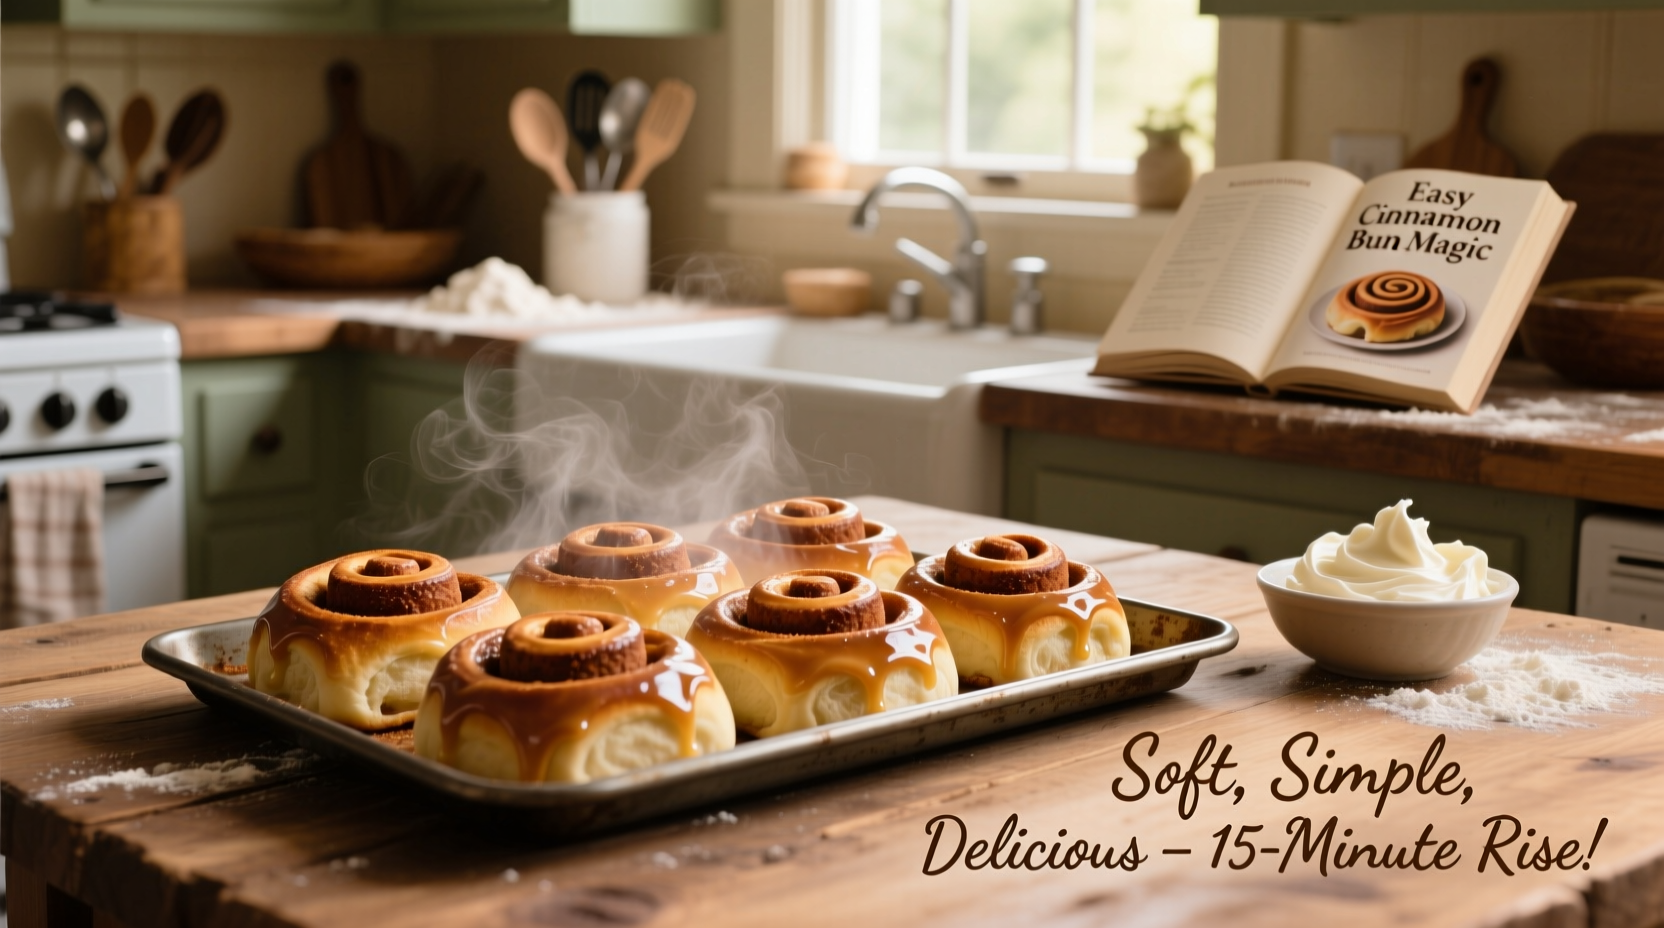
The texture of a perfect cinnamon roll lies in its dough: light, airy, and slightly elastic. Achieving this starts with understanding how yeast works and managing moisture levels throughout the process. Unlike denser breads, cinnamon roll dough benefits from milk, butter, and eggs, which enrich the crumb and slow down staling.
Using lukewarm milk (around 105–110°F) activates the yeast gently without killing it. Too hot, and the yeast dies; too cold, and it won’t activate properly. A well-kneaded dough develops gluten structure, allowing it to trap gas during proofing and rise into soft layers when baked.
“The key to tender cinnamon rolls isn’t just the ingredients—it’s patience. Letting the dough rest and rise fully ensures maximum softness.” — Clara Nguyen, Artisan Baker & Pastry InstructorTip: For extra tenderness, substitute half the water with full-fat yogurt or sour cream. This adds acidity, which helps keep the crumb soft longer.
Step-by-Step Guide to Perfect Cinnamon Buns
Follow this detailed timeline to bake flawless cinnamon rolls from start to finish. Total active time is about 30 minutes; the rest involves resting and baking.
- Mix the Dough (10 min): In a large bowl, combine 1 cup warm milk, 2 ¼ tsp active dry yeast, and 1 tbsp sugar. Let sit for 5–7 minutes until foamy. Add ⅓ cup melted butter, 1 egg, ¼ cup sugar, 1 tsp salt, and 3 cups all-purpose flour. Mix until a shaggy dough forms.
- Knead (8–10 min): Turn onto a floured surface and knead until smooth and elastic. Add flour sparingly if sticky. Transfer to an oiled bowl, cover with a damp cloth, and let rise in a warm place for 1 hour or until doubled.
- Roll Out (5 min): Punch down risen dough. Roll into a 12x16-inch rectangle on a lightly floured surface.
- Add Filling (3 min): Spread ⅓ cup softened butter evenly over the dough. Mix ½ cup brown sugar and 2 tbsp ground cinnamon; sprinkle generously over buttered surface.
- Roll and Cut (5 min): Starting from the long edge, roll tightly into a log. Pinch seam to seal. Use dental floss or a sharp knife to slice into 12 equal pieces.
- Second Rise (30–45 min): Place rolls in a greased 9x13-inch pan, cover, and let rise again until puffy.
- Bake (20–25 min): Preheat oven to 350°F. Bake until golden brown. Cool slightly before glazing.
- Glaze (2 min): Whisk together 1 cup powdered sugar, 1–2 tbsp milk, and ½ tsp vanilla extract. Drizzle over warm rolls.
Common Pitfalls and How to Avoid Them
Even experienced bakers encounter issues with cinnamon rolls. Here’s a breakdown of frequent problems and their solutions.
| Issue | Possible Cause | Solution |
|---|---|---|
| Dense, tough rolls | Over-kneading or under-proofing | Knead only until smooth; allow full rise time |
| Filling leaks out during baking | Roll not sealed or cut too loosely | Pinch seam closed; use floss to slice cleanly |
| Rolls don’t rise | Old yeast or cold environment | Test yeast first; place bowl in warm oven (off) with light on |
| Burnt bottoms | Oven too hot or dark pan used | Bake at correct temp; use light-colored pan or double-layer baking sheet |
Mini Case Study: From Doubt to Delight
Sarah, a working mom in Portland, had always bought frozen cinnamon rolls for her kids’ weekend breakfasts. After trying this recipe one Saturday morning, she was stunned by the difference. “I thought homemade would be too hard,” she said. “But the steps were so clear, and the rolls came out soft and fragrant—my daughter asked if we could make them every week.”
She now prepares the dough the night before, refrigerates it after the first rise, and finishes baking in the morning. Her adaptation proves that flexibility and simplicity go hand-in-hand with great results.
Make-Ahead and Storage Tips
One of the best features of this recipe is its adaptability. You don’t have to bake the rolls immediately after shaping.
- Refrigerate overnight: After cutting, place rolls in the pan, cover tightly, and refrigerate for up to 18 hours. In the morning, let them sit at room temperature for 30 minutes before baking.
- Freeze unbaked: Arrange cut rolls on a tray, freeze until solid, then transfer to a freezer bag. When ready, thaw overnight in the fridge and proceed with the second rise and baking.
- Store leftovers: Keep cooled rolls in an airtight container at room temperature for 2 days or refrigerate for up to 5. Reheat in the microwave for 15 seconds to restore softness.
“Planning ahead transforms cinnamon rolls from a special occasion treat into a realistic weekend favorite.” — James Liao, Home Cooking Advocate
Frequently Asked Questions
Can I use instant yeast instead of active dry?
Yes. Instant yeast can be mixed directly into the dry ingredients without proofing. Use the same amount (2 ¼ tsp), but skip the foaming step with milk. The rise time may be slightly faster.
Why did my rolls shrink after cutting?
This usually happens if the dough was stretched while rolling. To prevent it, roll gently without pulling, and avoid pressing down on the log before slicing. Using unflavored dental floss to cut minimizes distortion.
Can I make these dairy-free?
Absolutely. Substitute the milk with canned coconut milk or oat milk, and use vegan butter or refined coconut oil. The rolls will still be soft and flavorful, though slightly less rich.
Conclusion: Bring Warmth to Your Kitchen
Homemade cinnamon buns aren’t reserved for expert bakers or holiday mornings. With this easy recipe, anyone can create soft, delicious rolls that fill the house with warmth and invite people to gather around the table. The process is forgiving, the ingredients are accessible, and the results speak for themselves.
💬 Ready to try it this weekend? Share your baking experience, tag a friend who loves sweets, or leave a comment with your twist on the recipe—we’d love to hear how your cinnamon buns turned out!