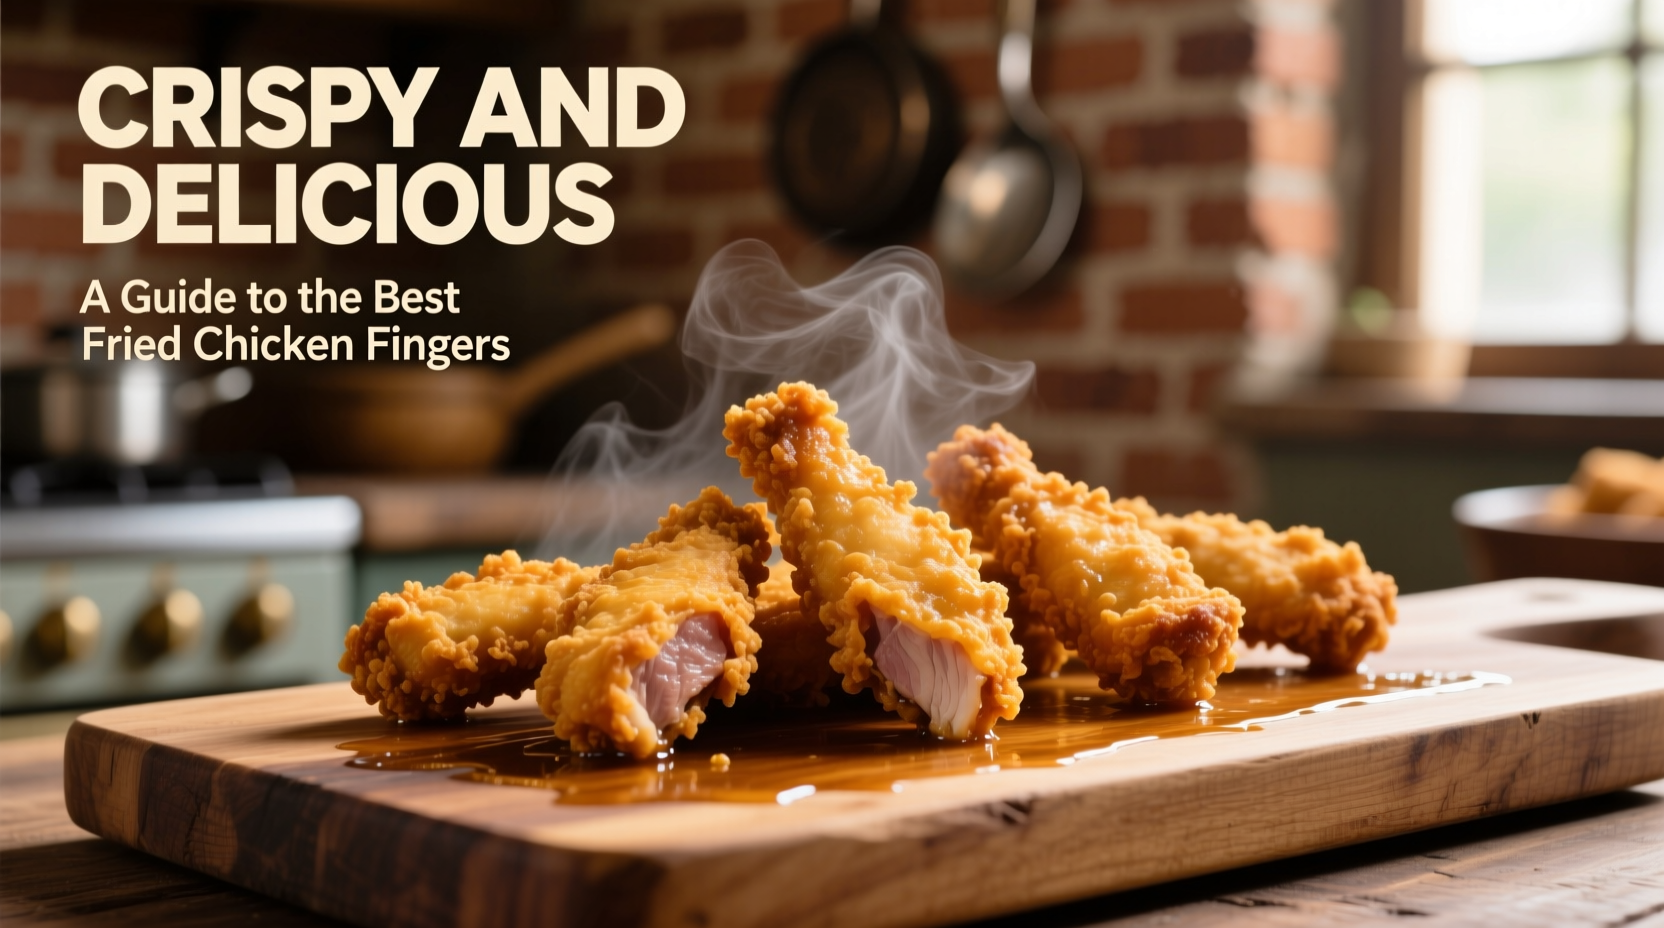
Fried chicken fingers are a beloved comfort food—golden-brown, crunchy on the outside, tender and juicy within. Whether served as an appetizer, lunch, or late-night snack, their appeal is universal. But achieving that ideal balance of crispiness and flavor without falling into the traps of greasiness or dryness requires more than just tossing chicken in flour and oil. This guide dives deep into the art and science of crafting the best fried chicken fingers, from selecting ingredients to mastering frying technique.
The Anatomy of Great Chicken Fingers
What separates a forgettable batch from one that lingers in memory? It starts with understanding the key components: meat quality, breading texture, seasoning depth, and frying precision. Each plays a role in delivering that satisfying crunch followed by succulent meat.
Boneless, skinless chicken breasts are standard, but some chefs prefer using tenders or even thighs for added moisture. The cut should be uniform—about ½ inch thick—to ensure even cooking. Too thin, and they dry out; too thick, and the exterior burns before the inside cooks through.
Tip: Pat the chicken pieces completely dry before breading—moisture is the enemy of crispiness.Breading: The Foundation of Crunch
The coating is where texture magic happens. A classic double-dredge method—flour, egg wash, then breadcrumbs or seasoned flour—is most effective. Some variations use cornstarch for extra crisp, while others incorporate crushed crackers or panko for enhanced crunch.
Seasoning shouldn’t stop at salt and pepper. Garlic powder, paprika, onion powder, cayenne, and even a touch of dried herbs like thyme or oregano build layers of flavor that shine through the crust.
Step-by-Step Guide to Perfect Fried Chicken Fingers
- Prep the chicken: Cut chicken breasts into ¾-inch-wide strips. Trim excess fat and pat dry with paper towels.
- Set up your station: Use three shallow bowls—one with seasoned flour, one with beaten eggs (add a splash of milk for smoothness), and one with breadcrumbs or additional seasoned flour.
- Dredge in order: Coat each strip in flour first (shaking off excess), dip into egg, then press firmly into breadcrumbs for full coverage.
- Chill briefly: Place breaded fingers on a tray and refrigerate for 15–20 minutes. This helps the coating adhere during frying.
- Heat the oil: Use a neutral oil with a high smoke point—like peanut, canola, or vegetable oil. Heat to 350°F (175°C). Use a thermometer for accuracy.
- Fry in batches: Cook 3–4 fingers at a time to avoid crowding. Fry for 3–4 minutes, turning once, until golden brown and internal temperature reaches 165°F (74°C).
- Drain properly: Transfer to a wire rack over a baking sheet—not paper towels alone—to keep the bottom crisp.
Oil Temperature & Frying Techniques
Temperature control is critical. Oil below 325°F leads to greasy, soggy results as the chicken absorbs too much oil. Above 375°F, the exterior browns too quickly while the inside remains undercooked.
Maintaining consistent heat means adjusting the burner as needed and allowing oil to reheat between batches. Skim off loose breading particles after each round to prevent burning and off-flavors.
| Oil Temp (°F) | Result | Recommendation |
|---|---|---|
| Below 325°F | Greasy, pale, soft crust | Avoid—too low |
| 325–350°F | Good balance, slight risk of sogginess | Acceptable for thicker cuts |
| 350–375°F | Optimal crispiness and even cooking | Ideal range for chicken fingers |
| Above 375°F | Burnt exterior, raw interior | Too hot—reduce heat |
“Perfect fried chicken isn’t about speed—it’s about patience. Let the oil do the work at the right temperature.” — Marcus Lee, Southern Comfort Chef & Cookbook Author
Pro Tips for Maximum Crisp and Flavor
- Double-dip for extra crunch: After the first coat, dip back into egg and flour for a thicker, crunchier shell.
- Add cornstarch: Replace 25% of the all-purpose flour with cornstarch for a lighter, crispier texture.
- Use buttermilk soak: Marinate chicken in buttermilk for 1–4 hours before breading. It tenderizes and adds tangy depth.
- Season every layer: Don’t just season the flour—add spices to the egg wash and crumbs too for even flavor distribution.
- Finish in the oven (optional): For large batches, fry until nearly done, then place on a rack in a 375°F oven for 5 minutes to finish crisping without overcooking.
Mini Case Study: The Nashville Kitchen Test
A small casual dining spot in East Nashville struggled with inconsistent chicken fingers—sometimes too dry, sometimes oily. After consulting a culinary advisor, they implemented a standardized process: uniform cutting, buttermilk brine for 2 hours, triple-seasoned flour blend, and strict oil monitoring using digital thermometers. Within three weeks, customer complaints dropped by 80%, and “crispy chicken fingers” became their top menu mention on social media.
The change wasn’t in ingredients alone—it was consistency, temperature control, and attention to detail.
Checklist: Perfect Chicken Fingers at Home
- ✅ Cut chicken uniformly (½–¾ inch thick)
- ✅ Dry chicken thoroughly before breading
- ✅ Season all coating stages (flour, egg, crumbs)
- ✅ Use a wire rack for draining (not just paper towels)
- ✅ Maintain oil at 350–375°F with a thermometer
- ✅ Fry in small batches to avoid temp drops
- ✅ Chill breaded chicken for 15+ minutes before frying
- ✅ Let rest uncovered after frying
FAQ
Can I bake chicken fingers instead of frying?
Yes, but the result will differ. Baked fingers are healthier but rarely achieve true deep-fry crispiness. For best results, use a wire rack on a baking sheet, spray generously with oil, and bake at 425°F for 18–22 minutes, flipping halfway. Panko or crushed cornflakes help mimic crunch.
How do I reheat fried chicken fingers without losing crisp?
Refrigerate leftovers promptly and store uncovered or with paper towel ventilation. To reheat, use an air fryer at 375°F for 4–5 minutes, or a conventional oven at 400°F on a wire rack. Avoid microwaving—it turns the crust soggy.
Can I freeze uncooked breaded chicken fingers?
Absolutely. Arrange breaded strips on a parchment-lined tray, freeze until solid (about 2 hours), then transfer to a sealed bag. Fry directly from frozen—add 1–2 minutes to cook time. Do not thaw first, or the coating may fall off.
Conclusion
Crispy and delicious fried chicken fingers aren’t reserved for restaurants or special occasions. With the right technique, careful preparation, and respect for fundamentals like temperature and seasoning, anyone can master them at home. It’s not about complexity—it’s about consistency, attention to detail, and a little bit of culinary patience. From game-day snacks to kid-approved dinners, these golden strips deliver satisfaction in every bite.
💬 Ready to fry your best batch yet? Try the step-by-step method this weekend and share your results—or your favorite dipping sauce—in the comments below!