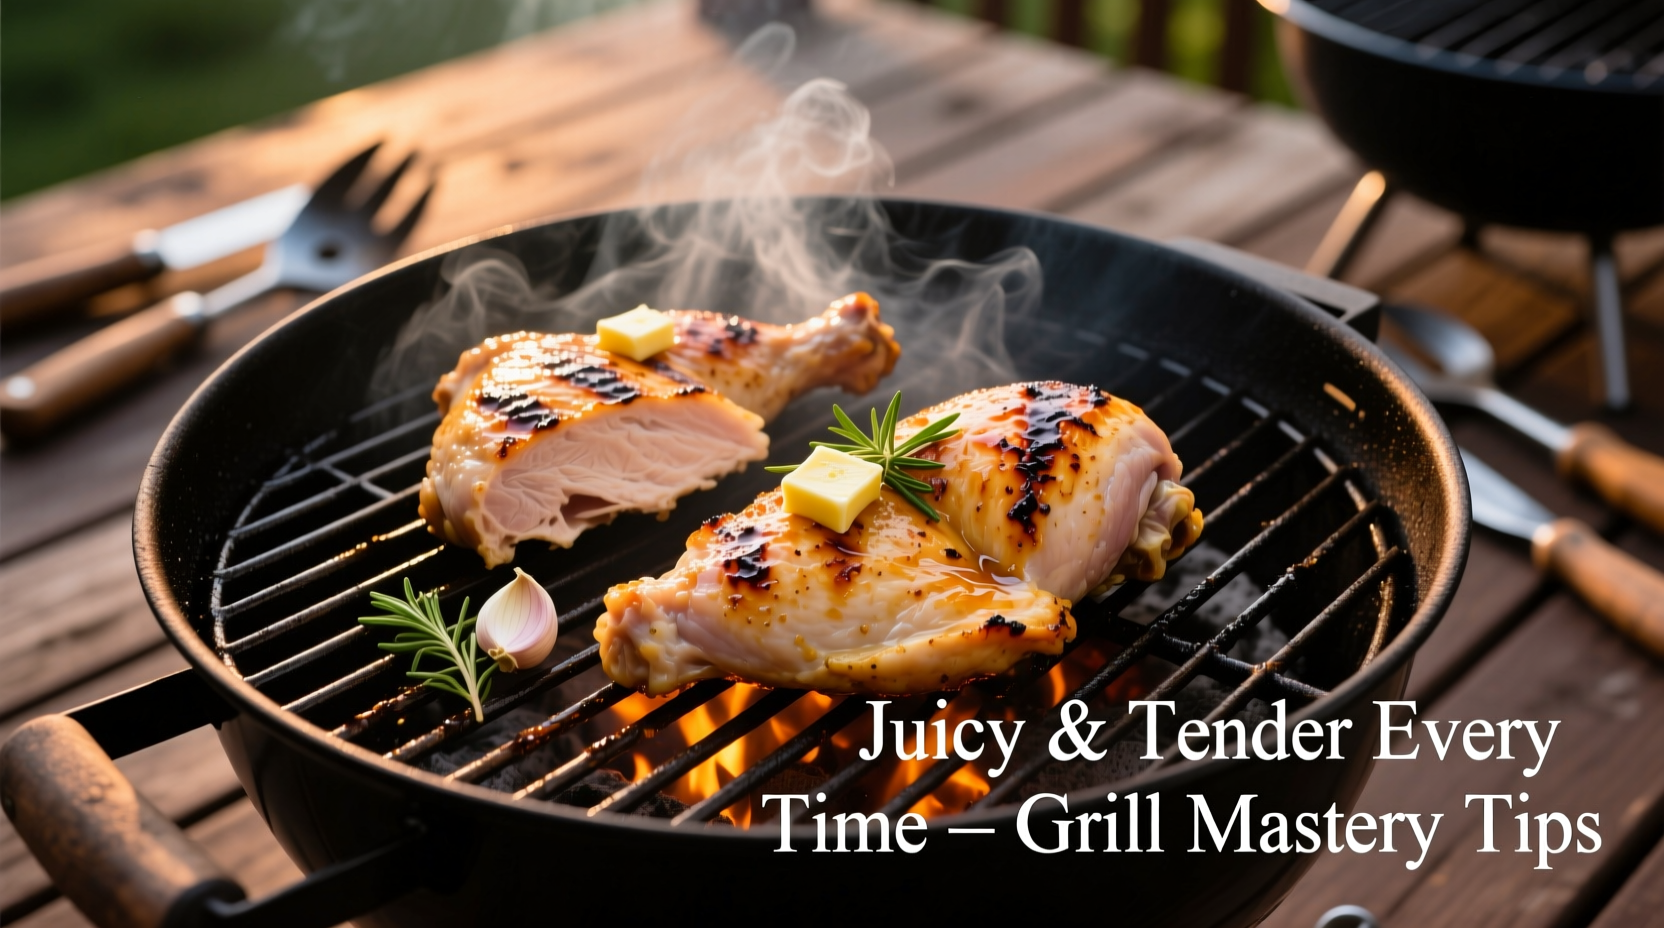
Grilled chicken is a summer staple, but too often it ends up dry, tough, or unevenly cooked. The difference between mediocre and mouthwatering grilled chicken lies not in luck, but in method. With the right preparation, heat management, and timing, you can achieve consistently juicy, tender results—whether you're grilling boneless breasts, thighs, or whole spatchcocked birds. This guide breaks down the science-backed strategies used by chefs and backyard grill masters alike.
Choose the Right Cut and Prep It Smartly
The foundation of great grilled chicken starts long before the flame. Different cuts have different fat contents, densities, and moisture retention levels. Skin-on, bone-in pieces like thighs and drumsticks naturally stay juicier due to their higher fat content and protective bone structure. Boneless breasts, while lean and popular, are prone to drying out if overcooked by even 30 seconds.
Preparation plays a crucial role. Brining—either wet or dry—is one of the most effective ways to lock in moisture. A simple salt-and-sugar brine (¼ cup salt, 2 tbsp sugar per quart of water) applied for 30 minutes to 4 hours increases the meat’s ability to retain juices during high-heat cooking. Dry brining—rubbing salt directly onto the chicken and letting it rest uncovered in the fridge for 1–12 hours—also enhances flavor and texture by drawing out surface moisture, which then reabsorbs seasoned liquid into the meat.
Tip: For extra tenderness, add a tablespoon of baking soda to your dry brine—this slightly raises the pH of the meat, helping it retain more moisture.Master Two-Zone Grilling for Perfect Doneness
One of the biggest mistakes home cooks make is placing chicken directly over roaring flames. High, direct heat chars the outside before the inside reaches a safe temperature, leading to dry centers and burnt exteriors. The solution? Two-zone grilling.
Create two areas on your grill: one with active heat (direct zone), and one without (indirect zone). For charcoal, pile coals on one side. For gas, light only half the burners. Sear chicken over direct heat to develop color and grill marks, then move it to the indirect side to finish cooking slowly and evenly. This mimics oven roasting while preserving smoky flavor.
“Two-zone grilling is non-negotiable for juicy chicken. It gives you control, not just combustion.” — James Thompson, Executive Chef at Hearth & Ember
Step-by-Step: Two-Zone Grilling Process
- Preheat grill to medium-high (around 375°F–400°F).
- Set up direct and indirect zones as described.
- Sear chicken skin-side down over direct heat for 3–5 minutes until golden.
- Flip and sear the other side for 2–3 minutes.
- Move to indirect zone, close lid, and cook until internal temperature reaches 160°F (carryover heat will bring it to 165°F).
- Rest for 5–10 minutes before serving.
Use a Meat Thermometer—No Exceptions
Guesstimating doneness leads to dry chicken. Visual cues like clear juices or firmness are unreliable. The only accurate method is using an instant-read meat thermometer. Insert it into the thickest part of the meat, avoiding bones.
| Cut of Chicken | Target Internal Temp | Approximate Grill Time* |
|---|---|---|
| Boneless breast (6 oz) | 157°F–160°F | 8–12 minutes |
| Bone-in thigh | 160°F–163°F | 25–35 minutes |
| Breast with bone | 158°F–161°F | 18–25 minutes |
| Whole spatchcocked chicken | 160°F (breast), 170°F (thigh) | 45–60 minutes |
*Varies based on grill temp and thickness. Always verify with a thermometer.
Tip: Pull chicken off the grill at 160°F—the residual heat will carry it to the USDA-recommended 165°F during resting.Let It Rest—The Final Flavor Lock
After grilling, transfer chicken to a clean plate or cutting board and tent loosely with foil. Let it rest for at least 5 minutes (longer for whole birds). During this time, the muscle fibers relax and reabsorb juices that would otherwise spill out when cut. Skipping this step can result in up to 20% moisture loss.
This resting phase is especially critical for larger cuts like whole breasts or leg quarters. Covering too tightly, however, traps steam and softens the crisp skin. Use a loose foil tent or let it sit uncovered in a warm spot.
A Real Example: From Dry Disaster to Juicy Success
Mark, a home cook from Austin, used to dread grilling chicken breasts. Every summer, his family would complain about “chicken cardboard.” He’d marinate them overnight, crank the grill to high, and flip obsessively—only to serve pale, dry slices.
Last season, he tried dry brining: rubbed each breast with ½ tsp kosher salt, refrigerated uncovered for 8 hours, then grilled over two zones. He seared for 3 minutes per side over direct heat, moved them to indirect, closed the lid, and waited until they hit 158°F. After a 7-minute rest, he sliced into one—and was stunned by the pink-tinged, juice-filled interior.
His wife said, “This tastes like restaurant chicken.” Mark now uses the same method for all poultry, including whole chickens butterflied and grilled over indirect heat.
Common Pitfalls and How to Avoid Them
- Overcooking: Even 5 extra degrees past 165°F causes significant moisture loss.
- Flare-ups: Dripping fat causes sudden flames. Move chicken to indirect zone immediately when flare-ups occur.
- Peeking too often: Opening the lid frequently drops grill temperature and extends cook time.
- Skipping preheating: A cold grill sticks and fails to sear properly.
- Using sugary marinades too early: Sugar burns fast. Apply sweet glazes only in the last 5–7 minutes.
“Temperature control is 80% of grilling success. The rest is patience.” — Linda Ruiz, BBQ Instructor at Texas Smoke Academy
Checklist: Grilling Chicken for Juicy Results
- ✔ Select appropriate cuts (bone-in for juiciness, boneless for speed)
- ✔ Brine or dry-brine ahead of time (at least 30 minutes)
- ✔ Preheat grill and set up two-zone configuration
- ✔ Pat chicken dry before grilling for better searing
- ✔ Sear over direct heat, then move to indirect
- ✔ Monitor internal temperature with a reliable thermometer
- ✔ Remove at 160°F and let rest 5–10 minutes
- ✔ Save sugary sauces for the final few minutes
Frequently Asked Questions
Can I grill frozen chicken?
No. Cooking frozen chicken leads to uneven doneness—burnt outside, raw inside. Always thaw completely in the refrigerator before grilling.
How do I prevent sticking?
Ensure the grill grates are clean, preheated, and lightly oiled. Brush oil on the chicken, not just the grates. Avoid moving the chicken during the first few minutes of searing.
Is pink chicken safe?
Color isn’t a safety indicator. Fully cooked chicken can appear slightly pink near the bone due to myoglobin, especially in younger birds. Always rely on temperature: 165°F after resting is safe.
Final Thoughts: Elevate Your Grill Game
Juicy, tender grilled chicken isn’t reserved for professionals. It comes down to understanding heat, respecting timing, and using tools like thermometers and two-zone setups. Whether you’re feeding a family or hosting a backyard gathering, mastering these techniques transforms a simple protein into something memorable.
Stop settling for dry, overcooked results. Apply these methods at your next cookout and taste the difference precision makes. Great grilling isn’t about complexity—it’s about consistency.
💬 What’s your go-to trick for juicy grilled chicken? Share your favorite marinade, brine, or technique in the comments below!