A wristwatch is more than just a tool for telling time—it’s a statement of style, precision, and often, sentimental value. Over the years, even the most well-cared-for watches can lose their luster, suffer mechanical issues, or accumulate dirt that dulls their appearance. While professional restoration services exist, many repairs and cleanings can be safely performed at home with the right tools and knowledge. This comprehensive guide walks you through the entire process, from disassembly to reassembly, ensuring your watch regains its former glory without costly service fees.
Assess Your Watch’s Condition
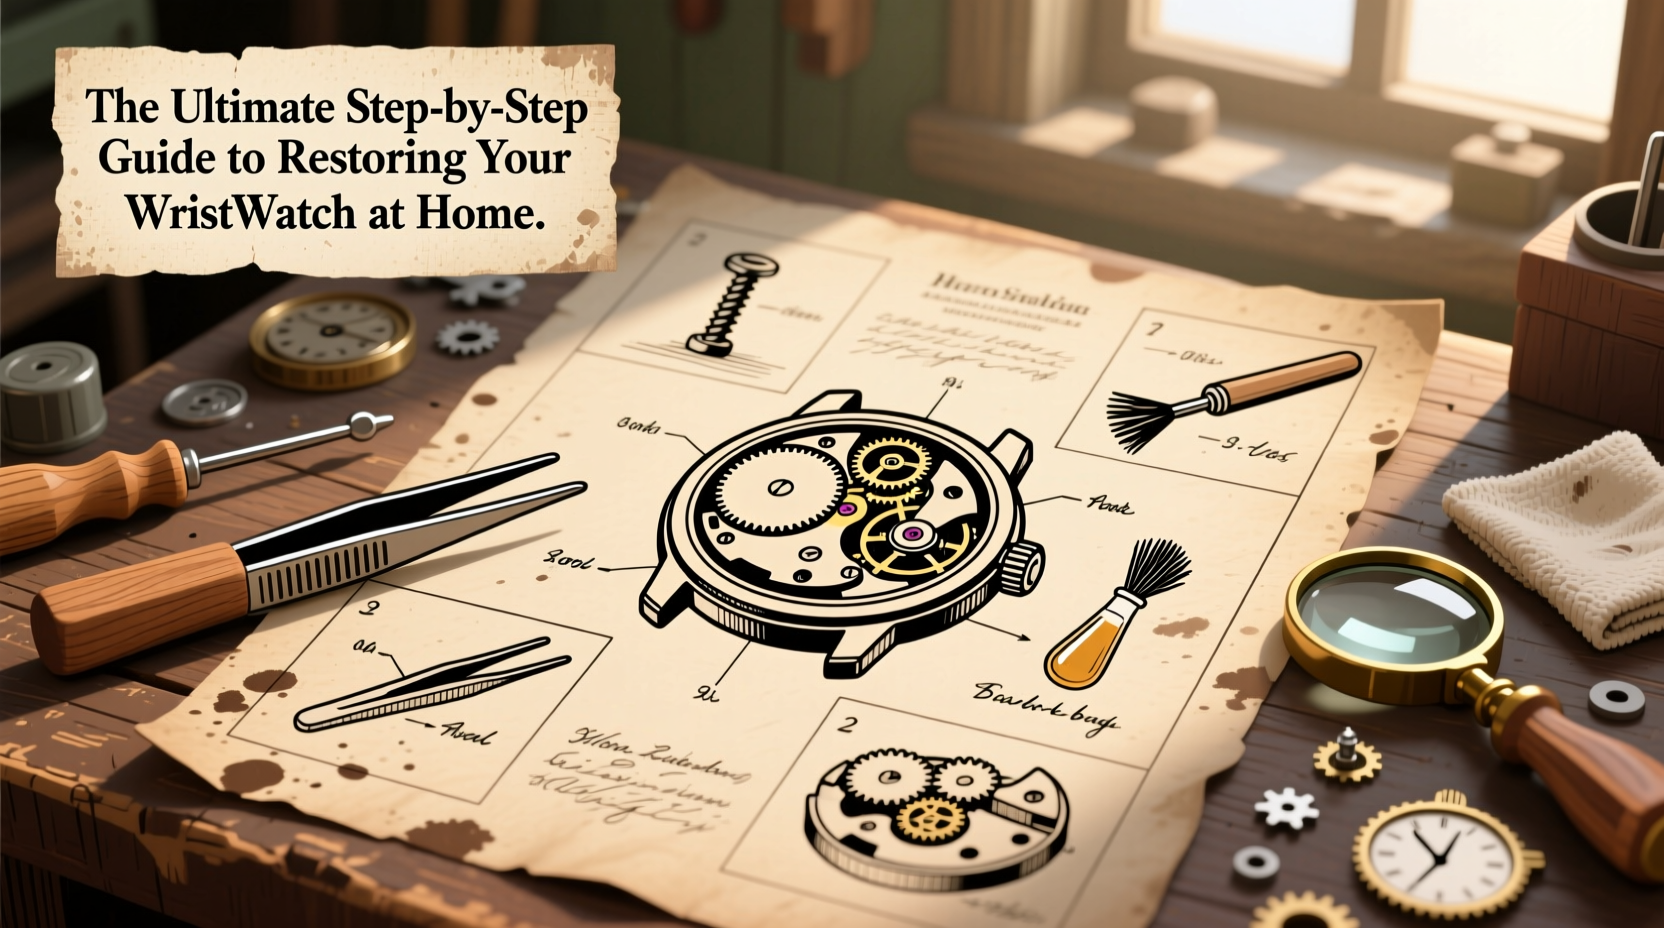
Before any work begins, conduct a thorough inspection. Determine whether your watch is mechanical, automatic, or quartz. Each type has different internal mechanisms and requires specific care. Look for visible signs of wear: fogging under the crystal, sticky hands, inconsistent timekeeping, scratches on the case, or a loose crown. Note any water damage or corrosion, which may indicate compromised seals.
Ask yourself:
- Is the watch running at all?
- Are there unusual sounds like grinding or ticking irregularities?
- Does the band show excessive wear or tarnish?
- Is the crystal cracked or loose?
If the movement is completely seized or there's significant internal rust, professional help may be necessary. But for most surface-level and minor mechanical issues, DIY restoration is both feasible and rewarding.
Tip: Take photos at every stage of disassembly. This visual reference will make reassembly significantly easier.Essential Tools and Materials
Restoring a wristwatch requires precision tools designed for small components. Investing in quality equipment ensures safety and effectiveness. Here’s what you’ll need:
| Tool/Material | Purpose | Alternative (if unavailable) |
|---|---|---|
| Case opener (lever or ring-style) | Opens snap-back or screw-down case backs | Small flathead screwdriver (use cautiously) |
| Watchmaker’s screwdrivers (set) | Handles tiny screws without stripping | Jeweler’s screwdriver set |
| Tweezers (non-magnetic, fine-tip) | Grasps small gears and springs | Nail tweezers (cleaned thoroughly) |
| Demagnetizer | Removes magnetic interference affecting accuracy | Not recommended—purchase an affordable unit |
| Cleaning brushes (soft nylon & brass) | Cleans case, crystal, and links | Toothbrush (unused, soft bristles) |
| Isopropyl alcohol (90%+), lint-free cloths | Cleans movement and exterior parts | High-purity rubbing alcohol only |
| Watch press (for pin removal) | Safely removes spring bars and pins | Paperclip and pushpin (temporary workaround) |
Work in a clean, well-lit space with minimal airflow to prevent losing tiny parts. A magnetic mat helps keep screws organized.
Step-by-Step Restoration Process
- Remove the Band: Use a spring bar tool or small punch to push out the spring bars connecting the band to the lugs. Gently pry until the bar compresses and slides free. Set aside.
- Open the Case Back: Identify whether your watch has a snap-on or screw-down back. For snap-on, insert the case opener into the notch and twist gently. For screw-down, use a proper wrench to turn counterclockwise. Avoid applying excessive force.
- Inspect the Movement: Once open, examine the movement. Look for dust, oil residue, or corrosion. If the movement is dirty but intact, proceed to cleaning. If gears are broken or missing, consider replacement or professional repair.
- Remove the Dial and Hands (Optional): Only attempt this if you’re experienced. Use a hand puller tool to lift hour and minute hands. The dial is usually held by tabs—carefully release them with a fine blade.
- Clean the Movement: Dip non-electronic parts (gears, rotor, screws) in a container of isopropyl alcohol. Swirl gently using tweezers. Rinse and air-dry on a lint-free cloth. Do not submerge the entire movement unless fully disassembled.
- Clean the Case and Crystal: Soak metal cases in warm soapy water for 10 minutes. Scrub crevices with a soft brush. For acrylic crystals, use a microfiber cloth with a drop of toothpaste to remove light scratches. Glass crystals should only be wiped with alcohol.
- Demagnetize the Watch: Place the movement or assembled watch near a demagnetizer and slowly pull it away in a straight line. This eliminates magnetic fields that cause erratic timekeeping.
- Reassemble the Watch: Reverse the disassembly process. Ensure all gaskets are seated properly before closing the case. Tighten screw-down backs evenly to avoid warping.
- Test Timekeeping: Let the watch run for 24 hours. Compare against a known accurate time source. Adjust the regulator if needed (on older mechanical models).
“Even a modest investment in basic tools can empower owners to maintain decades-old watches that manufacturers no longer support.” — Daniel Reyes, Master Watch Restorer
Common Mistakes to Avoid
Home restoration demands patience and attention to detail. These pitfalls can damage your timepiece:
- Using household cleaners: Bleach, ammonia, or window sprays corrode metal and degrade lubricants.
- Skipping demagnetization: Modern environments are full of electromagnetic fields—from phones to laptops—that disrupt mechanical accuracy.
- Over-tightening screws: Tiny threads strip easily. Apply gentle, even pressure.
- Forcing stuck parts: If something won’t budge, reassess. Forcing can bend axles or break bridges.
- Ignoring gasket condition: Old or cracked gaskets compromise water resistance. Replace every few years.
Real Example: Reviving a Vintage Seiko 5
James, a collector from Portland, inherited his grandfather’s 1972 Seiko 5. The watch had stopped, the case was tarnished, and the leather strap was cracked. After researching, he followed the steps above: opened the case, cleaned the movement with alcohol, removed oxidation from the rotor, polished the case with jeweler’s rouge, and replaced the strap with a NATO band. He demagnetized the movement and found the watch gained only 8 seconds per day—well within acceptable range. Total cost: $35 for tools and strap. Professional restoration would have cost over $200.
This example shows how careful attention and methodical work can revive even decades-old watches.
Frequently Asked Questions
Can I restore a water-damaged watch at home?
Surface moisture can sometimes be resolved by opening the case and drying components with a soft cloth and airflow (not heat). However, if saltwater intrusion or prolonged exposure occurred, internal corrosion likely exists. In such cases, professional ultrasonic cleaning is safer.
How often should I service my watch?
Mechanical and automatic watches benefit from a full service every 5–7 years. This includes disassembly, cleaning, re-oiling, and regulation. Quartz watches require battery changes every 1–2 years and occasional seal checks.
Is it safe to polish scratches off the case?
Light polishing with a microfiber cloth and metal polish is safe for minor marks. For deep scratches, use progressively finer sandpaper (1200 to 8000 grit) followed by buffing compound. Be cautious—over-polishing reduces case thickness and devalues vintage pieces.
Final Checklist Before You Begin
- ✅ Work in a static-free, clutter-free environment
- ✅ Gather all necessary tools and cleaning supplies
- ✅ Photograph the watch before and during disassembly
- ✅ Confirm watch type (mechanical, automatic, quartz)
- ✅ Verify case back type (snap or screw-down)
- ✅ Test timekeeping baseline before disassembly
- ✅ Have replacement gaskets and batteries on hand (if needed)
Conclusion
Restoring a wristwatch at home is a blend of craftsmanship, patience, and respect for horological engineering. With the right approach, even complex-looking issues can be resolved affordably and effectively. Whether you're breathing new life into a family heirloom or upgrading a daily wearer, the satisfaction of seeing your restored timepiece tick reliably is unmatched.
💬 Have you restored a watch at home? Share your experience, tips, or challenges in the comments—your story could inspire others to take up the craft!