Kenmore dryers are trusted by millions of households for their durability, consistent performance, and user-friendly features. Yet even the most reliable appliances require proper operation and routine care to deliver peak efficiency over time. Whether you've just installed a new Kenmore dryer or have been using one for years, understanding how to operate it correctly—and maintain it properly—can save energy, extend its lifespan, and prevent common issues like long drying times or overheating.
This comprehensive guide walks through every aspect of mastering your Kenmore dryer, from selecting the right cycle to performing essential maintenance. By following these best practices, you’ll not only improve drying results but also reduce wear and tear, lower utility bills, and avoid costly repairs.
Understanding Your Kenmore Dryer’s Key Features
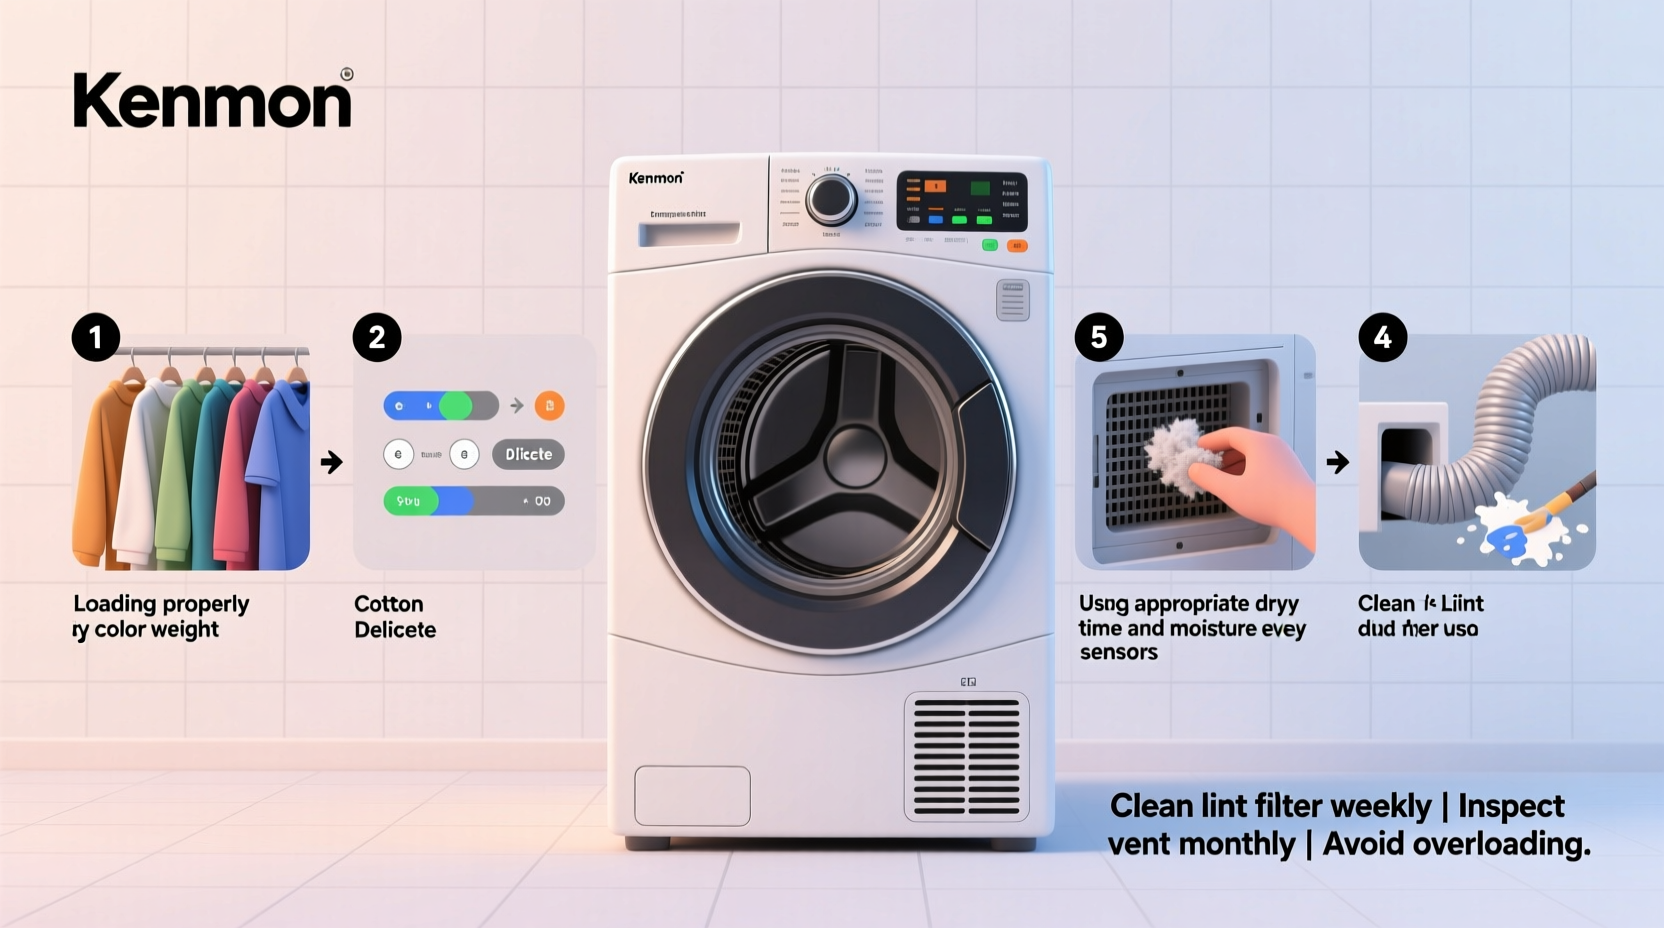
Modern Kenmore dryers come equipped with a variety of settings designed to handle different fabric types and load sizes. Familiarizing yourself with these controls ensures you’re using your machine efficiently and safely.
Most models offer multiple drying cycles such as:
- Regular/Cottons: High heat for heavy fabrics like towels and denim.
- Permanent Press: Medium heat with a cool-down period to reduce wrinkles.
- Delicates: Low heat for lingerie, synthetics, and lightweight garments.
- Air Fluff (No Heat): Tumbles clothes without heat—ideal for fluffing pillows or removing dust.
- Timed Dry: Manual control over drying duration, useful when sensor drying isn’t preferred.
Many newer models include moisture sensors that automatically shut off the dryer when clothes are dry, preventing over-drying and conserving energy. These sensors detect humidity levels in exhaust air and adjust drying time accordingly.
Tip: Always check garment care labels before selecting a cycle. When in doubt, start with a lower heat setting to protect delicate fabrics.Step-by-Step Guide to Optimal Drying Performance
To get the best results from your Kenmore dryer, follow this practical sequence each time you do laundry:
- Sort laundry by fabric type and weight. Separate heavy items like jeans and towels from lighter clothing to ensure even drying.
- Shake out clothes before loading. This reduces tangling and improves airflow inside the drum.
- Do not overload the dryer. Fill the drum no more than ¾ full to allow space for tumbling and proper air circulation.
- Select the appropriate cycle and temperature. Use high heat for cottons, medium for mixed loads, and low for synthetics or delicates.
- Close the door securely and press Start. Ensure the door latch engages fully; otherwise, the dryer won’t operate.
- Monitor drying progress if using timed mode. Sensor drying typically requires no intervention, but timed cycles may need adjustment based on load size.
- Remove clothes promptly after the cycle ends. This minimizes wrinkles and prevents musty odors from developing.
For large or bulky items like comforters or sleeping bags, consider using the “Fluff” or “Air Only” setting periodically during drying to redistribute fibers and prevent clumping.
Duct and Lint Filter Maintenance: The Heart of Dryer Safety
One of the most critical—and often overlooked—aspects of dryer care is maintaining clean airflow. According to the U.S. Fire Administration, failure to clean lint buildup causes over 2,900 home fires annually. Kenmore dryers are engineered for safety, but they rely on proper homeowner maintenance to function safely.
| Maintenance Task | Frequency | Purpose |
|---|---|---|
| Clean lint filter | After every load | Improves airflow, reduces drying time, prevents fire hazards |
| Inspect and clean dryer vent duct | Every 3–6 months | Removes lint blockages, maintains efficiency |
| Check outdoor exhaust hood | Twice per year | Ensures unobstructed airflow; removes bird nests or debris |
| Vacuum interior cabinet (behind lint filter) | Annually | Prevents hidden lint accumulation near heating elements |
“Even if the lint screen looks clean, residue can build up over time and restrict airflow. A clogged dryer vent doesn’t just waste energy—it’s a serious fire risk.” — James Holloway, Appliance Safety Technician, NFPA-Certified
How to Clean the Lint Filter Properly
It’s not enough to pull out lint by hand. For thorough cleaning:
- Remove the filter after each use and wipe away loose lint.
- Wash it under warm water with a soft brush to remove oily residue (especially from fabric softener sheets).
- Rinse thoroughly and let it air dry completely before reinserting.
- Never operate the dryer without the lint filter in place.
Troubleshooting Common Kenmore Dryer Issues
Even well-maintained dryers can experience problems. Here’s a quick reference for diagnosing frequent issues:
| Problem | Possible Cause | Solution |
|---|---|---|
| Dryer runs but doesn’t heat | Faulty thermal fuse, broken heating element, or power supply issue | Check circuit breaker; test continuity with multimeter; call technician if needed |
| Long drying times | Clogged lint filter, blocked vent duct, or overloaded drum | Clean filter and duct; reduce load size; verify exhaust flow |
| Dryer won’t start | Door not latched, faulty start switch, or power outage | Ensure door closes fully; check outlet and breaker; inspect switch mechanism |
| Unusual noises (thumping, squealing) | Foreign object in drum, worn rollers, or failing blower wheel | Inspect drum; remove debris; schedule service for mechanical parts |
Real Example: Sarah’s Overheating Dryer
Sarah noticed her Kenmore dryer was taking nearly twice as long to dry a normal load. She cleaned the lint filter regularly but hadn’t checked the vent in over a year. After calling a technician, she learned that the flexible plastic duct behind the dryer had collapsed and was almost completely blocked with lint. Once replaced with a rigid metal duct and cleaned, drying time dropped from 90 minutes to 45. Her energy bill also decreased by $8 per month. This case underscores how invisible issues in the vent system can significantly impact performance.
Seasonal Care and Long-Term Efficiency Tips
Beyond daily use and monthly cleaning, seasonal maintenance helps preserve your Kenmore dryer’s reliability and efficiency.
- Spring: Inspect the entire venting system and clean the exterior exhaust hood. Consider upgrading from plastic to aluminum rigid ducting for better airflow and fire resistance.
- Fall: Recheck electrical connections and gas line (for gas models). Test the dryer’s leveling—if it vibrates excessively, adjust the feet to prevent strain on internal components.
- Winter: Monitor indoor humidity. In dry winter air, static cling increases. Reduce it by using wool dryer balls instead of chemical-laden dryer sheets, which leave residue on sensors.
Additionally, avoid using liquid fabric softener excessively. While convenient, it coats fabrics—and over time, the moisture sensors—with a waxy film that impairs their ability to detect dryness accurately.
Dryer Care Checklist
Use this checklist monthly to stay on top of maintenance:
- ☑ Clean lint filter after every load
- ☑ Wipe down drum with damp cloth to remove residue
- ☑ Verify exhaust airflow at outdoor vent
- ☑ Check for error codes (on digital models)
- ☑ Listen for unusual sounds during operation
- ☑ Confirm dryer is level and stable
FAQ
Can I vent my Kenmore dryer indoors during winter?
No. Indoor venting introduces excessive moisture into your home, which can lead to mold growth, window condensation, and structural damage. Always vent to the outside using approved materials.
Why does my dryer smell like burning when I start it?
A brief odor may occur due to accumulated lint near the heating element burning off. However, persistent burning smells indicate a serious issue—such as an obstructed vent or failing component—and require immediate inspection.
How long should a Kenmore dryer last with proper care?
With regular maintenance and average usage, most Kenmore dryers last between 10 and 15 years. Some users report units functioning efficiently beyond 18 years when serviced diligently.
Conclusion: Take Control of Your Laundry Routine
Mastering your Kenmore clothes dryer isn’t about complicated repairs or technical know-how—it’s about consistency, awareness, and simple habits that compound over time. From cleaning the lint filter religiously to inspecting the vent duct twice a year, each action contributes to safer, faster, and more efficient drying. You’re not just preserving a machine; you’re protecting your home, saving money, and making laundry day less of a chore.
💬 Ready to optimize your dryer’s performance? Start today by cleaning the lint filter and checking your vent path. Share your maintenance tips or questions in the comments below—your experience could help another homeowner avoid a breakdown or fire hazard.