
A zipper that splits open under pressure is one of the most frustrating wardrobe malfunctions. Whether it's on your favorite jacket, a trusted backpack, or a pair of jeans you wear weekly, a misbehaving zipper undermines both function and confidence. The good news: in many cases, you don’t need to replace the entire item. With the right techniques, most split zippers can be repaired at home using simple tools and materials. This guide walks through five distinct repair methods, from quick fixes to long-term solutions, so you can restore your zipper’s integrity without relying on a tailor.
Understanding Why Zippers Split
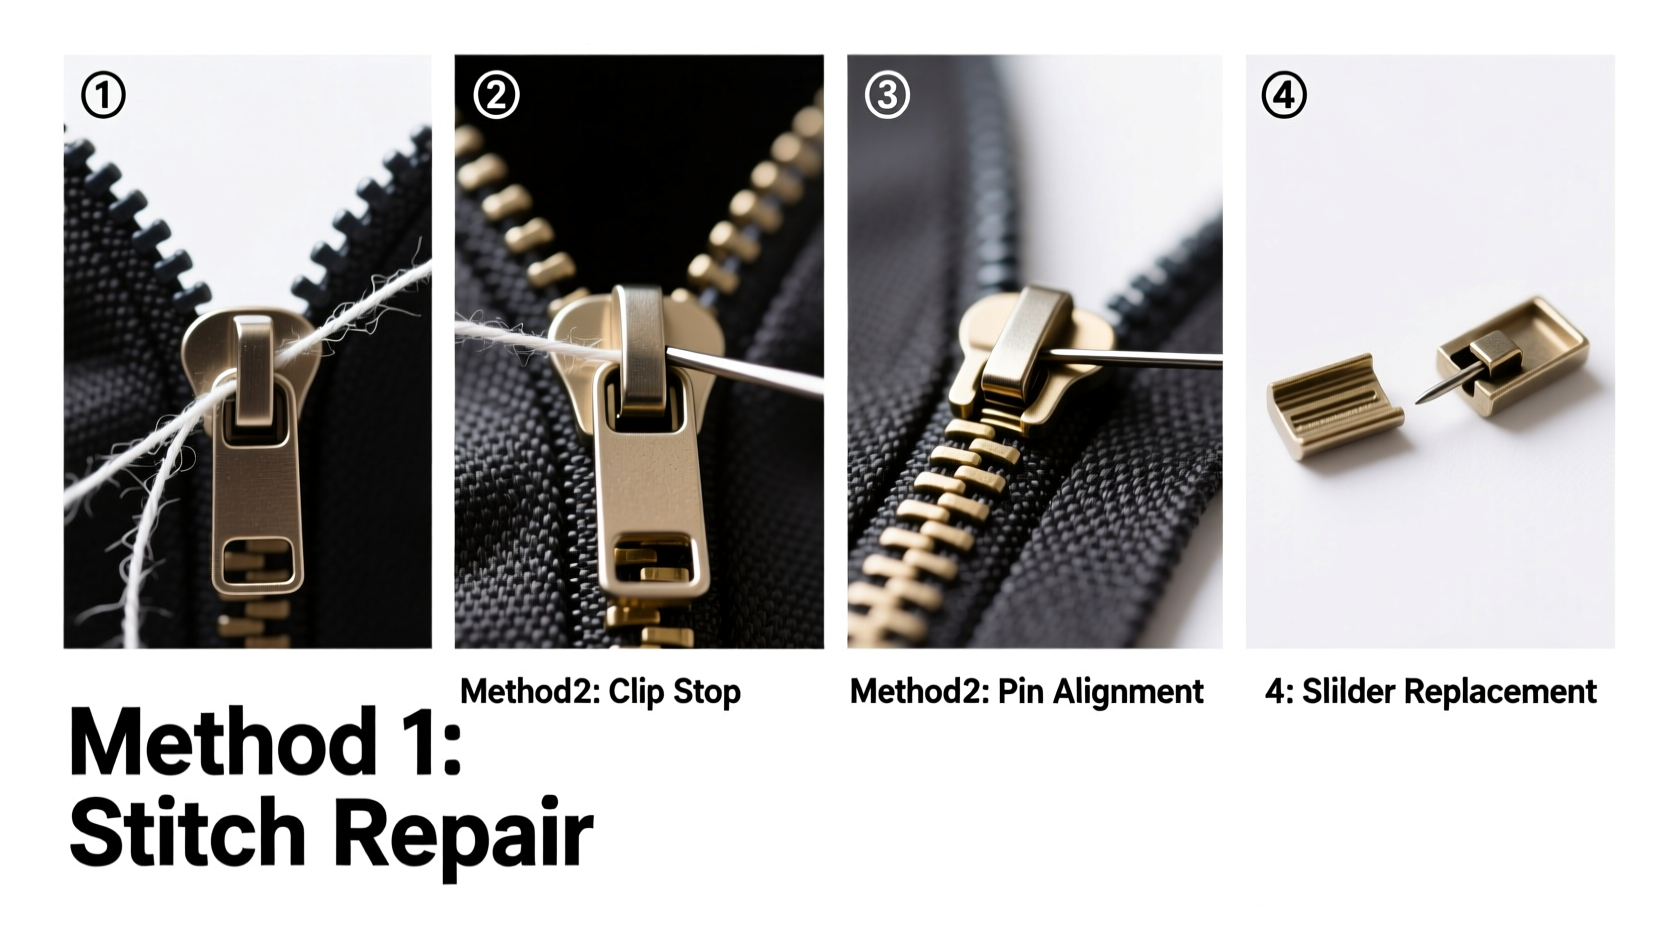
Before attempting any repair, it helps to understand what causes a zipper to split. Most issues stem from misalignment between the two rows of teeth or a weakened slider mechanism. Common causes include:
- Worn or damaged slider: Over time, the metal or plastic piece that pulls the teeth together loses tension and no longer grips properly.
- Misaligned fabric tapes: If the fabric on either side of the zipper shifts, the teeth won’t mesh correctly.
- Bent or missing teeth: A single bent tooth can prevent the zipper from closing fully, causing the rest to separate.
- Poor manufacturing: Some zippers are built with weak sliders or flimsy teeth, especially on budget garments.
Identifying the root cause determines which repair method will work best. Not every solution suits every situation. For example, tightening the slider won’t help if the teeth are broken. That’s why multiple approaches are essential.
Tip: Always test the zipper’s movement before and after repairs. Gently pull it up and down to check alignment and resistance.Method 1: Tightening the Slider with Pliers
This is the most effective fix for zippers that split due to a loose slider. When the slider no longer applies enough pressure to keep the teeth interlocked, it allows the two sides to drift apart. By gently compressing the slider, you restore its grip.
- Close the zipper completely.
- Locate the slider—the small box-shaped piece that moves up and down.
- Using needle-nose pliers, carefully squeeze the sides of the slider toward the center. Apply light, even pressure—do not crush it.
- Test the zipper. Open and close it several times to see if the splitting stops.
- If needed, adjust further with short squeezes, testing after each adjustment.
The goal is to narrow the internal channel just enough so the teeth lock tightly when zipped. Over-tightening can make the zipper hard to move or damage the teeth, so proceed slowly.
“Tightening the slider is often overlooked, but it solves over half of all ‘splitting’ zipper problems.” — Daniel Reyes, Garment Repair Technician with 15 years of experience
Method 2: Replacing the Stopper
Sometimes, the bottom stopper—the small metal or plastic piece that prevents the slider from coming off—is missing or damaged. Without it, the slider can shift too far down, allowing the two sides to separate at the base. Replacing or re-creating the stopper can resolve this issue.
To install a new stopper:
- Remove the old stopper with wire cutters if it’s still partially attached.
- Slide the zipper closed and ensure the teeth are perfectly aligned.
- Use a small sewing needle and strong thread (like nylon or upholstery thread) to sew a few tight stitches across the back of the zipper tape just below the last tooth. This creates a fabric-based stopper.
- For added strength, apply a drop of fabric glue over the stitches and let dry.
Alternatively, if you have a spare zipper, you can remove its stopper and solder or crimp it onto the faulty one. Metal stoppers are more durable than fabric ones, but sewing is accessible and effective for lightweight zippers.
Tip: Use double-thread when sewing a stopper. Knot securely and weave the thread back through the stitches to prevent unraveling.Method 3: Realignment Using a Seam Ripper and Pin
When the zipper doesn’t close because the fabric tapes have shifted, realignment is necessary. This method works well for jackets and coats where stitching has loosened over time.
Step-by-Step Realignment Process
- Lay the garment flat on a table with the zipper open.
- Inspect the seam on both sides of the zipper. Look for puckering or uneven stitching.
- Use a seam ripper to carefully undo 1–2 inches of stitching near the bottom of the zipper on both sides.
- Reposition the fabric tapes so the teeth align perfectly when brought together.
- Insert a straight pin horizontally through both tapes just below the slider to hold them in place.
- Hand-stitch the opening back together with small, tight stitches.
- Remove the pin and test the zipper.
This method restores structural balance. It’s especially useful when one side of the zipper appears higher than the other, a common issue in hooded jackets.
Method 4: Using a Zipper Pull Replacement Kit
If the slider itself is cracked, corroded, or otherwise beyond repair, replacing it entirely is the best option. Zipper slider replacement kits are inexpensive and widely available online or at craft stores.
Steps to replace a slider:
- Remove the old slider by detaching the stopper at the bottom (use pliers or cut it off).
- Slide the old mechanism off the track.
- Slide the new mechanism onto the zipper from the bottom.
- Reattach a new stopper by crimping it into place or sewing a fabric stop as described earlier.
- Test the zipper for smooth operation and sealing.
Matching the correct size is critical. A mismatched slider won’t engage the teeth properly. Check the number stamped on the original slider or measure the width of the teeth.
| Zipper Type | Common Sizes | Best Fix Method |
|---|---|---|
| Coil (Nylon) | #3, #5, #8 | Tighten slider or replace |
| Metal Teeth | #5, #8, #10 | Realignment or slider replacement |
| Plastic Molded | #7, #10 | Stopper repair or realignment |
| Invisible | #3, #4, #5 | Slider replacement only |
Method 5: Emergency Fixes for On-the-Go Repairs
Sometimes you need a temporary solution while away from tools. These field-tested tricks can get you through the day until a permanent fix is possible.
- Keyring hack: Attach a small keyring or safety pin through the zipper pull and loop it around a button or belt loop. This adds downward tension, keeping the zipper closed.
- Double-sided tape: Apply a small strip inside the garment along the fly or closure area. Press the fabric together after zipping to prevent gapping.
- Straw method: Cut a plastic drinking straw into a small U-shape and slide it over the bottom of the zipper. It acts as a makeshift stopper.
While not long-term solutions, these hacks are invaluable when appearance and modesty matter immediately.
Mini Case Study: Fixing a Split Jacket Zipper
Marissa, a hiking enthusiast, noticed her insulated winter jacket began splitting at the bottom every time she zipped it. Initially, she assumed the teeth were worn out and considered buying a replacement. Instead, she tried the pliers method. After gently compressing the slider, the zipper closed seamlessly. She tested it over three weeks of daily use and found no recurrence. The entire fix took less than five minutes and cost nothing. Marissa now checks her outdoor gear zippers monthly and performs minor adjustments before trips.
This case illustrates that many zipper issues aren’t about wear and tear but mechanical looseness—a solvable condition with basic tools.
Preventative Maintenance Checklist
Extend the life of your zippers with regular care. Follow this checklist to avoid future splits:
- ✅ Lubricate stiff zippers occasionally with a graphite pencil or zipper wax.
- ✅ Avoid forcing a stuck zipper—back it down slightly before trying again.
- ✅ Keep zippers closed when washing clothes to reduce stress on teeth.
- ✅ Inspect sliders monthly for looseness or cracks.
- ✅ Store bags and jackets with zippers fully closed to maintain alignment.
- ✅ Replace fraying stoppers before they fail completely.
Frequently Asked Questions
Can I fix a split zipper without tools?
Yes, for temporary relief. Use a safety pin, keyring, or tape to hold the zipper closed. However, lasting repairs usually require pliers, thread, or a replacement slider.
Why does my zipper work fine one day and split the next?
Sudden splitting often results from a gradual loss of slider tension. One extra tug may be the final push that breaks the already weak seal. Regular inspection helps catch this early.
Is it worth fixing an old zipper, or should I replace the whole thing?
It depends on the item’s value. For high-quality coats, bags, or vintage pieces, repairing the zipper preserves craftsmanship and sustainability. For cheaply made items with multiple defects, replacement may be more practical.
Final Thoughts and Call to Action
Fixing a zipper that splits doesn’t require advanced skills or expensive tools. Whether you tighten a loose slider, re-sew a stopper, or realign misaligned fabric, each method empowers you to extend the life of your clothing and gear. These repairs save money, reduce waste, and keep your favorite items functional longer. Don’t discard something just because the zipper acts up—diagnose the issue, choose the right fix, and give it another chance.
💬 Have a zipper success story or a tricky repair challenge? Share your experience in the comments and help others learn from real-world solutions!