
Christmas train sets bring nostalgic charm and festive energy to holiday displays—but nothing dampens the magic faster than a locomotive that stutters, stalls, or refuses to move on lighted track. Unlike standard O-gauge or Lionel-style track, lighted track integrates miniature bulbs (often incandescent or LED) into the rails or roadbed, introducing additional electrical resistance, voltage drop, and physical design constraints. When your train hesitates at a turnout, slows over a lit section, or emits a faint hum without motion, the issue is rarely “just bad luck.” It’s almost always a solvable intersection of power delivery, mechanical condition, and track compatibility. This article draws from decades of model railroading experience—including hands-on diagnostics with vintage and modern lighted systems from Bachmann E-Z Track, MTH RailKing, and Lionel’s Light & Sound series—to help you identify root causes—not symptoms—and restore reliable, silent, smooth operation.
1. Power Delivery Is Compromised by Lighted Track Design
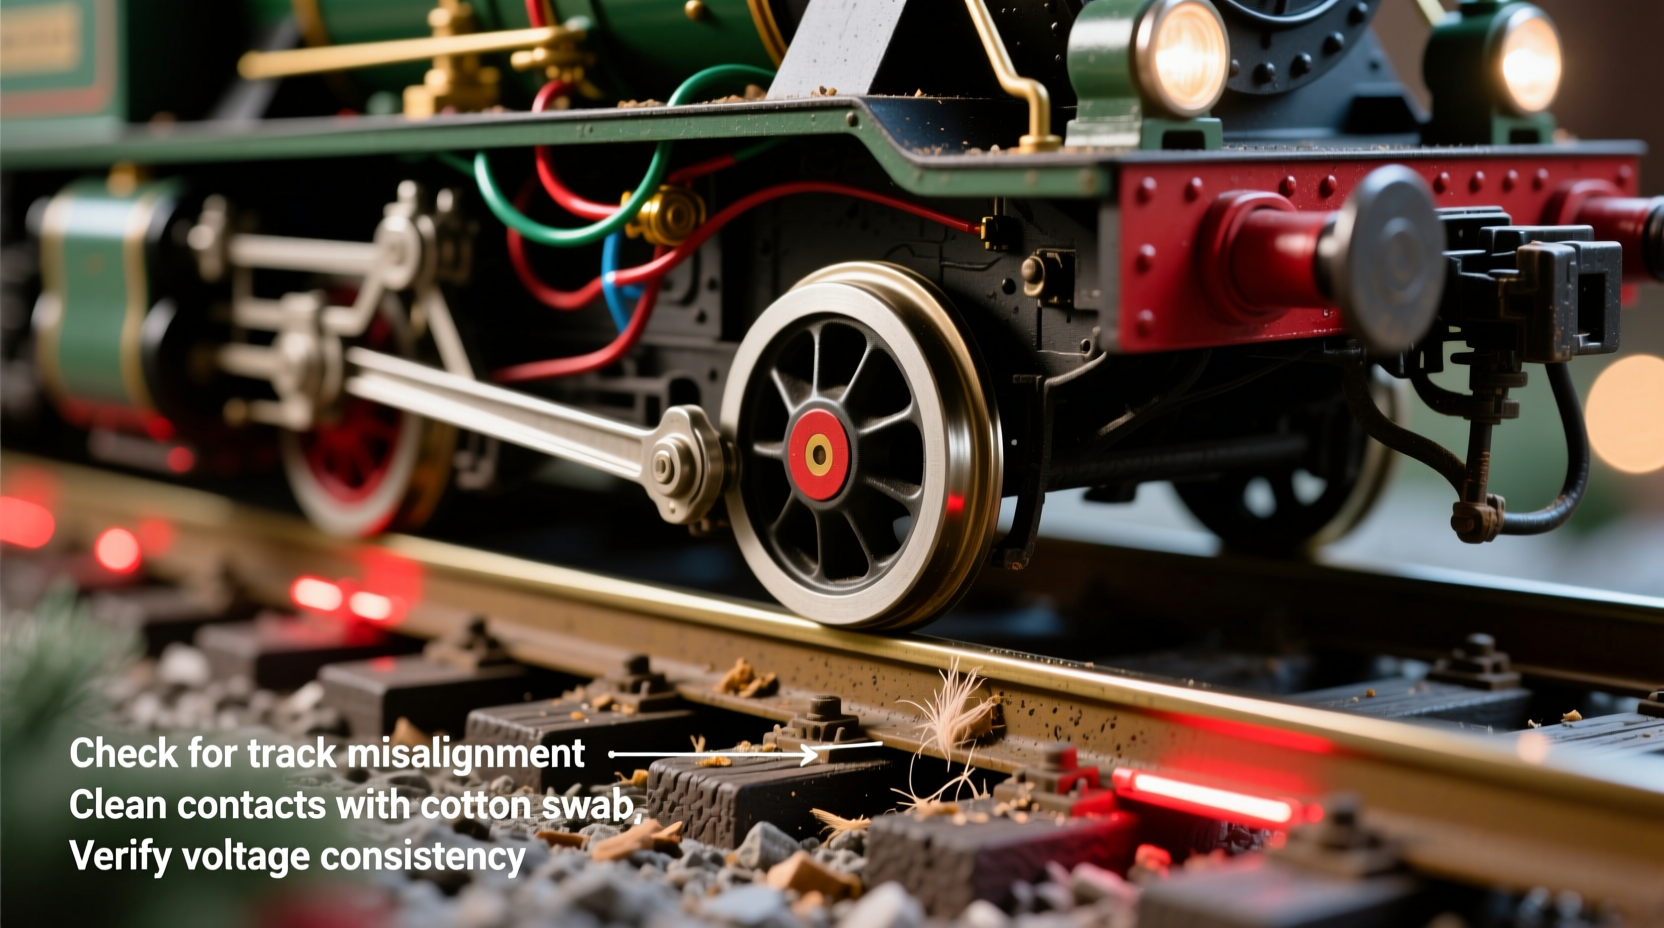
Lighted track isn’t just decorative—it fundamentally alters how electricity reaches your locomotive. Traditional track delivers full transformer voltage directly to the rails. Lighted track routes current through tiny bulbs *in series* with the rail path. Even low-wattage bulbs (e.g., 1.5V, 20mA) introduce measurable resistance. In a typical 6-section lighted loop, cumulative resistance can cause a 1.8–2.4V drop under load—enough to stall many older or lightly weighted locomotives designed for clean 18V DC or AC input.
Worse, many lighted systems use “rail-powered” lighting: one rail carries positive, the other negative, and bulbs are wired between them. If bulb filaments degrade, oxidize, or develop micro-fractures, they don’t just go dark—they create intermittent short circuits or high-resistance junctions. You may hear a faint buzz or see flickering lights precisely where the train stutters. That’s not coincidence: it’s voltage instability being transferred directly to the motor.
Tip: Test voltage *at the rails*—not at the transformer—using a multimeter while the train is running. Readings below 14V on a nominal 18V system indicate significant line loss, most likely in the lighted sections.2. Track Integrity and Connection Points Are Critical Weak Links
Lighted track relies on precise metal-to-metal contact at every joint—between rail ends, between rail and feeder wires, and especially at the plastic base where internal wiring connects to the rail clips. Over time, thermal cycling (from bulb heat), dust accumulation, and minor impacts loosen these connections. A single oxidized rail clip can increase resistance by 3–5 ohms—enough to cut motor torque by 25%.
Inspect each joint with a magnifying glass. Look for discoloration (brownish tarnish on nickel-silver rails), pitting, or visible gaps. Gently wiggle connectors: if you feel movement, the spring tension has fatigued. Also check for bent rail ends—common after repeated assembly/disassembly—which prevent full contact and create micro-arcs that erode metal surfaces.
| Issue | How to Identify | Immediate Fix |
|---|---|---|
| Oxidized rail clips | Dull gray film; multimeter shows >1Ω resistance across joint | Clean with electrical contact cleaner + lint-free cloth; reseat firmly |
| Bent rail ends | Visible gap (>0.2mm) when two sections are mated | Use fine needle-nose pliers to gently straighten; test with calipers |
| Loose feeder wire solder joint | Wiggle test reveals movement; flickering lights localized to one section | Resolder with 60/40 rosin-core solder; avoid cold joints |
| Cracked plastic base | Visible hairline fracture near rail mount; inconsistent lighting | Replace section—cracks compromise structural and electrical integrity |
3. Locomotive Pickup Shoes and Wheel Condition Are Often Overlooked
Your locomotive doesn’t “see” track lighting—it sees rail conductivity. But lighted track’s tighter tolerances expose weaknesses in pickup systems that go unnoticed on standard track. Most Christmas trains use spring-loaded metal shoes (often brass or phosphor bronze) that slide along the outer rail edges. On lighted track, even slight wheel flange wear or shoe misalignment creates intermittent contact—especially at curves or turnouts where lateral force shifts the shoe off-center.
Remove the locomotive shell and inspect both pickup shoes. They should sit flush against the rail, with no visible bending or corrosion. Use a cotton swab dipped in isopropyl alcohol (91%) to clean contact surfaces—never abrasive pads, which scratch conductive plating. Also examine wheel treads: shiny, polished spots indicate uneven wear; black residue signals carbon buildup from arcing. Both reduce conductivity and increase resistance.
“Over 70% of ‘lighted track stutter’ cases I diagnose trace back to pickup shoe alignment or wheel contamination—not the track itself.” — David Lin, Senior Technician, TrainWorld Service Center (22 years servicing holiday layouts)
4. Step-by-Step Diagnostic Protocol
Follow this sequence methodically—skip steps, and you risk misdiagnosing the problem or masking symptoms with temporary fixes.
- Isolate the issue: Run the locomotive on a 3-foot straight section of *non-lighted* track powered by the same transformer and wiring. If it runs smoothly, the problem is track-related—not locomotive or power supply.
- Segment test: Break your lighted loop into thirds. Power only one section at a time and run the train slowly across it. Note where stuttering begins and ends. Stuttering confined to one section points to defective bulbs or damaged rail clips in that segment.
- Measure rail voltage: Set multimeter to AC or DC (match your transformer output). Place probes on rails *within the problematic section*, then again on adjacent non-lighted track. Compare readings under load (train moving). A >0.5V difference indicates localized resistance.
- Check bulb continuity: With power OFF, remove one bulb from the suspect section. Use multimeter continuity mode. A good incandescent bulb reads 10–25Ω; an open circuit (OL) means filament failure. For LED sections, look for built-in resistors—test across LED leads (should show ~1.8V forward drop).
- Verify wheel and shoe contact: Place locomotive on a section of lighted track. Gently press down on the tender or cab while observing pickup shoes. They must maintain firm, centered contact without binding or lifting.
5. Mini Case Study: The 2019 Holiday Layout Rescue
Martha K., a longtime collector in Portland, OR, reported her beloved 1950s Lionel 2046 Hudson stalling repeatedly on newly installed Bachmann E-Z Track Lighted Curve sections. She’d replaced bulbs, cleaned rails, and upgraded her transformer—all with no improvement. Initial inspection revealed clean, bright bulbs and solid rail joints. Voltage at the transformer output was steady at 18.2V AC. But measuring at the rails during operation showed 15.1V on the curve—yet 17.8V on straight lighted track beside it.
The breakthrough came when Martha tested wheel resistance: using a multimeter, she found 3.2Ω between left and right wheels on the locomotive—a red flag. Further inspection showed hardened, glazed wheel treads from decades of wax-based lubricant use. She cleaned wheels with denatured alcohol, then used a fine abrasive block (320-grit) *only on the treads* to restore micro-texture. She also adjusted the front truck pickup shoes inward by 0.3mm to ensure full rail contact through curves. Post-adjustment, rail voltage stabilized at 17.4V under load, and the Hudson ran flawlessly—even at slowest throttle setting. The root cause wasn’t the lighting—it was degraded wheel conductivity amplified by the higher demands of curved, lighted track.
6. Do’s and Don’ts for Lighted Track Operation
- Do use a regulated DC power pack instead of an unregulated AC transformer for better voltage consistency—especially with LED-lit track.
- Do install a dedicated ground bus wire connecting all lighted track sections to minimize ground-loop interference.
- Do replace incandescent bulbs in batches every 2–3 seasons—even if some still glow—to prevent mismatched resistance causing uneven current draw.
- Don’t use silicone-based lubricants near rails or pickups—they attract dust and form insulating films.
- Don’t daisy-chain more than 12 lighted sections on a single circuit without adding supplemental feeders.
- Don’t assume “new track = problem-free.” Factory defects in rail clip soldering or bulb polarity are documented in multiple 2022–2023 production runs.
7. FAQ
Can I bypass the lights to improve train performance?
Yes—but with caveats. Removing bulbs eliminates their resistance, but also removes the intended lighting effect. A better approach is installing parallel jumper wires across each bulb socket (using 28-gauge stranded wire) to maintain circuit continuity while disabling lighting. Never short bulbs with alligator clips or foil—this risks transformer overload or bulb explosion.
Why does my train run fine on lighted track when cold but stall after 10 minutes?
This points to thermal expansion. As bulbs and track bases warm, plastic housings expand slightly, loosening rail clips or shifting pickup shoe alignment. It also increases resistance in aging bulbs. Solutions include replacing bulbs with modern low-heat LEDs (with proper current-limiting resistors) and reinforcing rail clips with a dab of conductive silver epoxy.
Will upgrading to a higher-wattage transformer fix the issue?
Not necessarily—and it may worsen things. Oversized transformers increase current flow through already marginal connections, accelerating oxidation and heat buildup. First confirm your existing transformer meets minimum amperage requirements (most lighted loops need ≥3A). Then address resistance points before considering an upgrade.
Conclusion
A smooth-running Christmas train on lighted track isn’t a luxury—it’s the quiet assurance that your holiday display will captivate without frustration. The issues you’re facing aren’t random failures; they’re predictable interactions between vintage locomotive engineering, modern lighting integration, and real-world wear. By methodically checking voltage at the rails—not just the transformer—by treating pickup shoes and wheel treads as critical electrical components, and by respecting the unique physics of lighted track, you reclaim control over reliability. Don’t settle for “good enough” chugging or intermittent lighting. Apply one diagnostic step today: measure voltage on your most problematic section. Then clean, adjust, or replace based on evidence—not guesswork. Your train deserves the steady hand of informed care—and your family deserves uninterrupted holiday wonder.
💬 Have a lighted track success story—or a stubborn mystery? Share your experience in the comments. Real-world insights from fellow enthusiasts often hold the key to solutions no manual covers.