
Hiking boots are your most trusted companion on the trail, but even the best pairs can fail when exposed to wet terrain without proper care. Waterproofing isn’t just about keeping your feet dry—it’s about preserving the integrity of your footwear, extending its lifespan, and ensuring consistent comfort over rugged miles. Whether you're navigating muddy switchbacks or crossing damp alpine meadows, a well-waterproofed boot makes all the difference. This guide walks you through the science, materials, methods, and maintenance routines that deliver real results in the field.
Why Waterproofing Matters Beyond Staying Dry
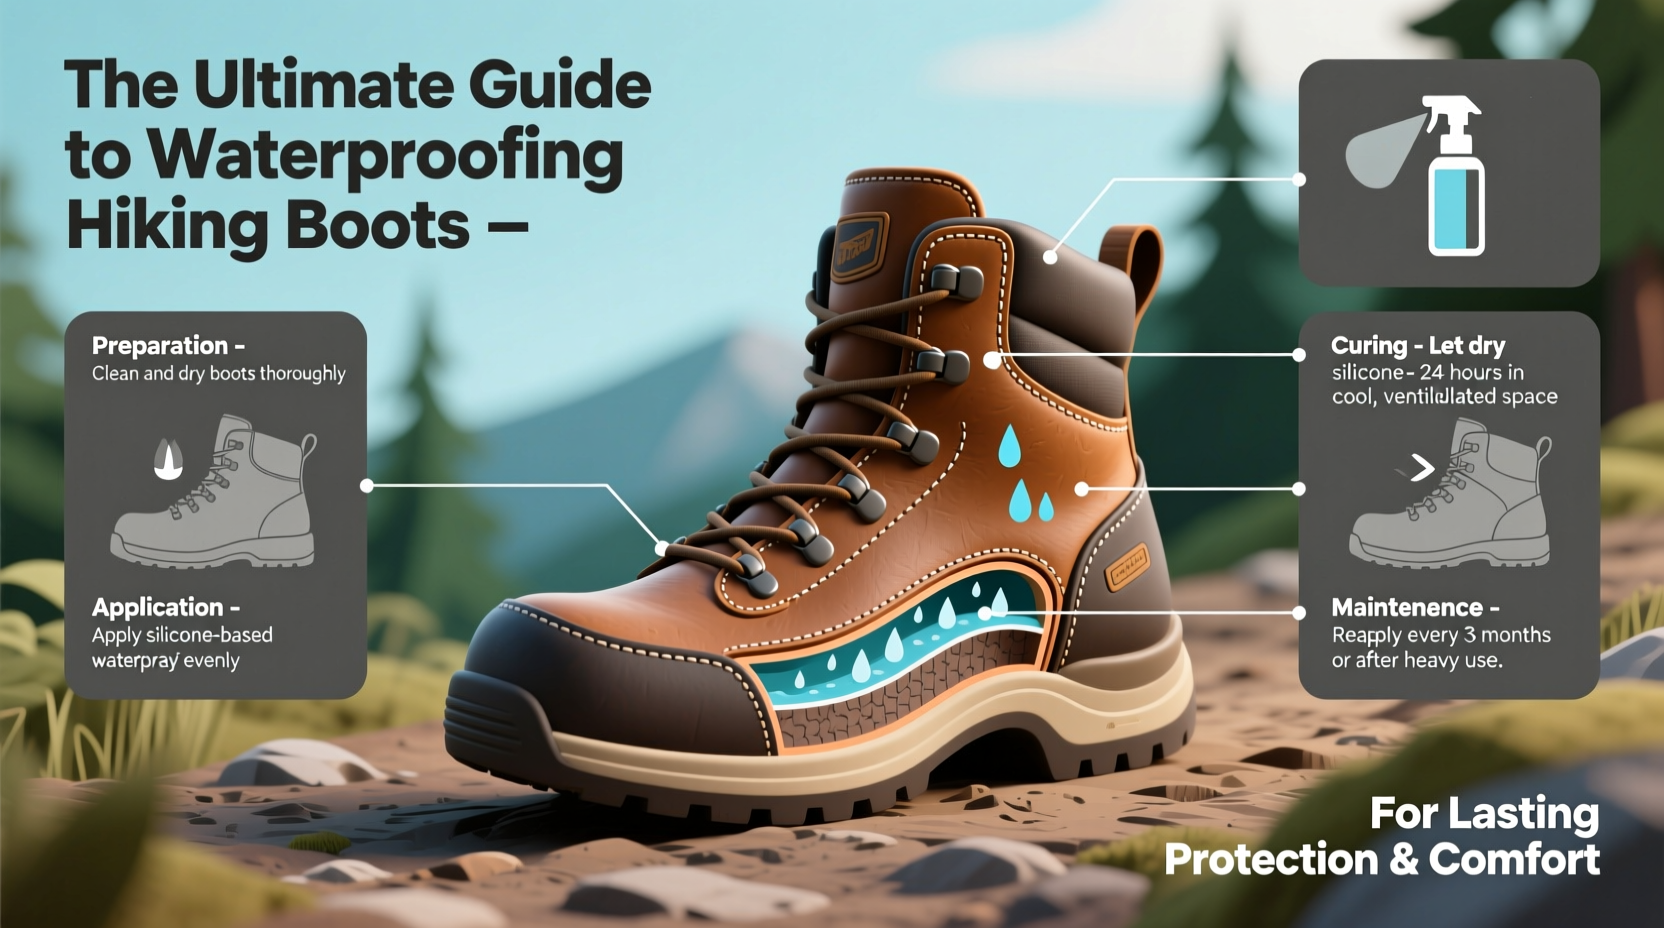
Many hikers assume that if their boots have a waterproof membrane like Gore-Tex, no additional treatment is needed. While these membranes do an excellent job of blocking internal moisture from seeping in, they don't protect the outer material from water absorption. Leather and fabric uppers can soak up rain, snowmelt, and puddle water, becoming heavy, stiff, and slow to dry. Over time, saturated materials degrade faster, lose breathability, and compromise insulation.
Waterproofing treatments create a hydrophobic barrier on the exterior, causing water to bead and roll off rather than soaking in. This reduces weight gain, prevents premature wear, and maintains breathability—critical for long hikes where temperature regulation matters as much as dryness.
“Even boots labeled ‘waterproof’ benefit from periodic external treatment. The membrane only does half the job.” — Dr. Lena Reyes, Outdoor Footwear Researcher at Mountain Gear Labs
Types of Hiking Boot Materials and Their Waterproofing Needs
Not all boots respond the same way to waterproofing products. Understanding your boot’s construction helps you choose the right treatment method and avoid damaging sensitive components.
| Material | Water Resistance (Untreated) | Recommended Treatment | Avoid |
|---|---|---|---|
| Full-Grain Leather | Moderate – absorbs slowly | Wax-based conditioners (e.g., Sno-Seal), beeswax blends | Silicone sprays, which clog pores |
| Nubuck/Suede | Low – highly absorbent | Fluoropolymer sprays, specialized suede protectants | Oil-heavy products that darken the surface |
| Synthetic Fabric (Nylon/Polyester) | Low to none | DWR (Durable Water Repellent) sprays | Waxes or oils, which reduce breathability |
| Hybrid (Leather + Fabric) | Variable | Combination: wax on leather, DWR spray on fabric | Using one product for both materials |
Step-by-Step Guide to Waterproofing Your Hiking Boots
Effective waterproofing requires preparation, precision, and patience. Follow this proven process to maximize protection without compromising your boots’ function.
- Clean Thoroughly: Remove dirt, mud, and old wax with a soft brush and boot cleaner. Use a damp cloth for stubborn spots. Let boots air-dry completely—never near direct heat.
- Inspect for Damage: Check seams, stitching, and soles for cracks or separation. Repair minor tears with seam sealer before treating.
- Choose the Right Product: Match the treatment to your boot’s material (see table above). Test sprays on a small area first.
- Apply Evenly: For waxes, warm slightly (e.g., with a hairdryer) and work into the leather with fingers or a cloth. For sprays, hold 6–8 inches away and cover all surfaces evenly.
- Dry Slowly: Let boots sit at room temperature for 12–24 hours. Avoid sunlight or heaters, which can crack treated leather.
- Test Performance: Sprinkle water on the upper. If it beads and rolls off, reapplication isn’t needed. If it soaks in, repeat the process.
Common Mistakes That Reduce Effectiveness
Even experienced hikers make errors that undermine their waterproofing efforts. Avoid these pitfalls:
- Applying product to dirty boots: Dirt creates a barrier, preventing absorption.
- Over-waxing: Excess wax builds up, blocking pores and making leather brittle.
- Using heat to dry: High temperatures damage adhesives and warp midsoles.
- Neglecting the tongue and lacing area: These zones are prone to water entry if untreated.
- Assuming “waterproof” means maintenance-free: Membranes last longer when the outer layer is protected.
Real-World Example: A Season of Rain in the Pacific Northwest
Consider Sarah, a thru-hiker preparing for the Oregon Coast Trail. Her full-grain leather boots were rated waterproof, but after two weeks of relentless drizzle, her feet stayed damp. Investigation revealed the leather had absorbed water like a sponge, adding nearly a pound per boot. She cleaned them thoroughly, applied a beeswax-based conditioner, and let them cure for 24 hours. On her next trek, water beaded visibly on the surface. Her boots dried twice as fast, and foot fatigue dropped significantly. This simple intervention transformed her hiking experience.
Essential Waterproofing Products Compared
With dozens of options on the market, choosing the right product can be overwhelming. Here’s a breakdown of top performers by category:
| Product Type | Best For | Pros | Cons |
|---|---|---|---|
| Sno-Seal Bickmore | Leather boots | Long-lasting, natural ingredients, excellent penetration | Requires warming, messy application |
| Grangers Performance Repel | Synthetics & nubuck | PFC-free, breathable, easy spray-on | Needs frequent reapplication |
| Kiwi Camp Dry | Budget-friendly all-round use | Widely available, affordable | Contains silicone, less eco-friendly |
| Obenauf’s Heavy Duty LP | Heavy-duty leather protection | UV and water resistant, deep conditioning | Strong odor, very thick application |
Frequently Asked Questions
Can I use household items like coconut oil to waterproof boots?
No. While natural oils may offer temporary water resistance, they break down adhesives, attract dust, and promote bacterial growth. Stick to purpose-made products designed for outdoor footwear.
Do waterproof sprays affect breathability?
Poor-quality sprays, especially those with silicone, can clog fabric pores. Opt for fluoropolymer-based DWR sprays labeled “breathable” to maintain airflow while repelling water.
How do I know when it’s time to re-waterproof?
Perform the splash test: flick water onto the upper. If droplets soak in instead of beading, it’s time to reapply. Also, if your boots feel heavier after light rain, the outer layer is absorbing moisture.
Checklist: Effective Boot Waterproofing Routine
- □ Clean boots with dedicated cleaner and brush
- □ Inspect for wear, loose stitching, or sole damage
- □ Select appropriate treatment based on material
- □ Apply product evenly, covering seams and eyelets
- □ Allow 12–24 hours of air drying at room temperature
- □ Perform water bead test to confirm effectiveness
- □ Store in a cool, dry place away from direct sunlight
Final Thoughts: Invest in Comfort, One Step at a Time
Your hiking boots represent more than gear—they’re an investment in mobility, safety, and enjoyment on the trail. Proper waterproofing enhances performance, prevents blisters, and extends service life, saving money and reducing waste over time. By integrating a few simple steps into your maintenance routine, you ensure that every hike begins with confidence and ends with dry, comfortable feet.
🚀 Take action today: Pull out your boots, assess their condition, and apply the right treatment. Your future self—standing atop a misty ridge with dry socks—will thank you.