
Choosing the right hiking boots isn’t just about style or brand reputation—it’s about fit. A poorly fitting boot can turn a dream hike into a painful ordeal, while the right pair supports your feet, enhances stability, and lets you move confidently over rugged terrain. Yet, many hikers still buy boots based on their everyday shoe size, leading to blisters, numb toes, or chronic foot fatigue. The truth is, hiking boot sizing is nuanced, influenced by foot shape, terrain, sock thickness, and even elevation changes. This guide cuts through the confusion with actionable insights, expert-backed methods, and real-world strategies to help you find a boot that feels like an extension of your foot.
Why Boot Fit Matters More Than You Think
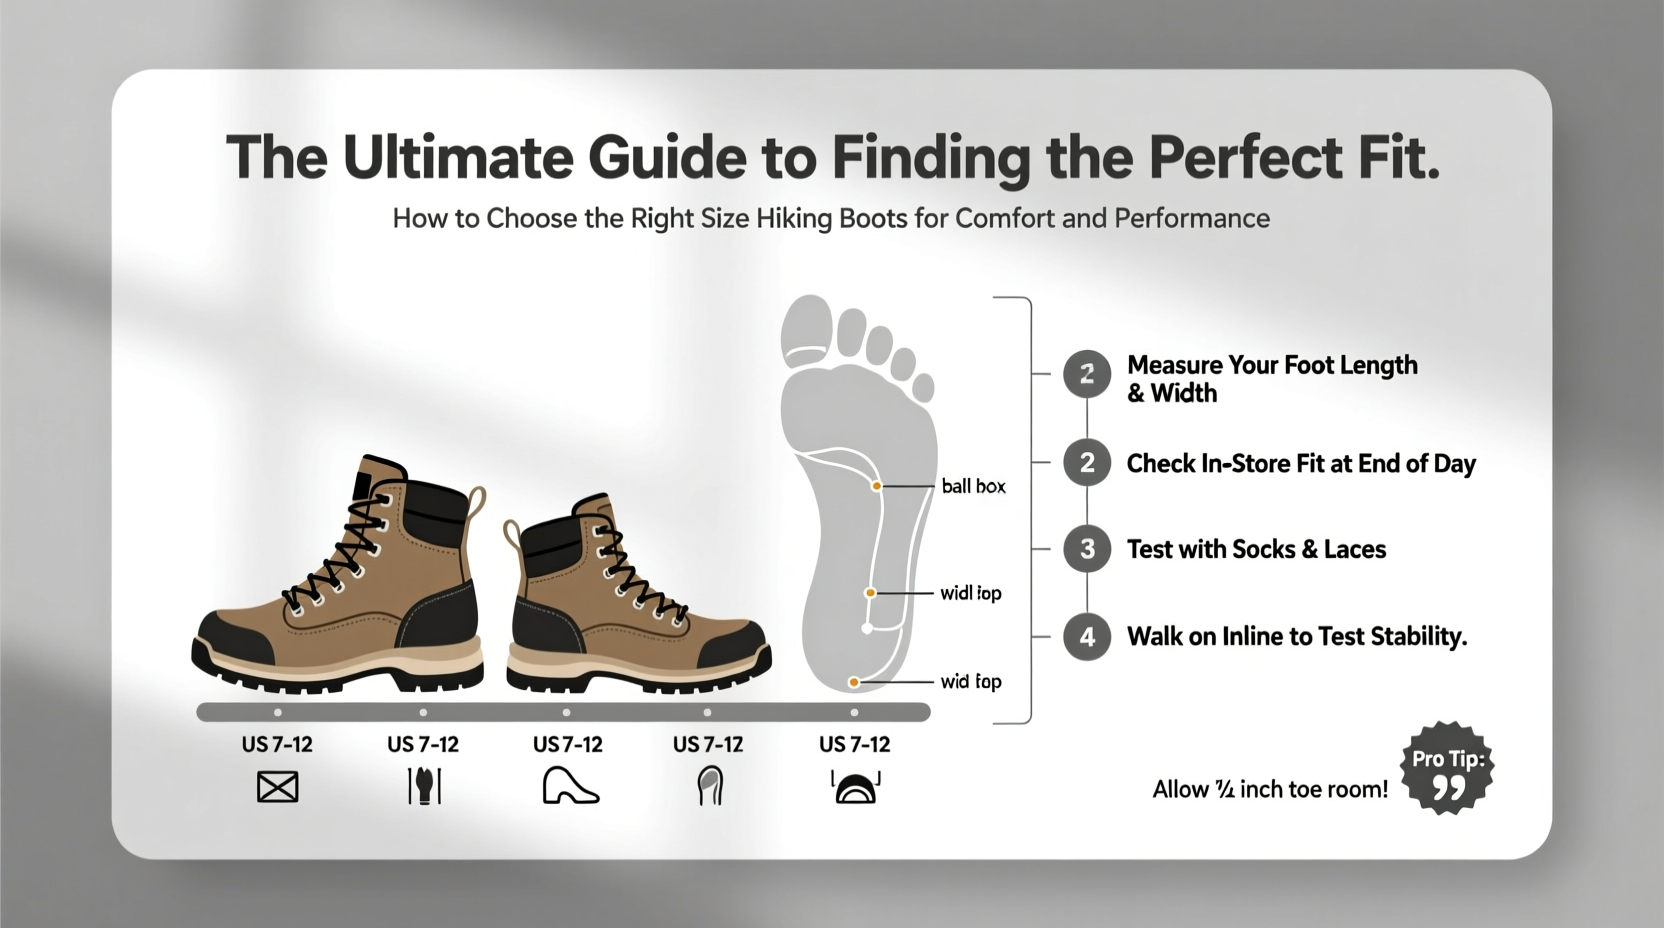
Hiking places unique demands on footwear. Unlike walking on pavement, trails involve uneven surfaces, steep ascents, descents, loose gravel, and variable weather. Your boots must protect, stabilize, and cushion—without restricting natural movement. A boot that’s too tight restricts circulation and causes hot spots; one that’s too loose leads to heel slippage and toe jamming on downhill sections. Over time, poor fit contributes to long-term issues like plantar fasciitis or tendon strain.
Foot volume, arch type, and swelling during activity all play critical roles. Most people don’t realize their feet swell up to half a size during extended hikes due to increased blood flow and heat. Ignoring this can result in cramped toes and prevent proper circulation. Additionally, different brands and models run large, small, narrow, or wide—even within the same stated size.
“Fit is the foundation of performance in hiking footwear. No amount of technology can compensate for a boot that doesn’t match the foot’s natural shape.” — Dr. Lena Torres, Podiatrist & Outdoor Footwear Consultant
Step-by-Step Guide to Measuring and Fitting Hiking Boots
Finding your ideal hiking boot starts long before you lace up. Follow this timeline to ensure accuracy and consistency:
- Measure at the end of the day – Feet naturally expand throughout the day. Measuring them in the evening gives a more accurate representation of their hiking size.
- Wear your hiking socks – Bring the exact socks you plan to wear on the trail. Thick wool blends add volume that affects fit.
- Stand on a piece of paper barefoot – Trace the outline of both feet. Measure from heel to longest toe and across the widest part.
- Compare measurements to brand charts – Use official sizing guides from manufacturers. Don’t assume a US 9 is universal.
- Try boots indoors first – Walk around on hard flooring for at least 20 minutes. Pay attention to pressure points and heel lift.
- Test on an incline – Simulate uphill and downhill motion using a ramp or stairs. Ensure toes don’t hit the front on descents.
Key Fit Indicators: What to Look For When Trying On Boots
Knowing what a properly fitting hiking boot feels like takes practice. Here are the essential checkpoints:
- Heel lock: Your heel should stay firmly in place when walking. A little slip (1–3 mm) is normal when new but shouldn’t cause rubbing.
- Toes clearance: There should be about a thumbnail’s width (roughly ½ inch) between your longest toe and the front of the boot when standing.
- No pressure points: No pinching on the top of the foot, sides, or Achilles tendon. Lacing adjustments can help, but structural pinch cannot be fixed.
- Arch support alignment: The boot’s arch should align with yours. Too high causes discomfort; too low leads to fatigue.
- Width comfort: Your forefoot shouldn’t feel squeezed. If the midfoot is secure but the ball of the foot bulges, consider a wider width.
Common Fitting Mistakes to Avoid
| Mistake | Consequence | Solution |
|---|---|---|
| Buying based on street shoe size | Poor fit due to differences in construction and sizing standards | Always measure feet and consult brand-specific charts |
| Tying laces too tight to fix heel slip | Restricted circulation, top-of-foot pain | Use heel-lock lacing technique instead |
| Ignoring break-in period | Blisters and discomfort on first hikes | Wear boots gradually on short walks before long trips |
| Trying boots in the morning | False sense of room; feet swell later | Try on in late afternoon or evening |
Boot Types and How They Influence Sizing
Not all hiking boots fit the same way. The design purpose changes how they should feel on your foot:
- Lightweight hiking shoes: Often fit closer to running shoes. Prioritize agility over ankle support. May require a snugger fit to prevent instability.
- Mid-weight backpacking boots: Designed for load-bearing. Should feel secure through the midfoot with slight extra room in the toe box for swelling.
- Mountaineering or expedition boots: Used with thick insulated socks. Often sized up by half to a full size to accommodate layers and cold-induced swelling.
Different materials also behave uniquely. Leather molds over time; synthetic uppers offer less stretch. Consider this when evaluating initial fit—some boots improve with wear, while others won’t change much.
Real Example: Sarah’s Trail-Testing Experience
Sarah, an avid weekend hiker, bought a popular brand of mid-weight boots online based on her usual size. On her first 8-mile hike, she developed blisters on both heels and felt constant pressure under her left arch. After visiting a specialty outdoor store, she learned her right foot was a half-size longer and she had a high instep—a common issue with standard lacing systems. She switched to a model with a gusseted tongue and volume-adjustable lacing, sizing up by half and choosing a wide width. After a three-week break-in, she completed a 15-mile ridge trail without discomfort. Her experience underscores that fit isn’t one-dimensional—it requires attention to asymmetry, volume, and adjustability.
Essential Checklist: Before You Buy Your Hiking Boots
Use this checklist to confirm you’ve made the right choice:
- ✅ Measured both feet at the end of the day
- ✅ Tried on boots with intended hiking socks
- ✅ Walked on an incline/decline surface in-store
- ✅ Checked for heel slip, toe space, and arch match
- ✅ Verified width fits without bulging
- ✅ Tested lacing system for pressure control
- ✅ Confirmed return policy in case of post-trail issues
FAQ: Common Questions About Hiking Boot Sizing
Should hiking boots feel tight when I first try them?
No. They should feel snug through the heel and midfoot but never tight. There will be some stretching, especially with leather, but the overall structure should be comfortable from day one. Discomfort does not go away with break-in.
Do hiking boots stretch over time?
Leather boots can stretch slightly—typically in width, not length. Synthetic materials stretch very little. Don’t rely on stretch to fix a poor initial fit. If it’s too tight now, it likely won’t improve enough.
How do I know if my boots are too big?
If your heel lifts more than 5 mm or your toes slide forward aggressively on descents, the boot is likely too long. Excessive internal movement increases blister risk and reduces control on technical terrain.
Final Thoughts: Invest in Fit, Reap Confidence on the Trail
The perfect hiking boot isn’t defined by price tag or popularity—it’s defined by how well it serves your feet mile after mile. Taking the time to measure accurately, try thoughtfully, and test progressively pays dividends in comfort, endurance, and injury prevention. Remember, your boots are your primary connection to the trail. Treat fit as non-negotiable. Whether you're tackling alpine ridges or forest paths, a well-fitted boot transforms effort into enjoyment.
💬 Found your perfect fit? Share your story or tips with fellow hikers in the comments—your insight could save someone from a painful trek!