Hiking boots are only as effective as the fit they provide. No matter how high-quality your footwear, improper lacing can lead to discomfort, pressure points, or even injury. Most hikers lace their boots the same way they did since childhood—two loops and a knot—without realizing that subtle adjustments can dramatically improve performance. The right lacing technique does more than keep your boots secure; it distributes pressure evenly, stabilizes the heel, reduces foot fatigue, and prevents common trail problems like blisters and numbness. With a few strategic methods, you can tailor your lacing to match your foot shape, terrain, and load.
The Science Behind Proper Lacing
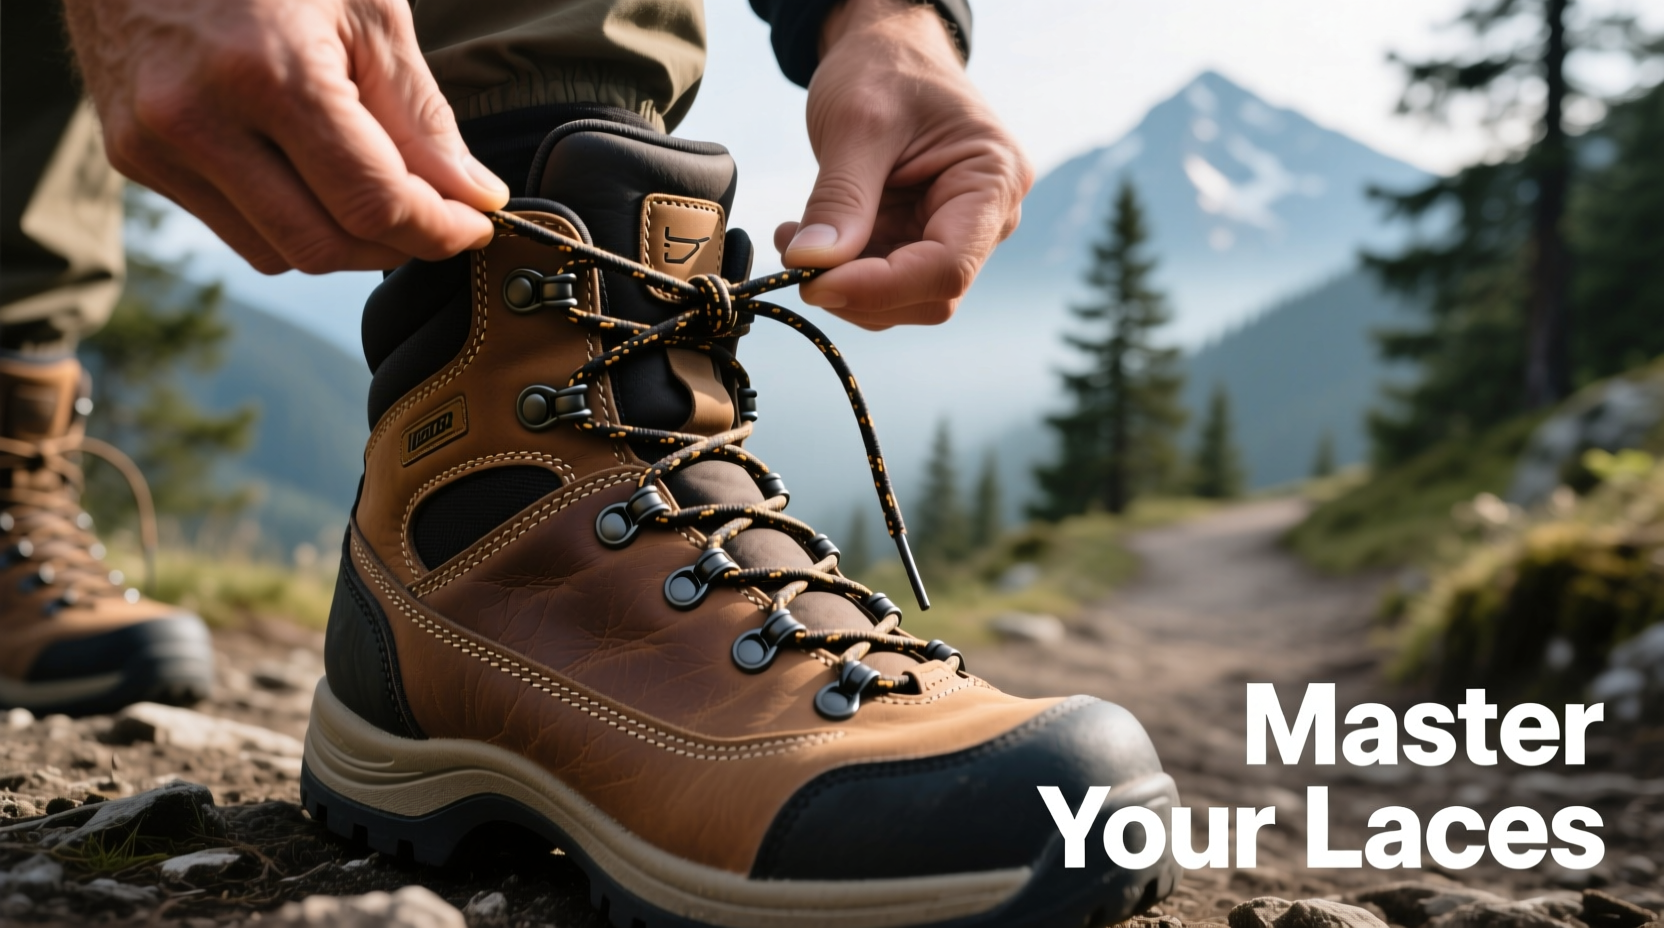
Your feet change shape under pressure, especially when descending steep trails or carrying a heavy pack. Swelling, arch collapse, and heel lift are common issues exacerbated by poor lacing. A well-laced boot adapts to these changes by applying targeted tension where needed and releasing it where it’s not. The eyelets on hiking boots aren’t just for show—they form a dynamic system that allows for micro-adjustments across different zones of the foot: the forefoot, midfoot, instep, and ankle.
Different lacing patterns alter how force is distributed through the upper material. For example, skipping certain eyelets can relieve pressure on sensitive areas, while crisscrossing with tighter spacing increases lockdown in high-movement zones. Understanding this gives you control over fit without needing custom orthotics or new boots.
“Proper lacing is the most overlooked yet simplest upgrade a hiker can make. It’s free, immediate, and often eliminates the need for expensive gear replacements.” — Dr. Lena Torres, Sports Podiatrist & Outdoor Medicine Specialist
Step-by-Step Guide to Essential Lacing Techniques
Below are five proven lacing methods, each designed to solve specific fit challenges. Practice them at home before hitting the trail to ensure confidence and comfort.
1. Standard Crisscross (Baseline Fit)
This is the default method most boots come laced in. It provides balanced tension but may not address individual fit issues.
- Start with both ends of the lace even at the bottom eyelets.
- Cross one end over to the opposite side and thread upward.
- Repeat until all eyelets are used.
- Tie a secure bow.
2. Heel Lock (Runner’s Loop / Surgeon’s Knot)
Prevents heel lift during descents—a leading cause of blisters.
- Lace normally up to the second-to-last set of eyelets.
- Instead of crossing, create a small loop (like a bunny ear) on each side.
- Thread the lace end through the opposite loop from underneath.
- Pull tight to lock the ankle into place.
- Finish with a regular knot.
3. Window Lacing (Relief for High Instep)
Reduces pressure on the top of the foot, ideal for those with high arches or swelling.
- Identify the area causing discomfort (usually midfoot).
- Lace up to that zone using standard crisscross.
- Skip the next horizontal pair, creating a “window” of slack.
- Continue lacing above the gap.
- Ensure the lower section remains snug while the window stays loose.
4. Parallel Lacing (Even Pressure Distribution)
Useful for long-distance hikes where consistent tension matters.
- Begin at the bottom, threading straight across.
- Bring each end vertically up the inside of the boot.
- Cross diagonally to the opposite side.
- Repeat, forming parallel vertical lines on the sides.
This method minimizes friction and hot spots by eliminating overlapping crosses over the instep.
5. Toe-Relief Lacing (For Numb Toes)
Alleviates compression in the forefoot, often caused by downhill hiking.
- Start lacing from the second or third eyelet, leaving the toe box completely unlaced.
- Proceed with standard crisscross from that point upward.
- Leave extra slack at the base so toes have room to expand.
Note: Only use this if your toes don’t slide forward excessively. Pair with padded socks for best results.
Do’s and Don’ts of Hiking Boot Lacing
| Do’s | Don’ts |
|---|---|
| Lace boots after putting on hiking socks—never barefoot. | Over-tighten the entire lace line to fix one problem area. |
| Adjust lacing mid-hike if swelling or pressure changes occur. | Ignore persistent hot spots; they will become blisters. |
| Use elastic or hybrid laces for easier micro-adjustments. | Assume one lacing style works for all boots or conditions. |
| Test new techniques during short walks before long treks. | Leave excess lace dangling where it can snag on roots or gear. |
Real Example: Sarah’s 20-Mile Trek Through the Rockies
Sarah, an experienced backpacker, began a two-day trek in Colorado with her usual lacing pattern. By mile eight, she developed sharp pain across the top of her left foot. She stopped, removed her boot, and noticed redness along the instep—clear signs of excessive pressure. Remembering a lacing workshop she attended, she applied the window lacing technique, skipping the third and fourth eyelets. Immediately, the pressure subsided. She continued the hike without further discomfort and completed the full distance the next day with no issues. “I’d spent hundreds on boots,” she said later, “but the real game-changer was learning how to lace them.”
Checklist: Optimize Your Lacing Before Every Hike
- Inspect laces for fraying or wear—replace if necessary.
- Wear the same socks you plan to hike in.
- Walk around indoors or on pavement to test fit.
- Identify trouble zones: heel slip, pressure points, numbness.
- Select the appropriate lacing method based on symptoms.
- Re-lace mid-hike if feet swell or shift due to elevation or temperature.
- Secure knots properly to avoid coming undone on rough terrain.
Frequently Asked Questions
How tight should hiking boots be laced?
Snug enough to prevent heel movement but not so tight that circulation is restricted. You should be able to wiggle your toes freely. If your foot feels compressed or tingly, loosen the laces—especially over the instep and forefoot.
Can I use different lacing techniques for uphill vs. downhill hiking?
Absolutely. Many hikers tighten the upper portion using a heel lock for steep descents to prevent forward sliding. On ascents, slightly looser lacing over the instep can reduce strain on calf muscles and tendons. Adjust as needed throughout the hike.
Are aftermarket laces worth it?
Yes, particularly flat, non-slip laces or elastic varieties. Round laces tend to loosen faster, while waxed or silicone-coated laces resist moisture and maintain tension. Bungee-style systems allow one-pull tightening and are excellent for fast adjustments.
Conclusion: Lace Smart, Hike Better
Mastery of lacing techniques transforms an ordinary hike into a comfortable, controlled experience. It’s not about brute strength or enduring pain—it’s about precision, awareness, and adaptation. Whether you’re summiting alpine ridges or navigating forest trails, your boots should work with your body, not against it. These methods empower you to take charge of fit, prevent injury, and extend your time on the trail. Don’t wait for discomfort to strike. Experiment now, personalize your approach, and make intelligent lacing part of your standard prep.
🚀 Ready to hike smarter? Try one new lacing technique on your next outing and notice the difference. Share your experience in the comments—your insight could help another hiker find their perfect fit.