
Outdoor lighting enhances both the safety and aesthetic appeal of your home, but exposed wires can ruin an otherwise pristine look. Whether you're installing string lights, pathway markers, or accent lighting along brick walls or vinyl, wood, or fiber cement siding, managing the wiring is just as important as the fixtures themselves. A clean wire run not only improves curb appeal but also protects cables from weather, pests, and physical damage. This guide covers proven techniques, materials, and best practices for concealing wires on exterior surfaces—without damaging your home’s structure or compromising safety.
Why Wire Concealment Matters on Exterior Surfaces
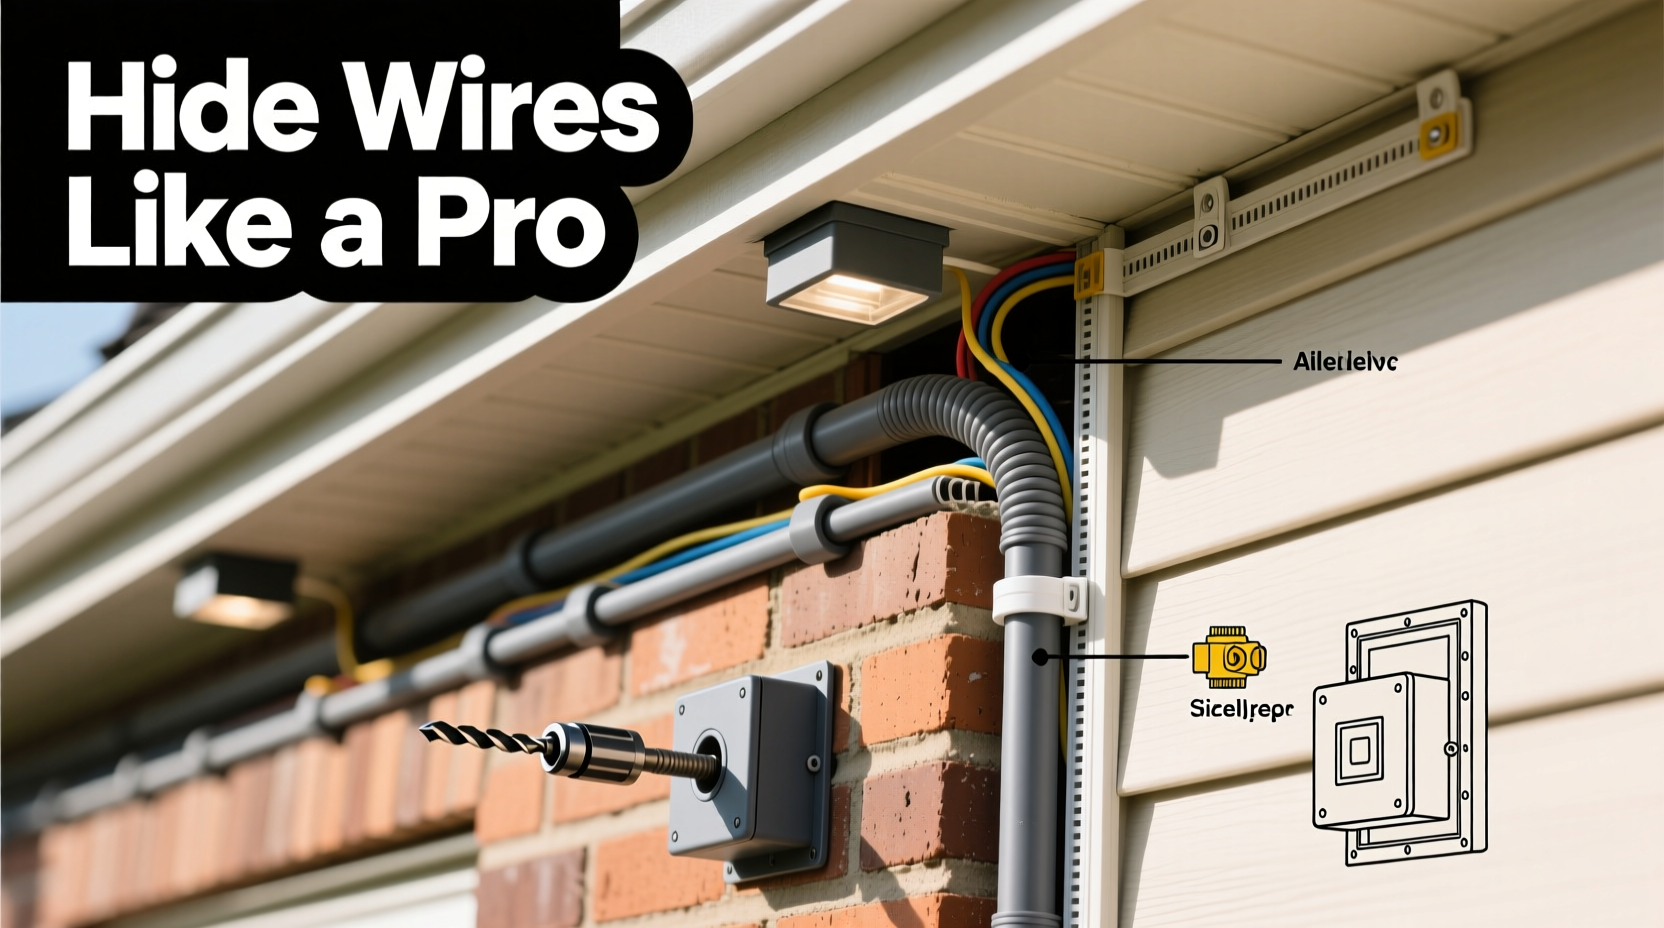
Leaving electrical or low-voltage wires exposed on brick or siding isn't just unsightly—it's risky. Sunlight degrades insulation over time, moisture can seep into connections, and animals may chew through unprotected cables. Additionally, loose wires create tripping hazards near walkways and detract from landscape design. Proper concealment ensures longevity, reduces maintenance, and delivers a professional finish that makes your lighting appear seamlessly integrated into the architecture.
Unlike indoor installations where walls can be opened easily, exterior work requires non-invasive or minimally invasive strategies. The challenge lies in anchoring wires securely while preserving the integrity of masonry and siding materials. Done correctly, hidden wiring should be invisible at eye level and accessible for future repairs.
Tip: Always use outdoor-rated cables and connectors—never repurpose indoor cords for exterior lighting.Step-by-Step Guide to Cleanly Hide Wires Along Brick
Brick is durable but unforgiving when drilled improperly. The goal is to secure wires without cracking mortar or bricks. Follow this sequence for a tidy, safe installation:
- Plan Your Route: Map the path from power source to each light fixture. Avoid sharp bends and areas prone to water pooling. Choose a route that follows natural lines like grout joints or baseboards.
- Select Surface-Mount Clips or Cable Channels: Use UV-resistant plastic clips designed for masonry. These often come with adhesive backing or screw mounts. For longer runs, consider a paintable PVC raceway that blends with trim.
- Mark Clip Positions: Space clips every 12–18 inches. Align them along mortar joints rather than bricks to make drilling easier and less noticeable.
- Drill Pilot Holes (if using screws): Use a masonry bit slightly smaller than your anchor size. Drill slowly to prevent cracking. Insert plastic anchors if needed.
- Secure Clips and Thread Wire: Attach clips with corrosion-resistant screws or strong adhesive. Feed the wire through after all clips are installed to avoid snagging.
- Conceal Ends and Connections: Route the end of the wire behind downspouts, under eaves, or into junction boxes. Use silicone sealant around entry points to keep out moisture.
For low-voltage systems (common with LED landscape lights), you can also embed wires in shallow grooves cut into mortar joints—a technique known as “chasing.” After routing the wire, fill the groove with color-matched mortar for near-invisibility.
Hiding Wires on Siding: Techniques by Material Type
Siding varies widely in composition and fragility. Each type demands specific handling to avoid warping, cracking, or voiding warranties. Below is a breakdown of best practices by common siding types:
| Siding Type | Recommended Method | Avoid |
|---|---|---|
| Vinyl | Slide wires behind panels at seams; use J-hooks under soffits | Drilling directly through panels unless warranted |
| Wood | Use small brad nails or discreet clips; paint over if needed | Over-tightening fasteners that split wood |
| Fiber Cement (e.g., HardiePlank) | Run wires under lap joints or use surface raceways | Drilling without carbide bit; improper sealing |
| Stucco | Adhesive-backed channels; patch minor cuts with matching compound | Large gouges that compromise waterproofing |
With vinyl siding, one effective trick is to lift the bottom edge of a panel slightly using a siding removal tool, thread the wire behind it, then let the panel snap back. This hides the cable completely behind overlapping layers. Repeat at intervals to maintain tension and prevent sagging.
Tip: Test wire placement with removable tape before permanent attachment to ensure alignment and coverage.Alternative Solutions for Invisible Wiring
If surface mounting isn’t ideal for your project, consider these alternative concealment strategies:
- Bury Low-Voltage Cables: For lights spaced apart, burying 12–16 gauge direct-burial cable 6 inches deep eliminates visible runs entirely. Connect to a transformer near the house and bring power underground early in the circuit.
- Use Gutter and Downspout Routing: Slide wires inside gutters or along the backside of downspouts. Secure with zip ties or adhesive mounts. This method works well for vertical drops from eaves to ground-level fixtures.
- Install Paintable Raceways: Available in white or neutral tones, these snap-on channels adhere to surfaces and can be painted to match surrounding trim. Ideal for straight runs along foundation lines or beneath windows.
- Integrate with Landscape Features: Run wires beneath mulch, edging, or stone pathways. Cover with flexible conduit for added protection against digging tools.
While full concealment is appealing, always leave access points near transformers, outlets, and splices. Future troubleshooting becomes much simpler when connections aren’t buried irreversibly.
“Many homeowners underestimate how much visual clutter exposed wires add. A few hours spent hiding cables can elevate the entire perception of their lighting design.” — Daniel Reyes, Outdoor Lighting Designer & NALP Certified Professional
Checklist: Preparing for a Clean Wire Installation
Before starting your project, verify you have everything in place. Use this checklist to ensure success:
- ✅ Measure total wire length needed (add 15% extra for slack and routing)
- ✅ Confirm voltage requirements and transformer capacity
- ✅ Purchase outdoor-rated wire and waterproof connectors
- ✅ Choose concealment method based on wall material (clips, raceways, behind siding, etc.)
- ✅ Gather tools: drill, masonry bit (for brick), siding tool (for vinyl), level, caulk gun
- ✅ Plan inspection points for future access
- ✅ Turn off power at the breaker when connecting to household circuits
- ✅ Check local codes—some areas require permits for permanent outdoor electrical work
Real Example: Transforming a Front Porch Light Run
A homeowner in Portland, Oregon wanted to install four LED sconces along a red brick porch column leading to their front door. Initially, they ran the wire straight down the face of the brick using basic plastic staples, resulting in a jagged, DIY appearance.
After consulting a lighting specialist, they redid the installation using the following approach:
- Removed old staples and planned a new route along a vertical mortar joint.
- Used stainless steel screw-mounted clips spaced every 12 inches.
- Painted the clips matte red to blend with surrounding mortar after application.
- Routed the final segment behind a decorative planter box mounted at the base.
The result was a crisp, gallery-style lighting effect with no visible wiring from the sidewalk. Neighbors later commented that the lights looked “professionally installed,” even though the homeowner completed the work themselves.
Common Mistakes to Avoid
Even experienced DIYers make errors when managing exterior wires. Watch out for these pitfalls:
- Using Indoor-Grade Materials Outside: Standard zip ties become brittle in sunlight; indoor clips warp under UV exposure.
- Over-Tightening Clamps: This can crush wire insulation or crack masonry anchors.
- Ignoring Expansion and Contraction: Leave slight slack in long runs to accommodate temperature shifts.
- Running Wires Across Walkways Without Protection: Exposed ground-level cables should be covered with rubber ramp covers or buried.
- Sealing Wires Against Walls Without Drainage Gaps: Trapped moisture accelerates rot and mold, especially on wood and stucco.
FAQ
Can I run electrical wire behind vinyl siding safely?
Yes, but only if done carefully. Lift the panel edges gently using a siding removal tool and feed the wire horizontally behind the overlapping sections. Never staple through the face of vinyl. Ensure the wire is rated for damp locations and avoid kinking during installation.
Do I need conduit for exposed outdoor wires?
For low-voltage lighting (under 30V), conduit is optional but recommended in high-traffic or vulnerable areas. For line-voltage (120V) installations, rigid or flexible metal/conduit is typically required by code to protect against damage and environmental exposure.
How do I hide the transformer or power source?
Place the transformer in a discreet location such as inside an exterior equipment closet, behind landscaping, or within a locked utility box. Use a weatherproof enclosure and route the output cable through a sealed wall knockout. Camouflage with lattice panels or faux rock covers if aesthetics are a concern.
Final Thoughts: Achieving a Polished, Lasting Finish
Hiding wires along brick or siding isn’t just about cosmetics—it’s a commitment to quality craftsmanship. The difference between a haphazard string of lights and a refined illumination scheme often comes down to how thoughtfully the wiring is managed. By selecting the right materials, respecting the limitations of each surface, and planning every inch of the route, you can achieve results that look intentional and endure for years.
Take pride in the details. A few extra minutes spent aligning clips, matching colors, or creating clean transitions pay dividends in long-term satisfaction. Whether you’re highlighting architectural features or improving nighttime visibility, concealed wiring ensures your lighting enhances—not distracts from—the beauty of your home.
💬 Have a wire-hiding hack that worked for your home? Share your experience in the comments below—your insight could help another homeowner achieve a cleaner, smarter installation!