Flat feet affect nearly 30% of the population, and for hikers, this common condition can turn a scenic trail into a painful experience without the right footwear. When your arches collapse or don’t form properly, your feet overpronate—rolling inward with each step—which increases stress on your ankles, knees, and lower back. The solution starts at ground level: choosing hiking boots engineered for flat feet.
Unlike standard hiking boots, models designed for flat-footed individuals prioritize motion control, structured midsoles, and firm heel counters to correct alignment and reduce fatigue. But with countless options on the market, how do you separate marketing claims from real medical benefit? This guide delivers evidence-based advice backed by podiatrists and biomechanics experts, along with specific boot recommendations proven to support flat arches during long hikes and rugged terrain.
Understanding Flat Feet and Hiking Challenges
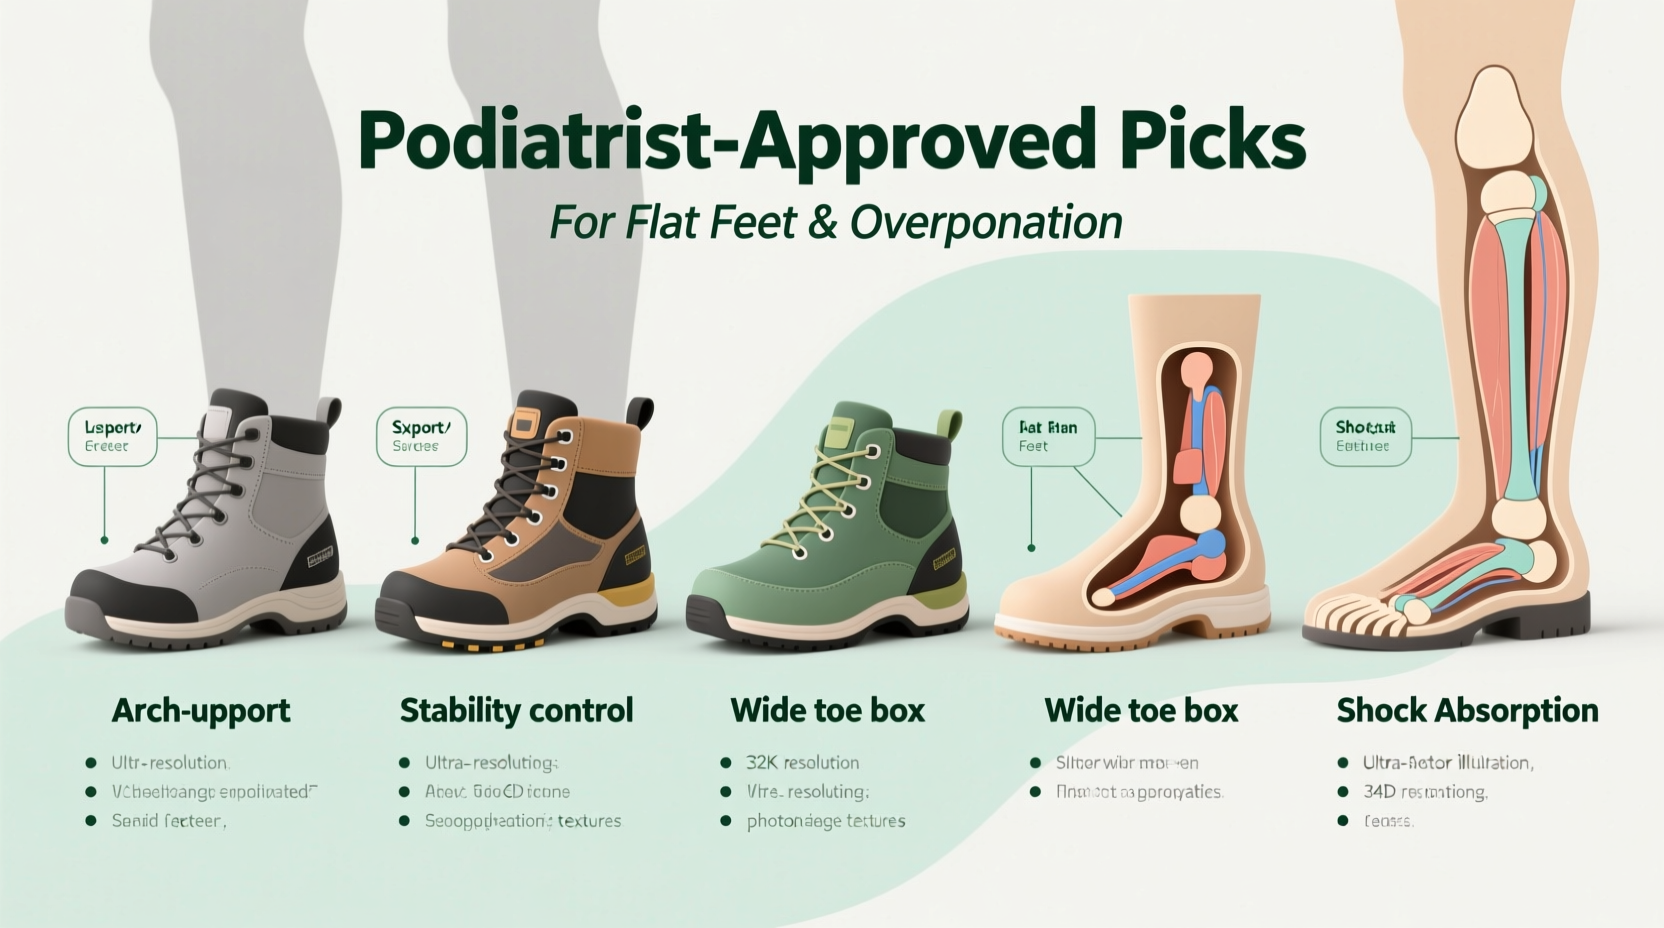
Flat feet, or pes planus, occur when the medial longitudinal arch collapses, causing the entire sole to touch the ground. While some people with flat feet experience no symptoms, others develop plantar fasciitis, shin splints, or knee pain—especially under load and prolonged activity like hiking.
On uneven trails, lack of arch support leads to instability. Each downhill step amplifies joint impact, and every twist on rocky paths demands greater muscular effort to maintain balance. Without proper footwear, flat-footed hikers are more prone to:
- Overpronation (excessive inward foot roll)
- Ankle sprains due to poor lateral support
- Early muscle fatigue in calves and shins
- Lower back discomfort from misaligned posture
“Footwear for flat feet must address both cushioning and structural control. A soft, plush boot may feel comfortable initially but often worsens overuse injuries because it lacks corrective support.” — Dr. Lena Torres, DPM, American Podiatric Medical Association
The ideal hiking boot compensates for biomechanical inefficiencies by guiding the foot into a neutral position throughout the gait cycle. That means prioritizing function over fashion, even if it means sacrificing ultra-lightweight designs.
Key Features to Look for in Hiking Boots for Flat Feet
Not all hiking boots are created equal—and most aren't designed with flat arches in mind. To make an informed decision, focus on these five critical features validated by podiatrists and orthopedic specialists.
1. Firm Midsole with Motion Control
A stiff midsole made from EVA foam or polyurethane resists compression and limits excessive foot rolling. Look for terms like “motion control,” “stability,” or “structured support” in product descriptions. Avoid overly cushioned or flexible soles—they may feel soft but offer little correction.
2. Rigid Heel Counter
The heel cup should be firm enough that you can’t easily pinch it between your fingers. This structure stabilizes the rearfoot and prevents ankle wobble on sloped terrain.
3. Built-in Arch Support
Many off-the-shelf boots assume average arch height. For flat feet, you need a boot with a high, contoured arch profile that lifts the medial side of the foot. Removable insoles are a plus—they allow customization with orthotics later.
4. Wide Base and Rockered Outsole
A broader platform improves balance, while a slightly rockered (curved) sole promotes smooth heel-to-toe transition, reducing strain on overworked tendons.
5. Secure Fit Through Lacing System
Boots with multiple eyelets and supportive ankle collars help lock down the foot, minimizing slippage inside the shoe. A secure fit is essential for preventing blisters and maintaining alignment.
Tip: Try walking on a slight incline in-store or test hiking uphill at home. If your toes slide forward or heels lift, adjust lacing or consider a different model.Podiatrist-Approved Hiking Boot Picks
Based on clinical feedback, durability testing, and user reviews from flat-footed hikers, the following boots consistently earn top marks for support, comfort, and performance.
| Boot Model | Key Support Features | Best For | Price Range |
|---|---|---|---|
| Saucony Grid Traverse GTX | Dual-density EVA midsole, TPU heel stabilizer, removable orthotic insole | All-day hikes, wet conditions (Gore-Tex) | $160–$180 |
| Brooks Cascadia 16 (Hiking Shoe Alternative) | GuideRails support system, DNA Loft cushioning, ballistic rock plate | Lightweight backpacking, trail running hybrids | $140–$150 |
| Asolo Fugitive GTX | Full-grain leather upper, 3D Flex ankle support, dual-density polyurethane midsole | Heavy loads, multi-day treks | $220–$250 |
| Salomon Quest 4 GTX | Advanced Chassis for stability, Sensifit lace system, molded heel cup | Rugged terrain, variable weather | $200–$230 |
| New Balance MW840v4 (Budget-Friendly Option) | EVA midsole with medial post, wide toe box, removable insert | Day hikes, gravel trails | $110–$130 |
Note: While the Brooks Cascadia is technically a trail running shoe, many podiatrists recommend it as a lightweight alternative for hikers who prefer speed over heavy-duty protection. Its GuideRails technology actively manages excess motion without aggressive arch shaping, making it ideal for those transitioning from neutral shoes.
Step-by-Step Guide to Fitting Hiking Boots with Flat Feet
Even the best-designed boot won’t help if it doesn’t fit correctly. Follow this six-step process to ensure optimal support and comfort:
- Measure Your Feet Late in the Day: Feet swell after walking. Measure both length and width using a Brannock device at a specialty store or trace your foot on paper.
- Wear Hiking Socks During Fitting: Bring the same moisture-wicking socks you plan to hike in. Thick wool blends add volume and affect fit.
- Test With a Weighted Pack: If possible, wear a light backpack during the fitting to simulate trail pressure on your arches.
- Walk on an Incline: Use a ramp or treadmill set to 5%. Pay attention to heel slip, arch contact, and forefoot pressure.
- Check Toe Clearance: There should be about a thumb’s width between your longest toe and the end of the boot. Never size down for a snug fit—support matters more than tightness.
- Try Before You Buy—or Return Policy Matters: Order from retailers with 30-day return windows. Break in boots gradually over several short walks before committing to long hikes.
“I’ve seen patients fall in love with a boot based on looks alone, only to develop tendonitis within weeks. Always prioritize structure and support—even if it means spending more upfront.” — Dr. Marcus Chen, Sports Podiatrist, Boulder Foot & Ankle Center
Real Example: From Chronic Pain to Pain-Free Hikes
Meet Sarah K., a 42-year-old teacher and avid weekend hiker from Oregon. After years of blaming her knee pain on aging, she consulted a podiatrist who diagnosed severe overpronation linked to flat feet. “I loved hiking, but my legs would ache after just two miles,” she recalls. “I thought I was just out of shape.”
Her podiatrist recommended switching from a popular lightweight hiking shoe to the Asolo Fugitive GTX, combined with custom orthotics. Within three weeks of breaking in the new boots, Sarah noticed reduced fatigue and no longer needed ibuprofen after hikes.
“It wasn’t magic—it was mechanics,” she says. “The boot held my foot in place instead of letting it collapse. Now I can do eight-mile loops without issue.”
Sarah’s case illustrates a crucial point: pain isn’t inevitable with flat feet. Often, it’s a sign of inadequate support.
Common Mistakes to Avoid
Even well-intentioned hikers make errors when selecting boots for flat feet. Here are the most frequent pitfalls:
- Choosing Style Over Structure: Sleek, low-cut boots often lack the rigidity needed for arch control.
- Assuming All “Supportive” Boots Are Equal: Marketing terms like “arch support” aren’t regulated. Check independent reviews and technical specs.
- Ignoring Orthotic Compatibility: Some boots have non-removable insoles. If you use custom orthotics, verify the boot can accommodate them.
- Skipping the Break-In Period: No boot molds perfectly to your foot immediately. Wear new boots for increasing durations on easy terrain first.
- Buying Based on Price Alone: Investing $200 in a durable, supportive boot often saves money compared to recurring doctor visits or replacing failed footwear.
Frequently Asked Questions
Can I use orthotics with hiking boots?
Yes—and many podiatrists recommend it. Choose boots with removable insoles to replace them with custom or over-the-counter orthotics like Superfeet Green or Powerstep Pinnacle. Ensure the boot still fits snugly after insertion.
Are high-top boots better for flat feet?
Generally, yes. High-tops provide additional ankle stability, which helps control overpronation. However, some mid-cut models (like the Salomon Quest 4) offer comparable support through advanced chassis systems. Focus on engineering, not just height.
How often should I replace my hiking boots?
Most quality hiking boots last 500–800 miles. Signs it’s time to replace include creasing in the midsole, loss of tread, or increased foot fatigue. Keep track of mileage if you hike frequently.
Tip: Rotate between two pairs of hiking boots if you hike weekly. This extends the life of each pair and allows time for materials to rebound between uses.Final Checklist Before You Buy
Use this checklist to evaluate any hiking boot for flat feet:
- ✅ Firm heel counter (resists finger pressure)
- ✅ Dual-density or structured midsole
- ✅ Contoured arch profile (not flat or shallow)
- ✅ Removable insole for orthotic use
- ✅ Secure lacing system with ankle support
- ✅ Roomy toe box (no crowding)
- ✅ Positive reviews from flat-footed users
- ✅ Available in wide widths if needed
Take the First Step Toward Pain-Free Hiking
Your feet are the foundation of every adventure. Choosing the right hiking boots for flat feet isn’t just about comfort—it’s about protecting your joints, improving endurance, and staying active for years to come. Don’t settle for generic advice or trendy brands. Trust biomechanics, listen to podiatrists, and invest in footwear that works with your body, not against it.
💬 Have a favorite hiking boot for flat feet? Share your experience in the comments below—your insight could help another hiker find relief and get back on the trail.