Whether you're hiking rugged trails, mountain biking through forests, or embarking on a fast-paced trail run, the right day pack can make the difference between a smooth journey and an exhausting ordeal. Unlike larger backpacks designed for multi-day trips, a day pack is built for efficiency, comfort, and accessibility during short but intense outdoor excursions. Yet, not all day packs are created equal. The ideal one balances weight, storage, ventilation, and functionality tailored to your specific sport and environment.
Choosing the wrong pack leads to discomfort, poor load distribution, overheating, or even gear failure mid-adventure. To help you avoid these pitfalls, here’s a comprehensive guide based on real-world use, expert input, and performance-tested features that matter most when selecting a day pack for outdoor sports.
Assess Your Activity Type and Terrain
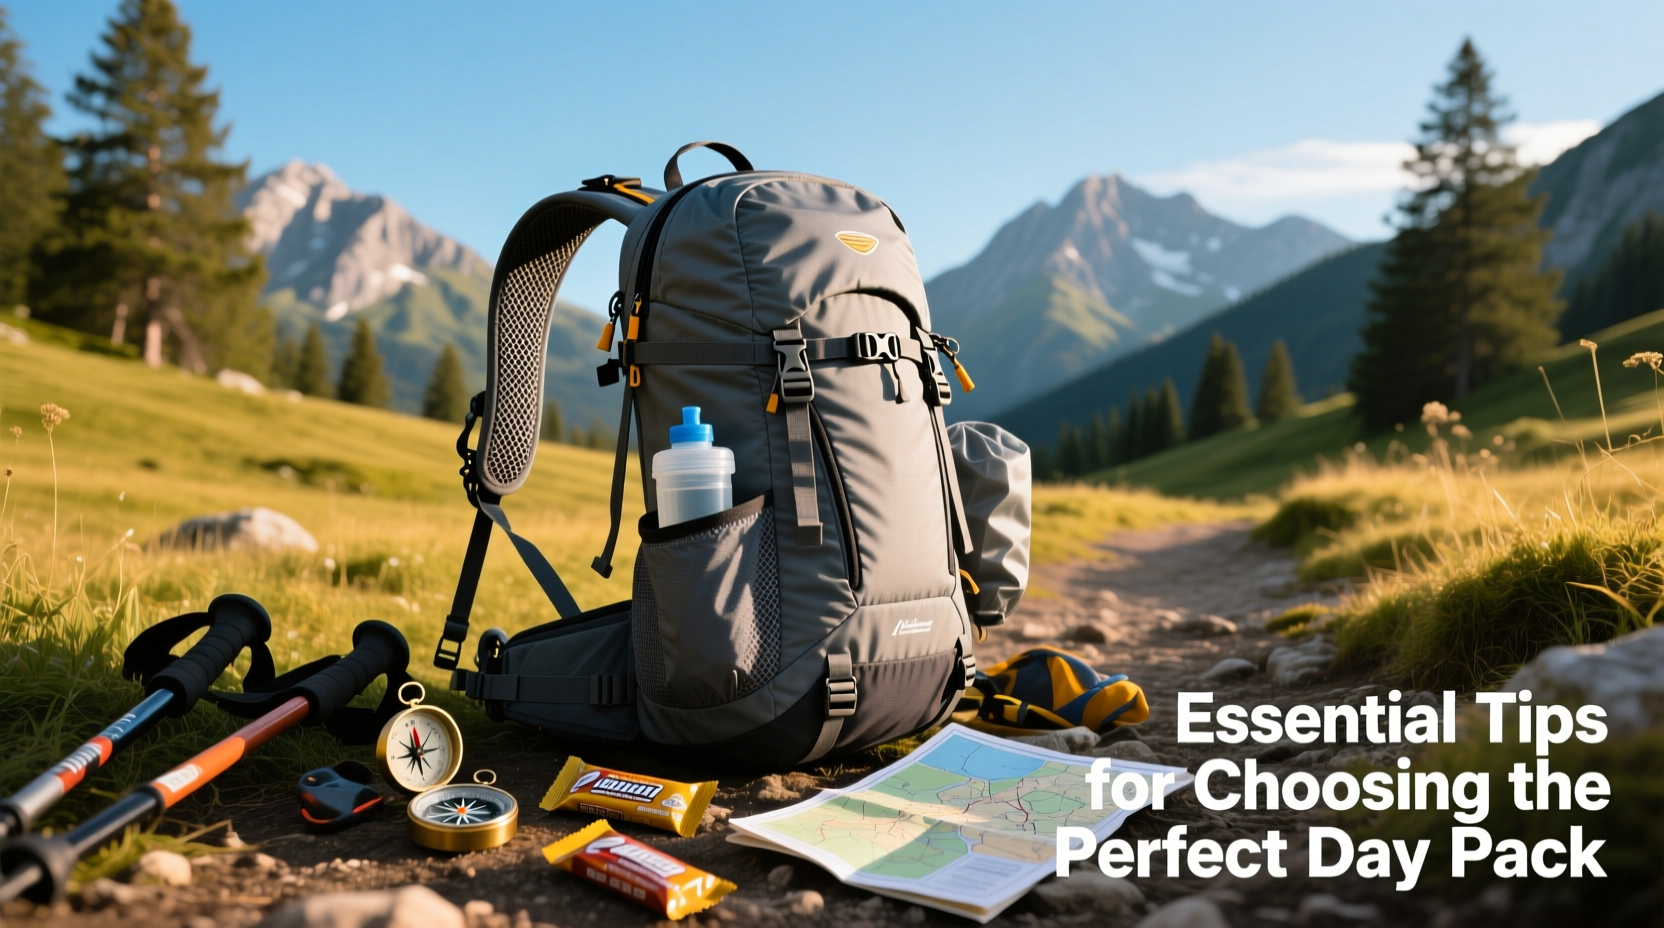
The first step in choosing the right day pack isn’t about brand or design—it’s about matching the pack to your primary activity. A trail runner needs different support than a hiker tackling steep alpine routes, and a mountain biker requires distinct access points compared to a rock climber approaching a crag.
- Hiking: Look for moderate capacity (15–25L), padded shoulder straps, and a supportive hip belt for carrying extra water, layers, and emergency gear.
- Trail Running: Prioritize lightweight construction (under 1 kg), minimal bounce, and front-access pockets for quick nutrition grabs.
- Mountain Biking: Choose packs with helmet attachment points, hydration reservoir compatibility, and secure strap routing to prevent snagging on handlebars.
- Climbing & Scrambling: Opt for streamlined designs with external gear loops, ice axe attachments, and low-profile backs to maintain balance on technical terrain.
Determine the Right Capacity and Load Distribution
Day packs typically range from 10 to 30 liters. While it might be tempting to go bigger “just in case,” overpacking a large bag defeats the purpose of a lightweight, agile carry.
| Capacity | Ideal For | Max Recommended Load |
|---|---|---|
| 10–14L | Short runs, bike commutes, gym-to-trail transitions | 5–7 kg (11–15 lbs) |
| 15–22L | Full-day hikes, alpine approaches, moderate weather changes | 8–10 kg (18–22 lbs) |
| 23–30L | Longer excursions, winter outings, group safety gear | 10–12 kg (22–26 lbs) |
A well-designed pack transfers weight from your shoulders to your hips via a contoured hip belt and load-lifter straps. This reduces fatigue and improves balance, especially on uneven ground. Always try the pack with a loaded weight similar to what you’d carry in real conditions.
“We often see athletes choose packs based on looks alone. But if the load isn’t properly transferred to the hips, even a 10-liter pack can feel unbearable after two hours.” — Dr. Lena Torres, Outdoor Ergonomics Researcher, Alpine Institute
Prioritize Fit, Ventilation, and Movement
Finding a pack that fits your torso length—not just your chest size—is critical. Most quality brands offer small, medium, and large back panel options. Measure from the base of your neck (C7 vertebra) to the top of your hip bones to determine your correct torso length.
For high-output sports like running or biking, look for suspended mesh back panels that create airflow between your back and the pack. Closed foam padding may feel comfortable at first but traps heat and moisture, leading to chafing and discomfort.
Adjustability matters too. Sternum straps with sliding height settings allow fine-tuning across different layers, while load lifters help pull the top of the pack closer to your body, reducing sway during dynamic movement.
Checklist: How to Test Fit a Day Pack
- Adjust the hip belt so it sits snugly on your iliac crest (top of hips).
- Secure shoulder straps without over-tightening; there should be no pinching.
- Fasten the sternum strap across your chest, just below collarbones.
- Engage load lifter straps to form a 45° angle between hip belt and top of pack.
- Walk, lunge, and twist to check stability and freedom of motion.
Essential Features by Use Case
Beyond fit and size, modern day packs come with specialized features that enhance usability. However, not all features are necessary—and some can become liabilities if poorly implemented.
Tip: Avoid packs with excessive external pockets unless you need rapid access to tools or maps. Extra fabric flaps and zippers increase wear and snag risk.Here are the must-have features depending on your adventure type:
- Hydration Compatibility: Internal sleeve for a 2–3L bladder with hose routing and magnetic sternum clip.
- Rain Cover Storage: Built-in stash pocket (often in the bottom compartment) keeps a lightweight cover ready.
- Gear Attachment Points: Daisy chains, ice axe loops, or stretch mesh side pockets for helmets or trekking poles.
- Weather-Resistant Zippers: YKK AquaGuard or equivalent on main compartments to shed light rain.
- Reflective Accents: Critical for early morning or late evening visibility on shared trails.
Some premium models include integrated safety whistles, emergency poncho liners, or even solar charging ports—features worth considering if you regularly venture into remote areas.
Mini Case Study: Choosing the Right Pack for a Ridge Trail Challenge
Samantha, an experienced trail runner in Colorado, trained for a 28-kilometer ridge race with significant elevation gain. Her previous pack—a basic 12L model—caused shoulder strain and bounced during descents. After consulting a specialty outdoor retailer, she switched to a 18L ventilated pack with an adjustable suspension system and front-mounted soft flask pockets.
The new pack allowed her to carry 2.5L of water, a wind shell, snacks, and a first-aid kit without shifting or hot spots. During the race, she accessed gels through the chest pocket without stopping. Post-event, she noted reduced fatigue and better temperature regulation. The investment paid off in both comfort and performance.
Material Durability and Weather Resistance
Even day packs take a beating—from bushwhacking through brush to being tossed in car trunks or exposed to sudden downpours. Look for ripstop nylon (e.g., 210D or 420D) with a silicone or polyurethane coating for tear resistance and water repellency.
DWR (Durable Water Repellent) finishes help beads form on the surface, but they degrade over time. Reapplication sprays are available, though a separate rain cover remains more reliable in sustained wet conditions.
Zippers, buckles, and stitching are equally important. Reinforced stress points at the bottom corners and shoulder strap junctions prevent premature failure. Brands like Deuter, Osprey, and Arc'teryx subject packs to rigorous field testing, including abrasion simulations and load cycling.
Do’s and Don’ts: Material Care and Longevity
| Do | Don’t |
|---|---|
| Wipe down after exposure to mud or salt spray | Machine wash unless specified by manufacturer |
| Air dry completely before storing | Store packed or compressed long-term |
| Use a gear-specific cleaner for DWR refresh | Expose to direct heat sources (radiators, car dashboards) |
FAQ
Can I use a hiking day pack for mountain biking?
Yes, but only if it has helmet-compatible storage, secure strap routing, and a stable fit that minimizes bounce. Packs designed specifically for biking often have lower centers of gravity and reinforced back protection.
How do I clean my day pack without damaging it?
Hand wash with lukewarm water and mild soap (like Nikwax Tech Wash). Rinse thoroughly and air dry away from sunlight. Never tumble dry or use bleach-based cleaners.
Is a hydration bladder worth it in a day pack?
Absolutely, especially for endurance activities. It encourages consistent hydration without needing to stop. Just ensure the hose exit port is positioned correctly and the bladder is easy to refill.
Conclusion: Make Your Next Adventure Lighter, Smarter, and More Comfortable
Selecting the perfect day pack isn’t about chasing the latest model or highest tech specs—it’s about aligning function with your actual use. From fit and ventilation to material strength and intelligent organization, every detail plays a role in how you experience the outdoors.
Take the time to assess your typical routes, weather conditions, and carried essentials. Try packs in person when possible, ideally loaded with weight. Invest in quality over quantity—because when you're miles from the trailhead and the weather turns, your pack becomes more than gear. It becomes part of your resilience.
🚀 Ready to upgrade your day pack? Start by measuring your torso and listing your essential gear. Then test three top contenders at a local outdoor shop. Your next adventure deserves the right companion.