Hanging shelves may seem like a simple weekend project, but the right tool can mean the difference between a secure installation and a wobbly disaster. With both cordless drills and impact drivers available in most home workshops, it’s easy to assume they’re interchangeable. They’re not. While both tools drive screws, their mechanics, torque delivery, and ideal applications differ significantly—especially when mounting shelves to drywall, wood, or masonry.
Choosing incorrectly can lead to stripped screws, damaged wall anchors, or even injury. Understanding the strengths and limitations of each tool ensures your shelves stay level, secure, and safe for years. This guide breaks down the differences, real-world performance, and practical recommendations so you can make an informed decision before picking up a power tool.
Understanding the Core Differences
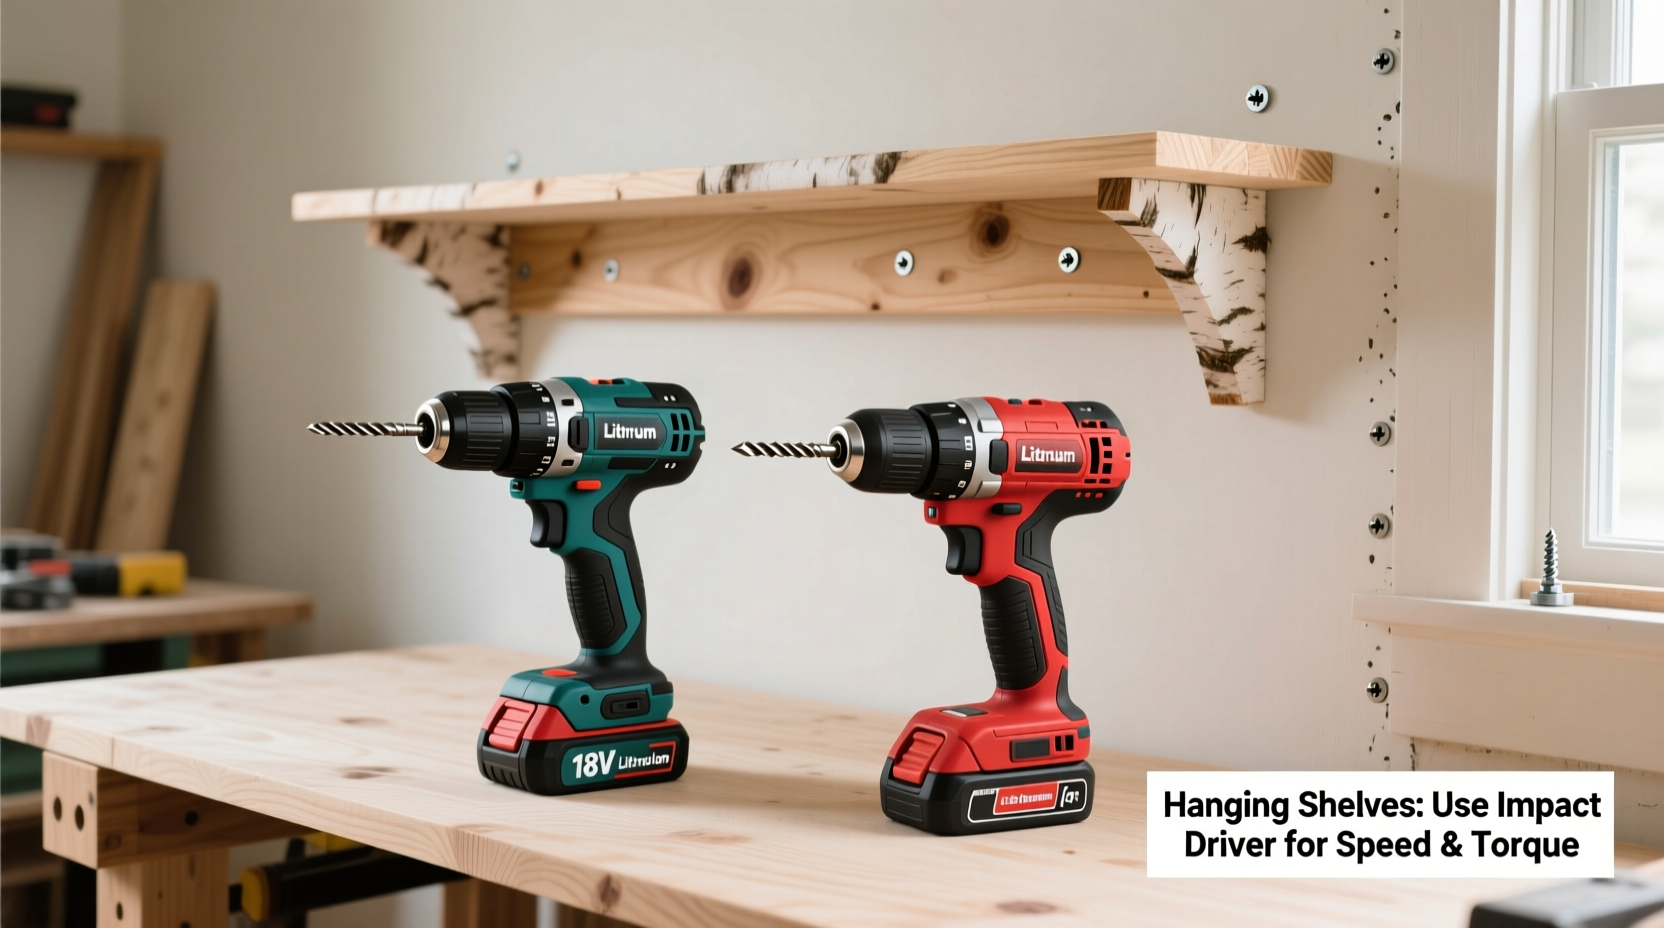
A cordless drill and an impact driver may look similar at first glance—compact, battery-powered, and designed for driving fasteners—but their internal mechanisms and intended uses are fundamentally different.
Cordless drills are versatile tools primarily built for drilling holes and driving screws with precision. They deliver consistent rotational force (torque) and often feature adjustable clutch settings that control how much torque is applied before the tool stops. This prevents over-tightening and screw damage, making them ideal for delicate tasks like assembling furniture or installing light-duty shelving.
Impact drivers, on the other hand, are high-torque machines designed for heavy-duty fastening. Instead of relying solely on rotation, they combine rotational force with rapid concussive blows—up to 50 impacts per second—delivering bursts of power directly into the screw. This makes them excellent for driving long lag bolts into hardwood or tightening structural screws, but potentially excessive for lighter shelf installations.
Tip: If you're working with pre-drilled pilot holes in softwood or drywall anchors, a cordless drill offers better control and reduces the risk of splitting material.When to Use a Cordless Drill for Hanging Shelves
The cordless drill excels in situations where precision, control, and moderate power are required. For most standard shelf installations—such as floating shelves on drywall, wooden brackets on studs, or lightweight bookshelves—a cordless drill is not only sufficient but often preferable.
Its variable speed trigger allows gradual pressure application, while the clutch setting prevents overtightening. Many models also offer reversible rotation and multiple torque settings, letting you switch from drilling pilot holes to driving screws seamlessly.
For example, when using toggle bolts or plastic anchors in drywall, the goal is to tighten just enough to seat the anchor without cracking the surrounding wall. An impact driver’s aggressive force can easily exceed this threshold, causing anchor failure. A drill, set to a low torque setting (around 3–5), gives you the finesse needed.
Additionally, cordless drills typically accept standard ¼-inch hex bits and ⅜-inch or ½-inch chucks, allowing compatibility with a wide range of drill bits and screwdriver tips. This versatility means you can complete the entire job—from drilling pilot holes to driving screws—without switching tools.
“Most homeowners overestimate the need for brute force. For interior shelving, controlled torque matters more than raw power.” — Daniel Reyes, Residential Carpenter & Tool Instructor
When an Impact Driver Is the Better Choice
An impact driver becomes the superior option when dealing with dense materials or large fasteners. If you’re mounting heavy-duty steel brackets into hardwood beams, securing thick timber shelves with lag screws, or building a garage storage system that will bear hundreds of pounds, the impact driver’s high torque output is essential.
Consider a scenario where you’re installing a solid oak floating shelf into ceiling joists using 3-inch lag screws. The wood is dense, and the screws require significant force to drive flush. A cordless drill might struggle, overheat, or strip the screw head. An impact driver, however, delivers the necessary force efficiently and safely, thanks to its hammering action that reduces user strain.
Impact drivers also shine when working with self-tapping screws into metal framing or composite materials. Their ability to maintain momentum under resistance prevents stalling, a common issue with standard drills in tough applications.
However, caution is critical. Because impact drivers lack clutch mechanisms, they don’t automatically stop when resistance increases. This means there’s a higher risk of overdriving screws, damaging threads, or cracking surrounding material if used carelessly.
Mini Case Study: Garage Workshop Shelving
Tom, a DIY enthusiast, decided to build custom storage shelves in his garage using 2x6 pine boards and heavy-duty corner brackets. He initially tried using his cordless drill to drive 3-inch structural screws into the frame. After two stripped screws and one overheated motor, he switched to his 18V impact driver. The difference was immediate—the screws seated cleanly, and the job finished in half the time. However, on the final bracket, he forgot to reduce speed and drove a screw too deep, splitting the wood slightly. He learned that even powerful tools require technique.
Comparison Table: Drill vs Impact Driver for Shelf Installation
| Feature | Cordless Drill | Impact Driver |
|---|---|---|
| Torque Type | Rotational only | Rotational + percussive |
| Clutch Control | Yes (adjustable) | No |
| Best For | Light to medium shelves, drywall, pilot holes | Heavy shelves, hardwood, metal, lag bolts |
| Screw Stripping Risk | Low (with proper clutch setting) | High (if not careful) |
| Bit Compatibility | Hex and chuck bits | 1/4\" hex only |
| Drilling Holes | Yes (with appropriate bit) | Limited (not recommended) |
| User Control | High | Moderate to low |
| Recommended for Beginners? | Yes | With supervision or experience |
Step-by-Step Guide: Choosing and Using the Right Tool
Follow this sequence to ensure you select and use the correct tool for your shelf project:
- Assess the shelf weight and mounting surface. Is it a lightweight decorative shelf on drywall? Or a heavy-duty rack anchored into wood or concrete? Light loads favor drills; heavy loads may require impact drivers.
- Determine fastener type. Small screws (under 2 inches) with drywall anchors work well with drills. Lag bolts, structural screws, or long self-tapping screws often demand an impact driver.
- Check for stud access. If you can anchor into wall studs, a drill is usually sufficient. If you're relying on multiple fasteners through thick material, consider impact assistance.
- Select the correct bit and size. Use a Phillips #2 or square-drive (e.g., S2) bit that fits snugly to avoid cam-out. For impact drivers, always use impact-rated bits—they’re hardened to withstand shock.
- Pre-drill pilot holes when necessary. Especially in hardwood or near edges, pilot holes prevent splitting and reduce strain on the tool.
- Start slow and increase pressure gradually. Even with an impact driver, begin at lower speeds to guide the screw straight before applying full power.
- Stop when the screw is flush. Avoid burying the screw head, which weakens the joint and damages the material.
Essential Checklist for Safe and Effective Shelf Hanging
- ✅ Identify wall type (drywall, plaster, wood, masonry)
- ✅ Locate studs using a stud finder
- ✅ Choose appropriate anchors or fasteners
- ✅ Select the right tool based on load and material
- ✅ Use impact-rated bits if using an impact driver
- ✅ Pre-drill holes in hardwood or near board ends
- ✅ Set drill clutch to medium-low for drywall work
- ✅ Test fit brackets before final tightening
- ✅ Double-check levelness after installation
- ✅ Confirm shelf stability with gentle pressure test
Frequently Asked Questions
Can I use an impact driver for all shelf projects?
Technically yes, but practically no. While an impact driver can drive any screw, its lack of precision and high torque increases the risk of damaging drywall, stripping screws, or cracking wood. Reserve it for heavy-duty applications where maximum force is required.
Do I need both tools in my toolkit?
Ideally, yes. A cordless drill handles 80% of household tasks—including shelf installation—with greater control. An impact driver covers the remaining 20% involving high-torque demands. Together, they form a complete fastening system for any project.
What happens if I use the wrong tool?
Using an impact driver on light-duty shelves can result in broken drywall anchors, split wood, or sunken screw heads. Conversely, using a drill for heavy lag screws may cause motor burnout or incomplete fastening, compromising shelf safety. Matching tool to task ensures durability and safety.
Final Recommendation: Match Tool to Task
For the average homeowner hanging picture frames, small floating shelves, or lightweight cabinets, a cordless drill is the smarter, safer choice. It offers precision, versatility, and control—qualities that matter most in interior installations. Its ability to drill pilot holes and drive screws without changing tools streamlines the process.
An impact driver earns its place when the job involves heavy materials, long screws, or structural connections. If you’re building workshop racks, mounting heavy timber shelves, or working with metal components, the extra power justifies its use—provided you exercise caution.
Ultimately, the question isn’t which tool is “better,” but which is “right” for your specific project. Recognizing the distinction prevents frustration, protects your walls, and ensures your shelves remain securely mounted for years.
🚀 Take action today: Evaluate your next shelf project using the checklist above. Choose your tool wisely, prep thoroughly, and enjoy a job done right the first time. Share your experience or ask questions in the comments—your insights could help another DIYer avoid a costly mistake.