Dogs bring joy, loyalty, and companionship into our homes—but sometimes, their reactions to everyday household items can be baffling. One common yet misunderstood behavior is a dog’s intense fear of the vacuum cleaner. From trembling and barking to full-blown panic or escape attempts, this reaction can disrupt routines and stress both pets and owners. The good news is that this fear is not only normal but also manageable. With patience, understanding, and a structured approach, you can help your dog overcome their anxiety around vacuums in a safe and humane way.
Understanding Canine Fear: Why Vacuums Trigger Anxiety
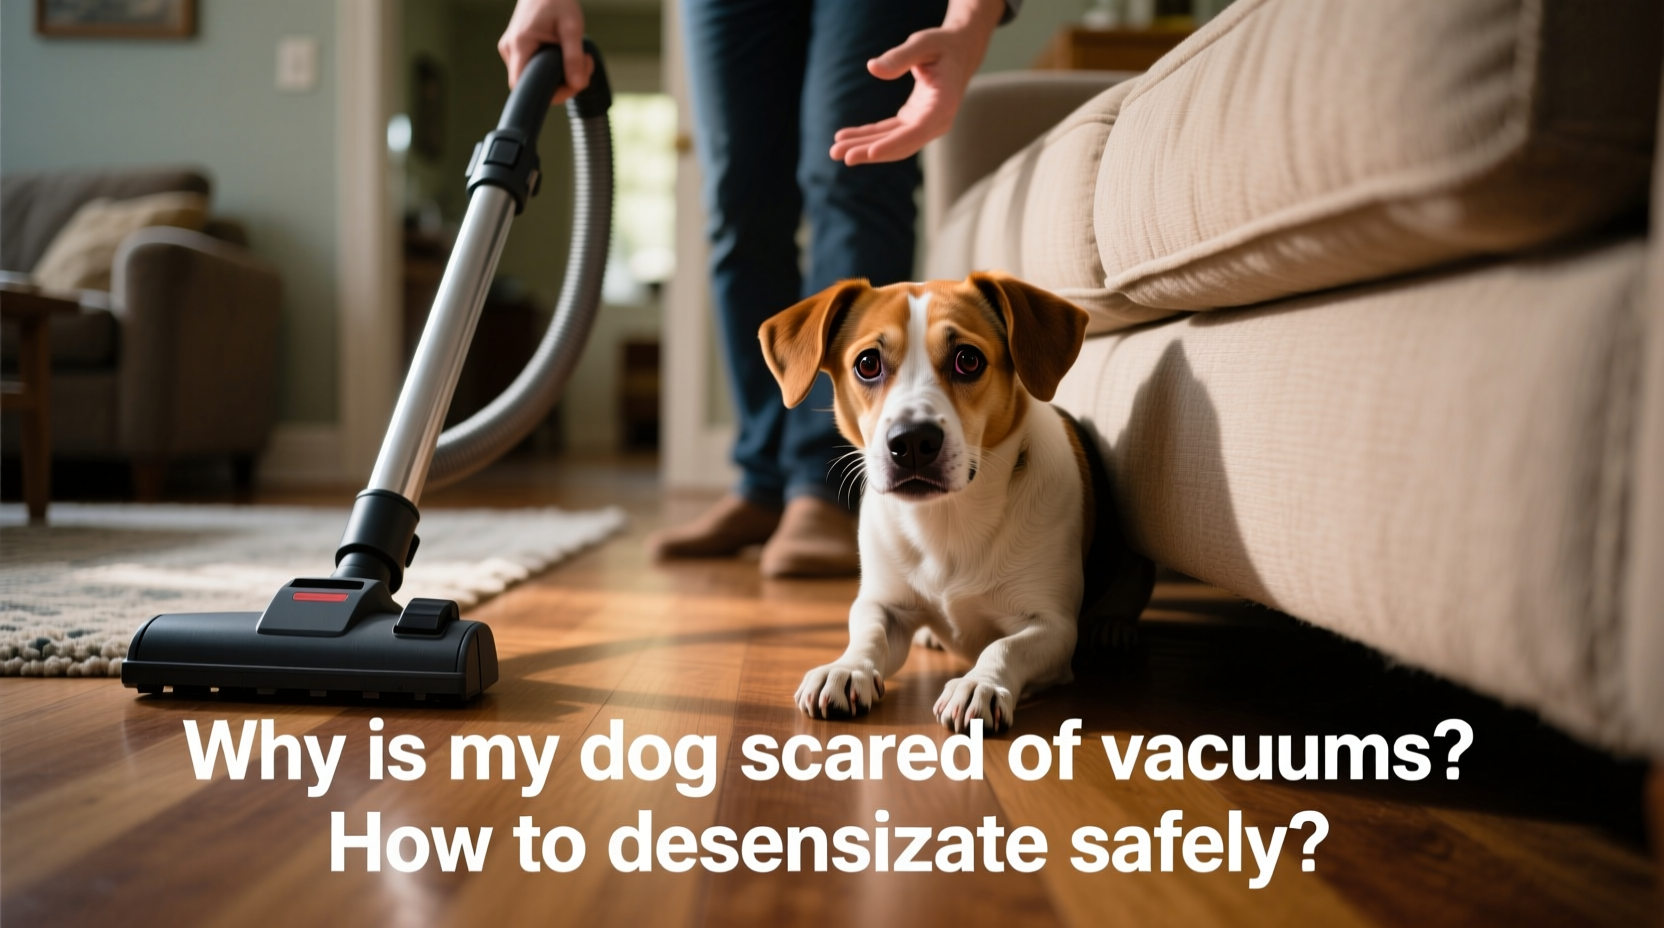
Dogs experience the world through heightened senses, especially hearing and smell. What seems like a mundane appliance to us can be overwhelming for a dog. The vacuum cleaner combines several fear-inducing elements:
- Loud, unpredictable noise: Most vacuums produce high-decibel sounds (often 70–85 dB), which can be painful or startling to dogs with sensitive hearing.
- Unfamiliar movement: The erratic motion and size of a vacuum can resemble a threatening creature to a dog, especially if it moves toward them.
- Vibrations and air currents: Many dogs feel floor vibrations or are startled by sudden bursts of air from the hose or exhaust.
- Negative associations: If past encounters involved being chased or cornered by the vacuum, the dog may link it to danger.
According to veterinary behaviorist Dr. Karen Overall, “Noise aversions in dogs are often rooted in a lack of early habituation. Puppies not exposed to common household sounds during their critical socialization window (3–14 weeks) are more likely to develop lasting fears.” This means that while some dogs may outgrow mild startle responses, others need guided support to reframe their perception of the vacuum.
The Science of Desensitization and Counterconditioning
Effective fear reduction relies on two behavioral principles: desensitization and counterconditioning. Together, they form a gold-standard approach recommended by animal behaviorists.
Desensitization involves gradually exposing the dog to the feared stimulus at a low intensity, ensuring they remain calm throughout. The goal is to prevent triggering a fear response while slowly increasing exposure over time.
Counterconditioning changes the dog’s emotional response by pairing the scary stimulus with something highly positive—typically treats, praise, or play. Over repeated sessions, the dog begins to associate the vacuum with good things rather than fear.
“Successful desensitization isn’t about forcing a dog to ‘get used to’ a stimulus. It’s about respecting their threshold and building confidence step by step.” — Dr. Sophia Yin, DVM, Applied Animal Behaviorist
These techniques require consistency and careful observation. Rushing the process or exposing the dog too intensely can worsen fear, leading to long-term phobias.
A Step-by-Step Guide to Desensitizing Your Dog
Below is a structured, week-by-week plan to help your dog become comfortable with the vacuum. Each phase should last as long as needed—some dogs progress quickly; others take weeks per stage.
Phase 1: Introduce the Vacuum Without Power (Days 1–3)
- Place the unplugged vacuum in a common area where your dog spends time.
- Let them investigate it at their own pace. Do not force interaction.
- Whenever your dog looks at or approaches the vacuum, mark the behavior with a clicker or verbal cue (“yes!”) and offer a high-value treat (e.g., boiled chicken, cheese).
- Repeat multiple times daily, removing the vacuum when not training.
Phase 2: Add Sound at a Distance (Days 4–7)
- Turn on the vacuum in another room, far enough away that your dog shows no signs of fear (no panting, tail tucking, or avoidance).
- Feed treats continuously while the vacuum runs. Stop treats when it turns off.
- Gradually decrease the distance over several sessions, always watching for stress signals.
- If your dog reacts negatively, increase distance immediately and return to a previous successful step.
Phase 3: Controlled Movement Exposure (Week 2–3)
- With the vacuum off, slowly push it a few inches across the floor while your dog watches from a calm distance.
- Pair movement with treats. Repeat until your dog remains relaxed.
- Combine movement with brief sound activation (1–2 seconds), then reward.
- Progress to longer run times and closer proximity only when your dog shows no anxiety.
Phase 4: Realistic Simulation (Week 4+)
- Begin vacuuming an empty room while your dog observes from a safe space (e.g., behind a baby gate).
- Maintain a steady stream of treats and calm verbal praise.
- Gradually allow vacuuming in shared spaces, keeping movements slow and predictable.
- Eventually, vacuum near your dog while they remain on a mat or in a designated calm zone with treats.
Throughout this timeline, keep sessions short (5–10 minutes) and end on a positive note. Never punish or scold fear-based behavior—it will only deepen the dog’s anxiety.
Common Mistakes to Avoid
Even well-meaning owners can unintentionally hinder progress. Below is a table summarizing key do’s and don’ts during desensitization.
| Do | Don’t |
|---|---|
| Move at your dog’s pace, not yours | Rush the process to finish faster |
| Use high-value treats consistently | Expect progress without positive reinforcement |
| Observe body language closely | Ignore subtle stress signs (licking lips, yawning, whale eye) |
| Practice in short, frequent sessions | Force prolonged exposure that overwhelms your dog |
| Keep the environment predictable | Introduce new variables (e.g., attachments, different rooms) too soon |
Real-Life Example: Helping Luna Overcome Vacuum Fear
Luna, a 2-year-old Border Collie mix adopted from a shelter, would bark frantically and hide under the bed whenever her owner turned on the vacuum. Her foster history suggested limited exposure to household appliances. Her owner, Maria, began a desensitization plan after consulting a certified dog trainer.
She started by placing the vacuum in the living room for three days, rewarding Luna with pieces of roast turkey each time she glanced at it. After a week of distant sound exposure, Maria progressed to turning the vacuum on for two seconds while feeding treats. Over the next month, she gradually moved closer, always stopping if Luna’s tail dropped or ears flattened.
By week six, Luna was able to lie on her bed five feet from the running vacuum while eating peanut butter from a Kong. Today, she doesn’t react at all—even when the vacuum passes nearby. “It took patience,” Maria says, “but seeing her relax instead of panic makes it worth every session.”
When to Seek Professional Help
While most dogs respond well to gradual training, some may have deep-seated anxiety or trauma-related fear. Signs that professional intervention may be needed include:
- Aggressive reactions (snapping, lunging)
- Complete refusal to enter rooms where the vacuum is stored
- Prolonged recovery time after exposure (shaking for hours)
- Generalized anxiety affecting other areas of life
In such cases, a certified veterinary behaviorist or a force-free trainer can design a tailored plan. In severe cases, short-term anti-anxiety medication prescribed by a vet may support behavioral therapy.
Frequently Asked Questions
Can I use a white noise machine or music to mask the vacuum sound?
Masking sounds are generally ineffective because dogs can still detect the unique frequency and vibration of the vacuum. It’s better to address the fear directly through desensitization rather than trying to hide the stimulus.
What if my dog is fine with the vacuum but afraid of the cord or attachments?
Treat each component separately. Introduce the hose, brush, or cord as individual objects using the same desensitization steps. Fear of specific parts is common and usually resolves with focused training.
How long does desensitization typically take?
Most dogs show improvement within 3–6 weeks with consistent daily practice. However, full confidence may take 2–3 months, especially for dogs with prior negative experiences.
Essential Checklist for Success
Follow this checklist to ensure your desensitization plan stays on track:
- ✅ Choose high-value treats reserved only for vacuum training
- ✅ Identify your dog’s fear threshold (distance where they stay calm)
- ✅ Train in short, positive sessions (5–10 minutes, 2–3 times daily)
- ✅ Monitor body language for signs of stress
- ✅ Progress slowly—only move to the next step when your dog is completely relaxed
- ✅ Keep the vacuum stored visibly when not in use to normalize its presence
- ✅ Involve all household members to maintain consistency
Final Thoughts: Building Confidence One Step at a Time
Fear of vacuums is not a flaw in your dog—it’s a natural response to a complex, intimidating stimulus. By approaching the issue with empathy and structure, you’re not just solving a household challenge; you’re strengthening your bond and helping your dog feel safer in their environment. Every small victory, from glancing at the vacuum to lying calmly nearby, is a step toward greater confidence.
💬 Have a success story or a question about your dog’s fear? Share your experience in the comments—your insights could help another pet parent navigate the same journey.