Pancakes should be golden, fluffy, and effortlessly slide off the skillet with a flick of the spatula. Yet, many home cooks face the same frustrating issue: their pancakes stubbornly cling to the pan, tearing apart or leaving behind a patchwork of batter residue. This isn’t just messy—it undermines the entire breakfast experience. The promise of a non-stick skillet is freedom from sticking, but reality often falls short. The truth is, even the best non-stick pans require proper technique, maintenance, and understanding of how heat, fat, and timing interact. This guide dives deep into why pancakes stick and delivers proven, practical hacks that actually work—no gimmicks, no myths.
The Science Behind Sticking: Why Pancakes Refuse to Release
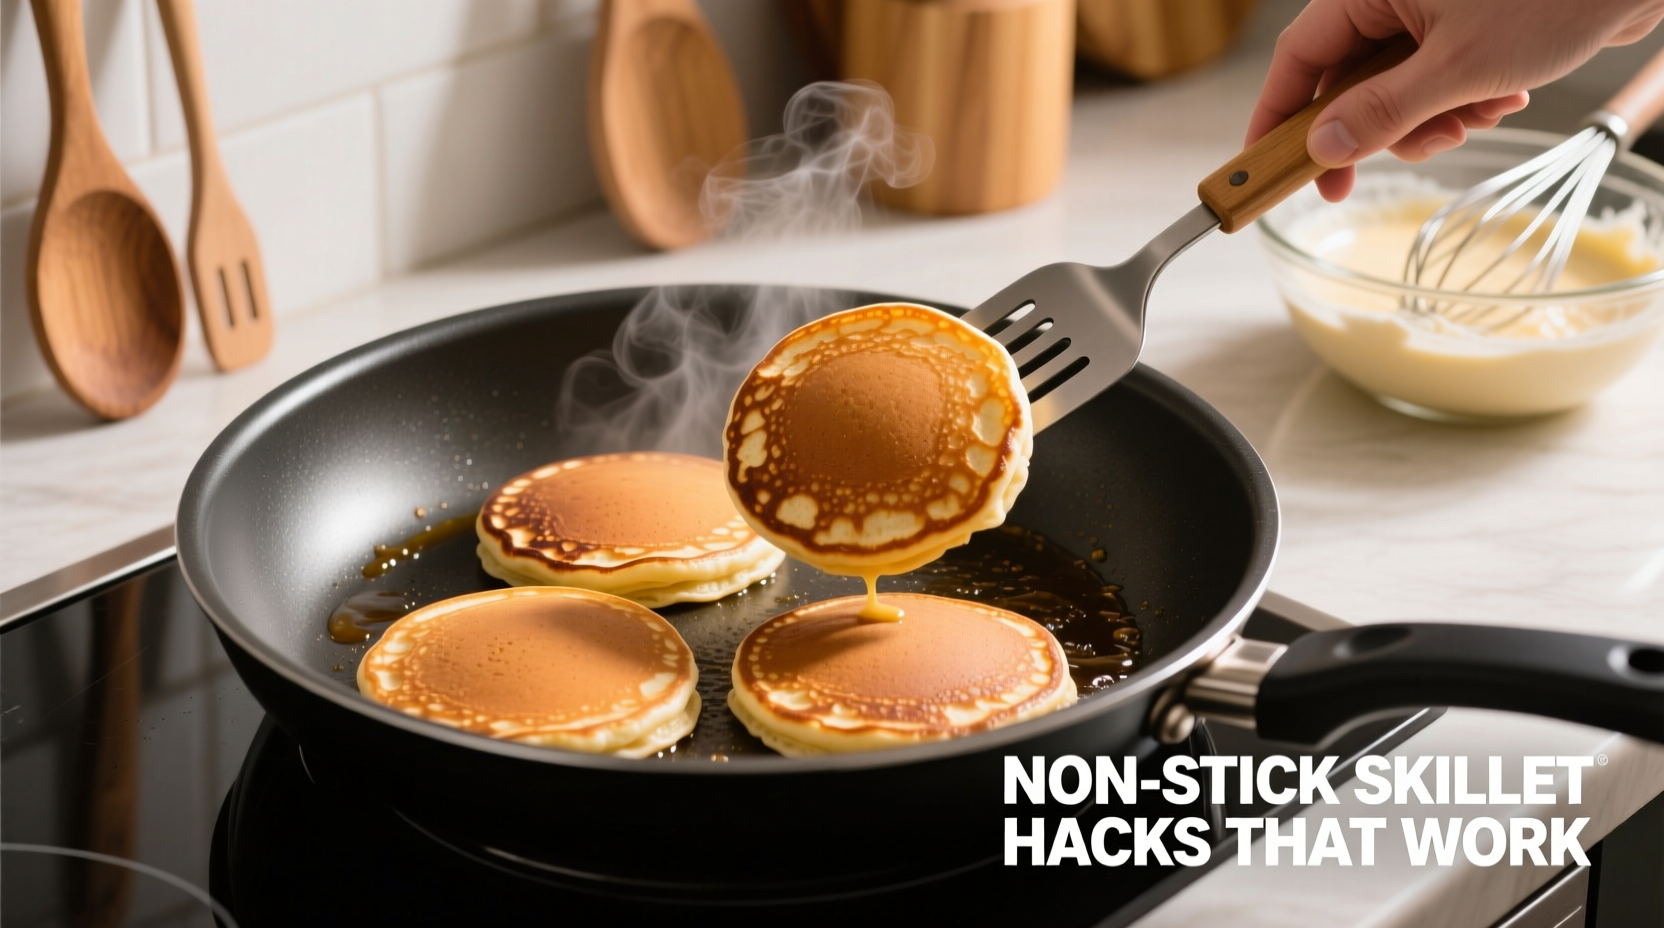
Pancakes are a delicate balance of protein, starch, moisture, and fat. When placed on a hot surface, the proteins in eggs and flour begin to denature and bond with the pan’s surface. In a perfectly seasoned or coated non-stick skillet, this bonding is minimized. But when conditions aren’t ideal, adhesion occurs quickly.
One major factor is temperature. Too low, and the pancake doesn’t sear quickly enough, allowing moisture to linger and creating a glue-like effect between the batter and pan. Too high, and the sugars in the batter caramelize too fast, burning and fusing to microscopic imperfections in the coating.
Another culprit is moisture. Wet batters release steam as they cook. If the pan isn’t hot enough to vaporize this moisture instantly (via the Leidenfrost effect), the liquid pools and creates suction against the surface, promoting sticking.
“Non-stick doesn’t mean no-prep. Even Teflon requires correct preheating and fat application to perform.” — Chef Marcus Lin, Culinary Educator at Pacific Kitchen InstituteTip: Always preheat your non-stick skillet over medium heat for 2–3 minutes before adding any oil or batter.
5 Non-Stick Skillet Hacks That Actually Work
Forget viral TikTok tricks involving butter-soaked sponges or mystery sprays. Real solutions come from consistent technique and smart kitchen habits. Here are five scientifically sound and chef-tested hacks that solve sticking at its root.
1. Preheat Properly—Then Test with Water
The most overlooked step in pancake cooking is preheating. Many people add oil or spray immediately after placing the pan on the burner, but this traps moisture and degrades the non-stick coating over time.
Instead, place your empty skillet on the stove over medium heat (around 325°F to 375°F). Wait 2–3 minutes. To test readiness, flick a few drops of water onto the surface. If they bead up and skitter across like mercury (the Leidenfrost effect), the pan is hot enough. If they sizzle and evaporate instantly, it’s slightly underheated. If they pop violently or steam aggressively, it may be too hot.
2. Use the Right Fat—and Apply It Correctly
Butter is beloved for flavor, but it burns easily due to milk solids. Burnt butter residue adheres to the pan and creates a sticky base for your next pancake. Instead, use clarified butter, ghee, or a high-smoke-point oil like avocado or grapeseed.
Apply fat *after* preheating. Pour a small amount (½ tsp) into the hot pan and swirl to coat evenly. Wipe excess with a paper towel—this thin, even layer is crucial. Too much oil pools and steams the pancake; too little leaves dry spots.
3. Don’t Rush the Flip
Patience separates perfect pancakes from torn ones. Wait until bubbles form across the entire surface and the edges appear dry and slightly lifted. This usually takes 2–3 minutes on properly heated pans.
Flipping too early means the bottom hasn’t fully set, so proteins remain bonded to the surface. Wait for natural release—when the pancake begins to pull away from the edges, it’s ready.
4. Clean Gently—but Thoroughly
A dirty non-stick pan is a sticky non-stick pan. Residue buildup from previous cooking creates micro-grip zones where new batter sticks. But aggressive scrubbing damages the coating.
After cooking, let the pan cool slightly, then wash with warm, soapy water and a soft sponge. Avoid steel wool or abrasive pads. For stubborn bits, soak in warm water for 5 minutes before wiping gently. Dry immediately to prevent water spots or corrosion on aluminum cores.
5. Season Your Non-Stick Pan (Yes, Really)
Contrary to popular belief, you *can* season a non-stick skillet—carefully. This doesn’t rebuild the coating but enhances its performance by filling microscopic pores with a polymerized oil layer.
Wash and dry the pan. Apply a thin coat of high-smoke-point oil (like grapeseed) with a paper towel. Heat over medium for 2–3 minutes until shimmering. Turn off heat and let cool completely. Wipe out excess. Repeat monthly or after deep cleans. Avoid this method with PTFE-coated pans above 500°F.
Tip: Never use cooking spray on non-stick pans. Aerosols leave a sticky residue that builds up and becomes nearly impossible to remove.Do’s and Don’ts: Table of Best Practices
| Do | Don’t |
|---|---|
| Preheat the empty pan for 2–3 minutes | Add oil or butter to a cold pan |
| Use a thin layer of ghee or avocado oil | Cook with regular butter on high heat |
| Wait for bubbles to cover the surface before flipping | Flip pancakes too early |
| Clean with soft sponge and mild soap | Use metal utensils or scouring pads |
| Store with a protective liner if stacking | Stack pans without protection |
Real Example: How Sarah Fixed Her Weekend Pancake Disaster
Sarah, a working mom from Portland, dreaded weekend breakfasts. Every Sunday, her kids would beg for pancakes, only to end up with a plate of torn, browned scraps. “I thought my pan was defective,” she said. “I replaced it twice, but the problem came back within months.”
She followed common advice: using non-stick spray, flipping early, and washing with a scrubber. None worked. After reading about proper preheating and fat application, she changed her routine. She started preheating her pan empty, switched to ghee, applied it lightly post-heat, and waited for full bubble coverage before flipping.
The difference was immediate. Her pancakes slid freely off the spatula, golden and intact. “It felt like magic,” she said. “Turns out, I was sabotaging myself the whole time.”
Step-by-Step Guide: Perfect Pancakes Every Time
- Prepare batter ahead. Mix dry and wet ingredients just until combined. Let rest 5 minutes to hydrate flour.
- Choose the right pan. Use a flat-bottomed non-stick skillet with good thermal conductivity (e.g., aluminum core).
- Preheat the empty pan. Set to medium heat (not medium-high) for 2–3 minutes.
- Test with water droplets. Look for beading and skittering motion.
- Add fat wisely. Swirl in ½ tsp ghee or oil, then wipe excess with paper towel.
- Pour batter. Use a ¼-cup measure for uniform size.
- Wait for bubbles. Cook 2–3 minutes until surface is covered in bubbles and edges lift slightly.
- Flip once. Use a thin, flexible spatula. Slide under gently and flip in one motion.
- Cook second side. 60–90 seconds until golden.
- Clean carefully. Cool, wash with soft sponge, dry thoroughly.
Frequently Asked Questions
Can I use metal utensils on a non-stick pan if I’m careful?
No. Even gentle scraping with metal can scratch the coating, exposing underlying material that promotes sticking and potential health risks. Always use silicone, wood, or nylon tools.
Why does my new non-stick pan still cause sticking?
New pans often have a factory coating that needs removal. Wash with warm soapy water before first use. Also, ensure you’re preheating correctly—many assume non-stick means no prep, but heat management is still essential.
Is it safe to season a non-stick pan?
Yes, if done at moderate temperatures. Use oils with smoke points above 400°F and avoid overheating. Do not season PTFE-coated pans beyond 500°F, as this releases toxic fumes. Ceramic-coated pans handle seasoning better.
Final Checklist: Non-Stick Skillet Success
- ✅ Preheat the empty pan for 2–3 minutes
- ✅ Test heat with water droplets
- ✅ Use ghee, avocado oil, or clarified butter
- ✅ Apply fat after heating, wipe excess
- ✅ Pour consistent-sized batter portions
- ✅ Wait for full bubble coverage before flipping
- ✅ Use a thin, flexible spatula
- ✅ Clean with soft sponge and mild detergent
- ✅ Dry immediately after washing
- ✅ Store with protection if stacking
“The best tool is only as good as the hand that uses it. A $200 pan will fail if misused, while a $20 one can shine with proper care.” — Dana Ruiz, Professional Breakfast Chef & Cooking Instructor
Conclusion: Master the Method, Not Just the Tool
Your pancakes shouldn’t stick—and they won’t, once you understand the interplay of heat, fat, and timing. A non-stick skillet is not a magic solution; it’s a precision instrument that demands respect and routine. From preheating correctly to choosing the right oil and cleaning with care, every step matters. These hacks aren’t shortcuts—they’re refinements of time-tested techniques used by professional kitchens worldwide.
Start applying these methods today. Reclaim your breakfasts. Serve golden, flawless pancakes that slide off the pan like silk. Share your success, teach others, and never again wonder why your pancakes stick.
💬 Have a pancake hack that saved your breakfast? Share your story in the comments and help fellow cooks get it right.