
For pet owners who prioritize their dog’s health and safety, homemade chews offer a transparent, chemical-free alternative to mass-produced treats often filled with preservatives and fillers. When crafted correctly, these chews can satisfy your dog’s natural urge to chew while promoting dental health, mental stimulation, and jaw strength. More importantly, they can last significantly longer than store-bought options—without compromising safety. This guide walks through the science, ingredients, techniques, and precautions necessary to create high-quality, long-lasting dog chews in your own kitchen.
Selecting Safe and Nutritious Ingredients
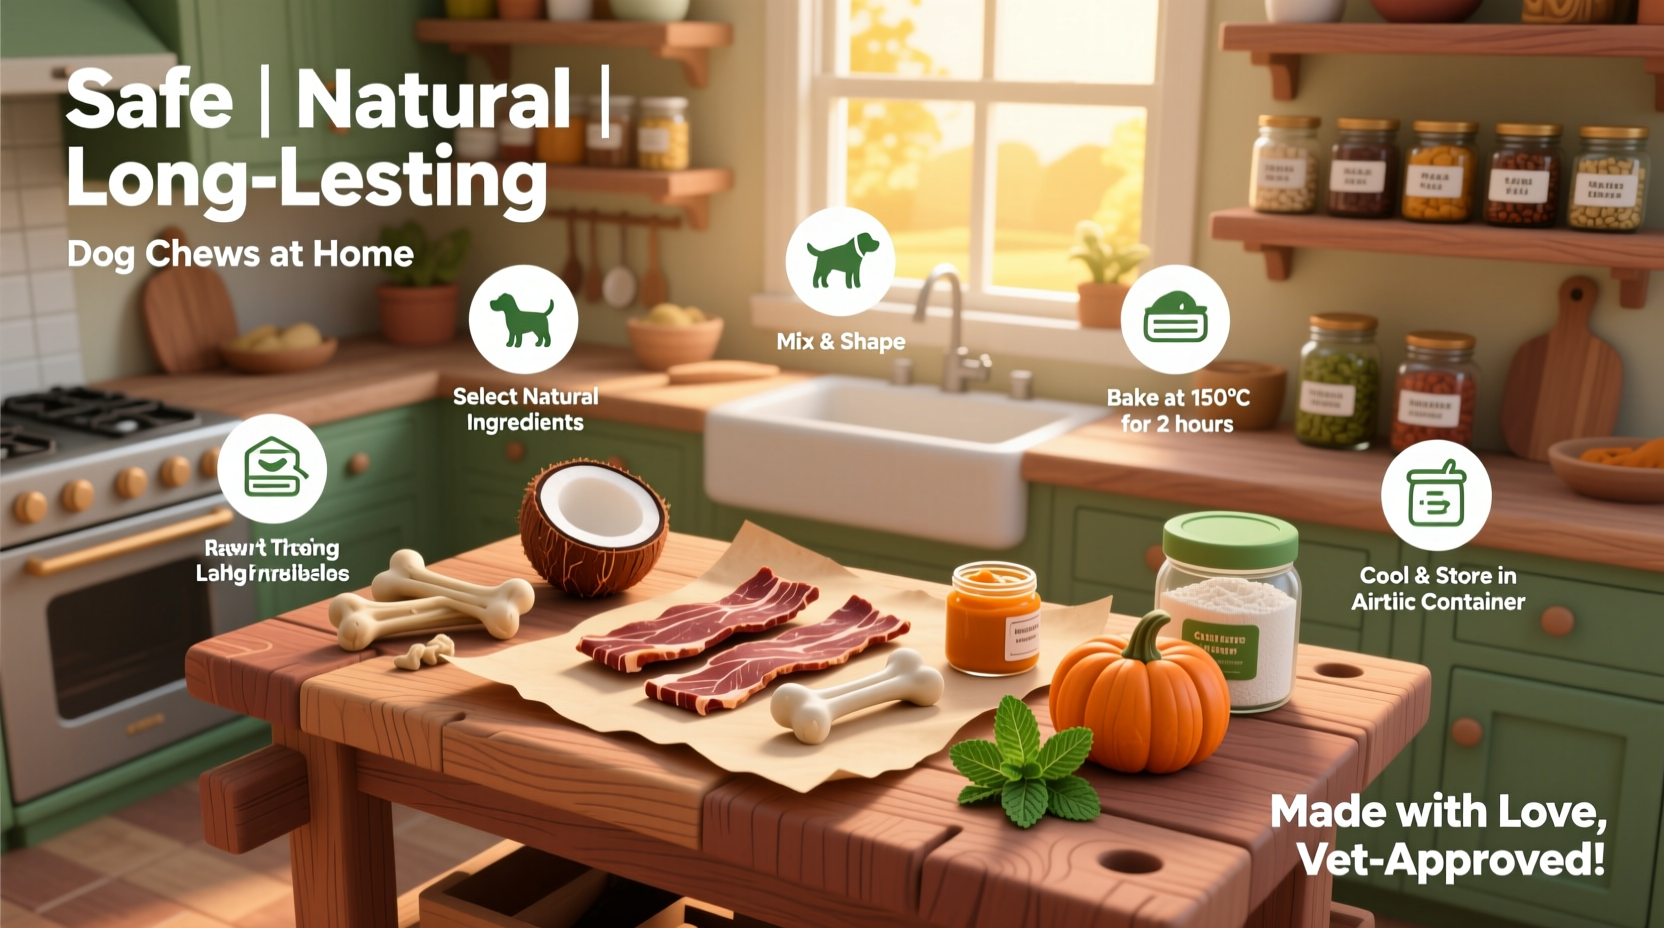
The foundation of any durable dog chew lies in its ingredients. Unlike commercial products that may use artificial binders or low-grade byproducts, homemade chews allow full control over what goes into them. Prioritize whole, minimally processed components that are both digestible and resistant to rapid breakdown.
- Lean meats: Beef, chicken, turkey, or lamb provide protein and structure. Opt for muscle meat over fatty cuts to prevent rancidity.
- Organ meats: Liver and kidney add nutritional density but should be used sparingly due to high vitamin A content.
- Collagen-rich components: Tendons, trachea, or rawhide alternatives like fish skins contribute to chew durability and support joint health.
- Binders (optional): Natural gelatin or egg whites help bind ingredients without synthetic additives.
Proven Methods for Enhancing Chew Longevity
Durability doesn’t come from hardness alone—it stems from proper preparation and drying techniques that preserve texture and resist bacterial growth. The goal is to create a chew that resists crumbling while remaining safe for digestion.
- Dehydration: Slow-drying at low temperatures (145–160°F) removes moisture, inhibiting microbial growth. Use a food dehydrator or oven on convection setting for even results.
- Freeze-drying: Preserves shape and nutrients while creating an ultra-dense chew. Requires specialized equipment but offers superior shelf life.
- Smoking (cold-smoke method): Adds flavor and natural preservatives like phenols. Never use liquid smoke, which may contain harmful chemicals.
- Lamination: Layering different proteins (e.g., beef tendon wrapped in muscle meat) increases structural complexity and chewing time.
Chews made entirely of dense connective tissue—like bull pizzle or thick tendons—can last days for moderate chewers. However, balance is key: excessively hard chews risk tooth fractures.
Essential Safety Guidelines
Safety must never be sacrificed for longevity. Even natural ingredients can pose risks if improperly prepared or monitored.
| Do’s | Don’ts |
|---|---|
| Supervise your dog during initial chew sessions | Leave dogs unattended with large chews |
| Trim chews to appropriate size for breed and chewing style | Offer chews smaller than the dog’s mouth girth |
| Refrigerate raw chews and use within 3 days | Feed chews left at room temperature for over 2 hours |
| Discard chews once reduced to small, swallowable pieces | Allow dogs to swallow large fragments |
| Wash hands and surfaces after handling raw meat | Cross-contaminate with human food prep areas |
“Homemade doesn’t automatically mean safer. Proper handling, storage, and portion control are just as critical as ingredient quality.” — Dr. Rebecca Langley, DVM, Canine Nutrition Specialist
Step-by-Step: Crafting a Long-Lasting Beef & Tendon Chew
A simple yet effective recipe that combines durability with palatability. Designed for dogs over 30 lbs with strong chewing habits.
- Prepare ingredients: Cut 1 lb of lean beef strips and ½ lb of cleaned beef tendon into 1-inch wide strips.
- Blanch tendons: Boil tendons for 10 minutes to soften slightly and kill surface bacteria. Drain and pat dry.
- Layer and bind: Alternate layers of meat and tendon. Secure ends with food-safe twine or wrap tightly in parchment paper.
- Dehydrate: Place in a dehydrator at 160°F for 6–8 hours, flipping halfway. Chew should be dry throughout with no soft centers.
- Cool and inspect: Let cool completely. Check for mold, off-odors, or uneven drying before offering.
- Store: Keep in an airtight container in the refrigerator for up to 2 weeks, or freeze for 3 months.
Real-World Example: Max, the Power Chewer
Max, a 70-lb Australian Shepherd mix, destroyed most commercial chews within minutes and once required surgery after swallowing a plastic toy fragment. His owner began making layered chews using bison tendon and venison jerky strips, dehydrated over 7 hours. The result? Max now spends 45–60 minutes focused on a single chew, with no signs of boredom or destructive behavior. After six months of consistent use, his veterinarian noted improved tartar control and stronger jaw muscles. Most importantly, there have been zero digestive incidents.
Checklist: Preparing Homemade Dog Chews Safely
- ☐ Source fresh, human-grade meat and connective tissues
- ☐ Sanitize all tools, cutting boards, and work surfaces
- ☐ Trim excess fat to prevent spoilage
- ☐ Use precise dehydration times and temperatures
- ☐ Inspect finished chews for consistency and dryness
- ☐ Label and date all stored chews
- ☐ Introduce new chews under supervision
- ☐ Monitor your dog for adverse reactions (vomiting, diarrhea, choking)
Frequently Asked Questions
Are homemade chews safer than store-bought ones?
They can be—but only if prepared hygienically and stored properly. Commercial chews undergo safety testing, but often include preservatives like BHA or propylene glycol. Homemade versions eliminate these chemicals but require strict adherence to food safety practices to avoid bacterial contamination.
How do I know when a chew is too hard?
If you cannot indent the chew slightly with your fingernail, it’s likely too hard. Extremely rigid chews increase the risk of cracked teeth, especially in medium-to-large breeds that chew aggressively. Offer softer alternatives like dried liver rolls for moderate chewers.
Can I make vegetarian long-lasting chews?
While plant-based chews exist, they rarely match the durability of animal-protein-based ones. High-starch binders like potato or tapioca can create dense textures, but may cause digestive upset in some dogs. For truly long-lasting options, animal-sourced collagen remains the most effective and biologically appropriate choice.
Conclusion: Build Better Chews, One Batch at a Time
Crafting durable, safe dog chews at home is more than a cost-saving measure—it’s an act of care. By understanding the principles of texture, nutrition, and preservation, you can create treats that support your dog’s physical health, mental engagement, and natural behaviors. Start small, refine your process, and observe how your dog responds. Over time, you’ll develop recipes tailored to their preferences and chewing strength. With attention to detail and commitment to safety, your kitchen can become the source of the highest-quality chews your dog will ever enjoy.
💬 Have a favorite homemade chew recipe or tip? Share your experience below and help fellow dog lovers create safer, longer-lasting treats!