
Cats are natural climbers, scratchers, and observers. A well-designed cat tower isn’t just a piece of furniture—it’s an essential part of their physical health, mental stimulation, and emotional comfort. While store-bought models can be expensive and lack durability, building your own allows you to customize size, style, and sturdiness to match both your home and your cat’s personality. This guide walks through every step of constructing a cat tower that balances strength, longevity, and aesthetic appeal—without sacrificing your feline’s enjoyment.
Understanding Your Cat’s Natural Behaviors
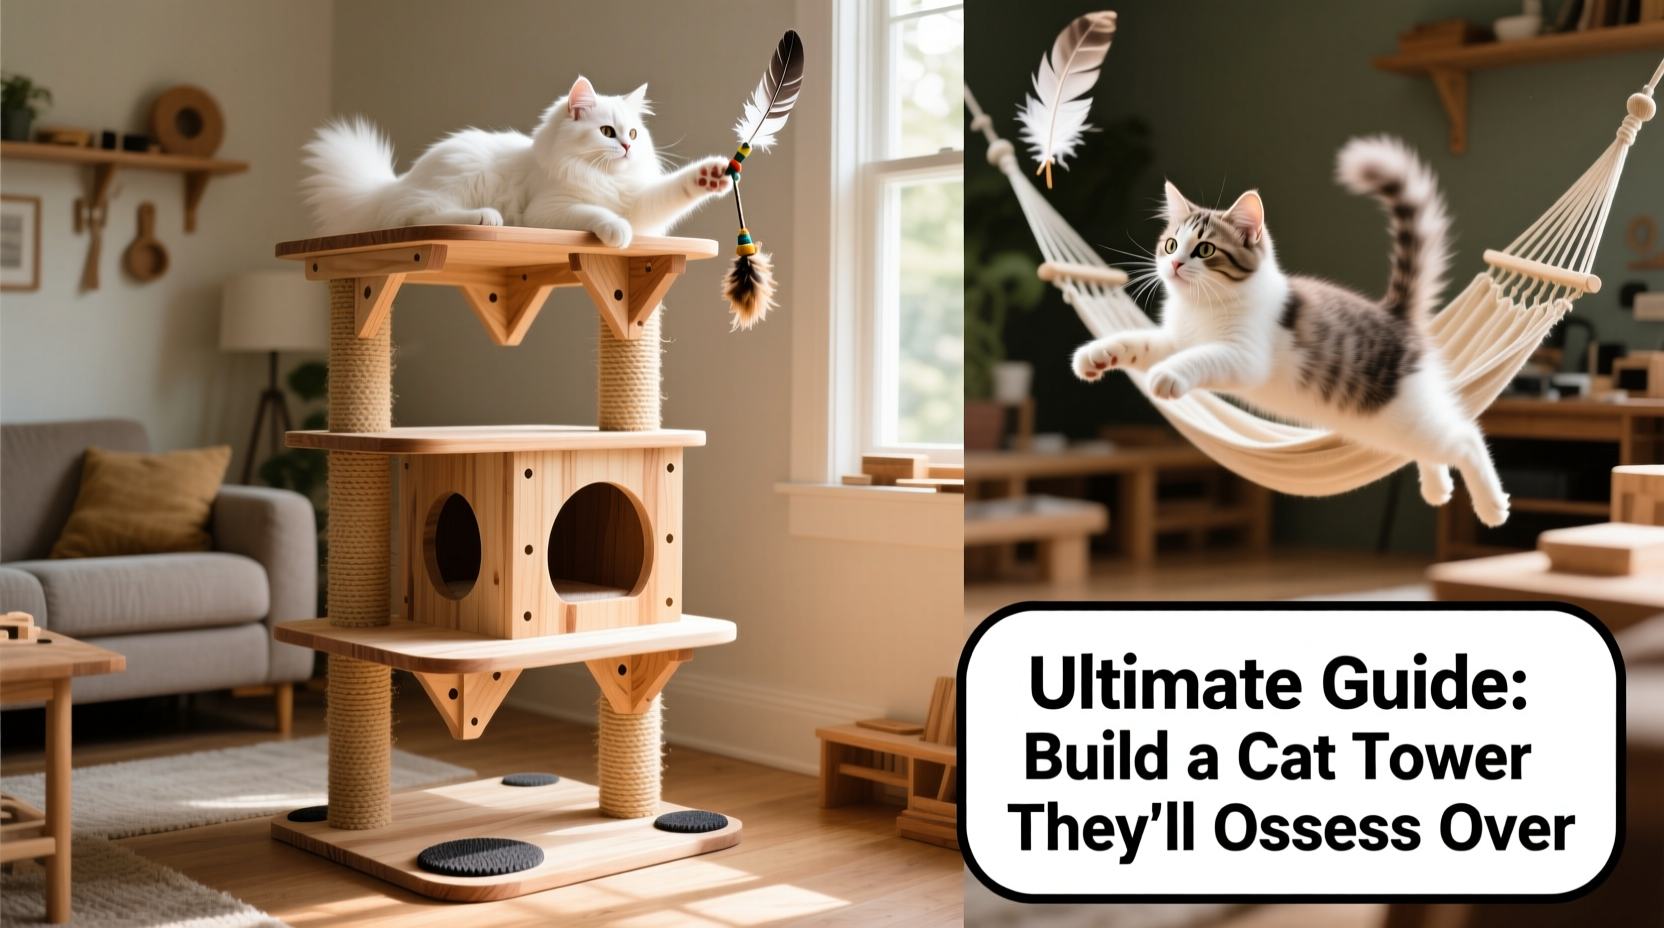
Before selecting materials or sketching a blueprint, it’s crucial to understand what drives your cat’s interaction with vertical space. Cats climb to survey their environment from a safe vantage point, scratch to maintain claw health and mark territory, and nap in secluded, elevated areas where they feel secure. A successful cat tower supports all these instincts.
A study by the American Association of Feline Practitioners highlights that environmental enrichment—including climbing structures—reduces stress and prevents destructive behaviors. The ideal tower offers multiple levels, scratching surfaces, cozy hideaways, and open perches, all anchored securely to prevent tipping.
Tip: Observe your cat’s daily routine. Do they prefer high lookouts or snug cubbies? Use this insight to prioritize features in your design.Materials That Last: Choosing Wisely
Durability starts with material selection. Many commercial towers use particleboard and synthetic fabrics that degrade quickly under scratching and humidity. Building your own gives you control over quality.
- Plywood (¾ inch): Ideal for platforms and base structures. It resists warping and supports heavy loads when properly braced.
- Sisal rope (⅜ inch diameter): Superior to carpet or cardboard for scratching posts. It mimics tree bark and withstands aggressive use.
- Carpet remnants or faux fur fabric: Use only on resting platforms. Choose low-pile, non-shedding options that resist odor buildup.
- Wood glue and deck screws: Avoid nails or staples. Screws provide lasting stability, especially at joints and post connections.
- Non-toxic finishes: If staining or sealing wood, use water-based polyurethane labeled safe for pets once cured.
“Cats respond best to structures that don’t wobble. A flimsy tower discourages use and becomes a safety hazard.” — Dr. Lena Reyes, Feline Behavior Consultant
Step-by-Step Construction Guide
Follow this sequence to build a stable, multi-level cat tower that fits seamlessly into your living space.
- Design the Layout: Sketch a basic structure with at least three levels—a ground-level cubby, a mid-height perch, and a top lookout. Include one or two sisal-wrapped posts (minimum 3” diameter).
- Cut the Base and Platforms: Use ¾” plywood for the base (at least 24” x 24”) and circular or square platforms (12”–16” diameter). Sand edges smooth.
- Install Support Posts: Attach wooden posts (4x4 hardwood or pine) vertically to the base using metal L-brackets and screws. Extend posts through each platform level, securing from underneath.
- Wrap with Sisal: Apply wood glue in a spiral pattern and tightly wrap sisal rope around each post. Secure the end with additional glue and a discreet staple.
- Add Platforms and Hideaways: Attach each platform to the posts with screws. Mount a small enclosed box or cushioned cubby at the bottom level using brackets.
- Finish Surfaces: Cover platforms with cut-to-size carpet or fabric, secured with non-toxic adhesive. Avoid loose tassels or frayed edges.
- Anchoring (Optional but Recommended): For tall towers (>5 feet), secure the top to a wall stud using a flexible safety strap to prevent tipping.
Design Tips for Style and Functionality
Your cat tower doesn’t have to clash with your décor. With thoughtful design, it can blend into your space as functional art.
| Feature | Functional Benefit | Styling Tip |
|---|---|---|
| Sisal-wrapped posts | Promotes healthy scratching | Use natural tan or black rope to match modern interiors |
| Neutral-toned fabric | Reduces visible shedding and stains | Choose textured gray, beige, or charcoal upholstery-grade fabric |
| Minimalist frame | Easier cleaning and less visual clutter | Paint legs with matte black or stained wood finish |
| Integrated storage | Hides toys or leashes | Add a lift-up platform with hidden compartment underneath |
Consider modular designs that allow future expansion. You can add hammocks, dangling toys, or extra shelves as your cat’s preferences evolve.
Real-Life Example: The Urban Apartment Tower
Sarah, a graphic designer in Seattle, built a 5-foot cat tower for her two active rescue cats, Milo and Juno. Living in a 700-square-foot loft, she needed something compact yet engaging. She used reclaimed birch plywood for platforms, wrapped Douglas fir posts in dark sisal, and covered resting areas with washable charcoal fabric.
By anchoring the tower to a wall stud behind her sofa, she eliminated wobbling. The cats immediately claimed the top perch as their watchtower. After six months of daily use, the structure remains stable, and Sarah reports a noticeable drop in couch-scratching incidents. “It’s become part of my living room furniture,” she says. “Friends even ask where I bought it.”
Common Mistakes to Avoid
Even well-intentioned builds can fall short. These pitfalls compromise safety and usability.
- Using hollow-core posts: PVC or thin cardboard tubes collapse under pressure. Always use solid wood.
- Skipping the base weight: A lightweight base tips easily. Reinforce with extra plywood layers or attach to flooring in low-traffic areas.
- Placing near heat sources: Radiators or sunny windows warp wood and degrade adhesives over time.
- Overcomplicating design: More levels aren’t always better. Cats prefer clear sightlines and easy navigation.
Frequently Asked Questions
How tall should a cat tower be?
The ideal height depends on space and cat agility. Most indoor cats thrive with a tower between 4 and 6 feet tall, offering at least three accessible levels. Kittens and seniors may prefer shorter structures with lower jumps.
Can I use old furniture as a base?
Yes, repurposing a sturdy stool or side table as a foundation can save time. Ensure any added posts are securely fastened and the entire unit is stable under dynamic movement (e.g., jumping).
How do I clean and maintain the tower?
Vacuum weekly to remove hair and dander. Spot-clean fabric with pet-safe enzymatic cleaners. Inspect sisal annually for fraying and re-glue loose sections. Replace worn platforms every 2–3 years.
Final Checklist Before Assembly
- Measure available floor space and ceiling height
- Select rot-resistant wood and high-density sisal
- Confirm all tools: drill, saw, measuring tape, level
- Verify stability by testing wobble pre- and post-assembly
- Introduce the tower gradually with treats and toys
Conclusion: Build Confidence Alongside the Tower
A homemade cat tower is more than a DIY project—it’s an investment in your cat’s well-being and your shared living environment. By prioritizing structural integrity, understanding feline behavior, and integrating thoughtful design, you create a piece that lasts for years and earns daily use. Whether you’re a seasoned builder or tackling your first woodworking task, the result is a custom sanctuary your cat will claim as their own. Start planning your design today, and give your feline the elevated lifestyle they deserve.
💬 Have you built a cat tower? Share your design tips or lessons learned in the comments below!