Collard greens are a cornerstone of Southern cuisine, revered for their earthy flavor and hearty texture. Yet many home cooks struggle with tough leaves, bitter notes, or underseasoned pots that leave diners unimpressed. The truth is, perfectly cooked collard greens aren’t left to chance—they’re crafted with care, patience, and a few well-honed techniques. When done right, collard greens become meltingly tender, richly savory, and layered with depth that wins over even the most skeptical eaters. This guide walks you through every step, from selecting the best leaves to seasoning like a pro, so you can serve a pot that’s not just edible—but unforgettable.
Choosing the Right Collard Greens
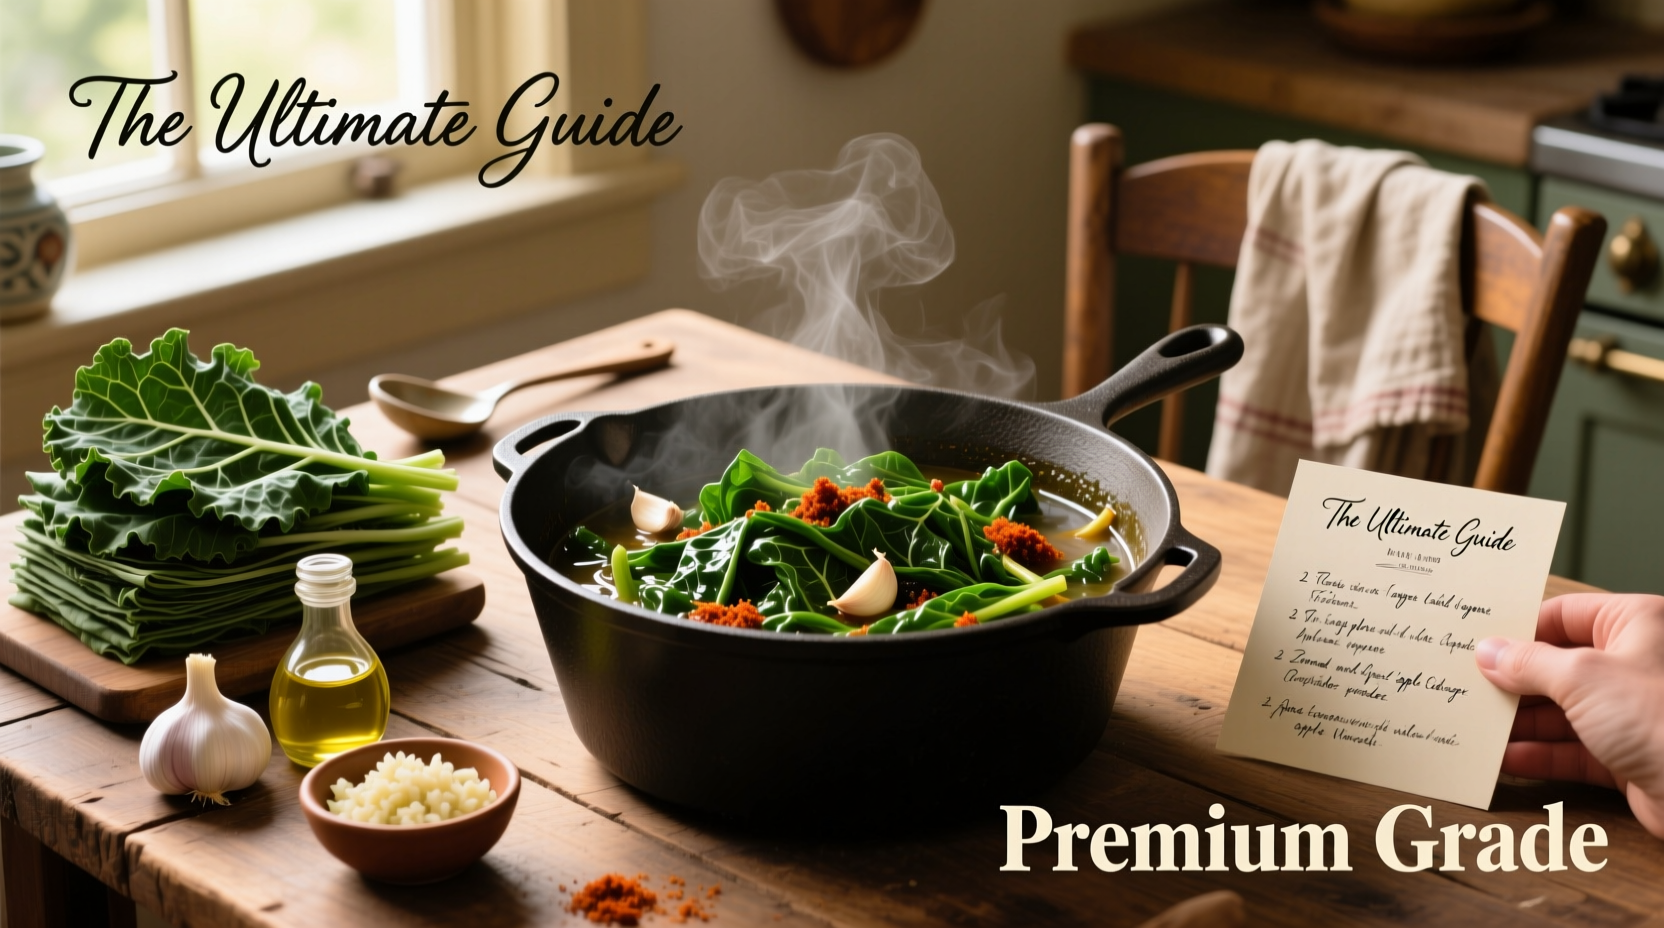
The foundation of great collard greens starts at the market. Not all bunches are created equal, and your selection impacts both texture and taste. Look for deep green, firm leaves without yellowing, wilting, or holes. Younger collards tend to be more tender and less fibrous, while older, larger leaves can be tougher and require longer cooking. Avoid pre-cut or bagged greens when possible—whole leaves retain moisture better and allow you to inspect quality leaf by leaf.
Tip: If the stems are thicker than a pencil, they should be removed before cooking to prevent uneven texture.Once home, wash thoroughly. Dirt often hides between the creases of the leaves. A quick soak in cold water with a splash of vinegar helps loosen grit. Rinse each leaf individually, then pat dry or use a salad spinner. Clean, dry greens absorb seasoning better and reduce the risk of a sandy bite.
The Art of Slow Simmering
Tenderness in collard greens doesn’t come from boiling—it comes from low, slow simmering. Rushing the process results in rubbery stems and underdeveloped flavor. The ideal method involves braising the greens in liquid over several hours, allowing time for the cellulose in the leaves to break down and the seasonings to penetrate fully.
Begin by building a flavor base. Sauté diced onions and minced garlic in a heavy-bottomed pot with smoked turkey, ham hock, or bacon. Render the fat slowly to extract maximum umami. Add a tablespoon of tomato paste and cook for 1–2 minutes to deepen the richness. Pour in about 4 cups of water or broth, bring to a gentle simmer, then add the collards in batches, pressing them down to submerge.
“Good collards take time. You can’t rush soul food. Three hours isn’t long enough for some families—I’ve seen pots go six.” — James Holloway, Charleston-based chef and culinary historian
Cover the pot and let it simmer on low heat for at least 2.5 to 3 hours. Stir occasionally and check liquid levels; add warm water as needed to keep the greens partially submerged. The goal is a silky texture where the leaves pull apart easily but still hold shape.
Seasoning Secrets for Maximum Flavor
Flavor in collard greens is cumulative. It’s not one ingredient, but the layering of seasonings throughout the cooking process that creates complexity. Start with salt and black pepper, but don’t stop there. A splash of apple cider vinegar (1–2 tablespoons) added in the last 30 minutes brightens the dish and cuts through richness. A pinch of red pepper flakes introduces subtle heat, while a teaspoon of sugar or a drizzle of honey balances any lingering bitterness.
For vegetarians or those avoiding meat, smoked paprika (½ to 1 teaspoon) or a dash of liquid smoke can mimic the depth traditionally provided by pork. Some cooks swear by a small piece of kombu seaweed added during cooking—it contains natural enzymes that help soften fibers and boost umami.
| Seasoning | When to Add | Purpose |
|---|---|---|
| Salt & Pepper | With the base | Foundational seasoning |
| Vinegar | Last 30–60 minutes | Brightens flavor, reduces bitterness |
| Sugar/Honey | Middle of cooking | Balances bitterness |
| Smoked Paprika | With base or mid-cook | Adds smoky depth (meat-free option) |
| Liquid Smoke | Last hour | Enhances savory profile |
Step-by-Step Cooking Timeline
- Prep (20 min): Wash, de-stem, and chop collard greens into 1-inch strips.
- Sear (10 min): Cook meat (if using) until browned. Add onions, garlic, and tomato paste.
- Build Liquid (5 min): Pour in broth or water, bring to a simmer.
- Add Greens (10 min): Pack collards into pot in batches; press down to submerge.
- Simmer (2.5–3 hrs): Cover and cook on low, stirring occasionally. Add liquid as needed.
- Final Season (30 min before end): Stir in vinegar, sugar, and extra pepper.
- Taste & Adjust: Remove meat bone, shred meat back into pot if desired. Adjust salt and acidity.
A Real Kitchen Success Story
Sarah Thompson, a home cook from Atlanta, used to dread making collard greens. Her early attempts were either too bitter or mushy. “I followed recipes, but nothing tasted like my grandmother’s,” she recalls. After learning to remove thick stems, build a proper flavor base with smoked turkey, and simmer for three full hours, her results transformed. She now adds a tablespoon of cider vinegar at the end and lets the pot sit overnight. “My teenage son, who hates vegetables, asked for seconds last Sunday,” she says. “That’s when I knew I’d cracked the code.”
Common Mistakes and How to Avoid Them
- Overcrowding the pot: Add greens in batches to ensure even cooking.
- Skipping the acid: Vinegar or lemon juice is essential for balance.
- Underseasoning: Taste throughout cooking and adjust gradually.
- Boiling instead of simmering: High heat makes greens tough and watery.
- Not tasting at the end: Flavors evolve—always do a final seasoning check.
Frequently Asked Questions
Can I cook collard greens in a pressure cooker?
Yes. Using an electric pressure cooker can reduce cooking time to 45–60 minutes with excellent results. Use the same ingredients and steps, but release pressure naturally for 15 minutes before opening. While faster, this method may lack the nuanced depth of slow simmering, so consider finishing with a 10-minute sauté to concentrate flavors.
How do I store leftovers and how long do they last?
Cool the greens within two hours of cooking and store in an airtight container in the refrigerator for up to 5 days. They freeze well for up to 3 months. Reheat gently on the stove with a splash of water or broth to restore moisture.
Are collard greens healthy?
Absolutely. Collard greens are rich in vitamins A, C, and K, high in calcium and fiber, and contain antioxidants linked to reduced inflammation. When prepared with mindful seasoning and lean proteins, they make a nutritious addition to any diet.
Make Every Bite Count
Perfect collard greens are more than a side dish—they’re a testament to patience, tradition, and thoughtful cooking. Whether served alongside cornbread and black-eyed peas or as a standalone vegetarian main, a well-made pot speaks volumes. It brings people together, evokes memory, and satisfies on a primal level. Now that you know how to choose, prep, season, and simmer with confidence, there’s no reason to settle for anything less than tender, flavorful collard greens that everyone will love.
💬 Did you try this method? Share your results, tweaks, or family traditions in the comments—let’s grow a community of better collard cooks together.